Space Above Kitchen Cabinets!!

Adding decor on the space above the kitchen cabinets wasn’t easy…As my husband calls it “the most tricky spot to decorate”….

IMG_0851

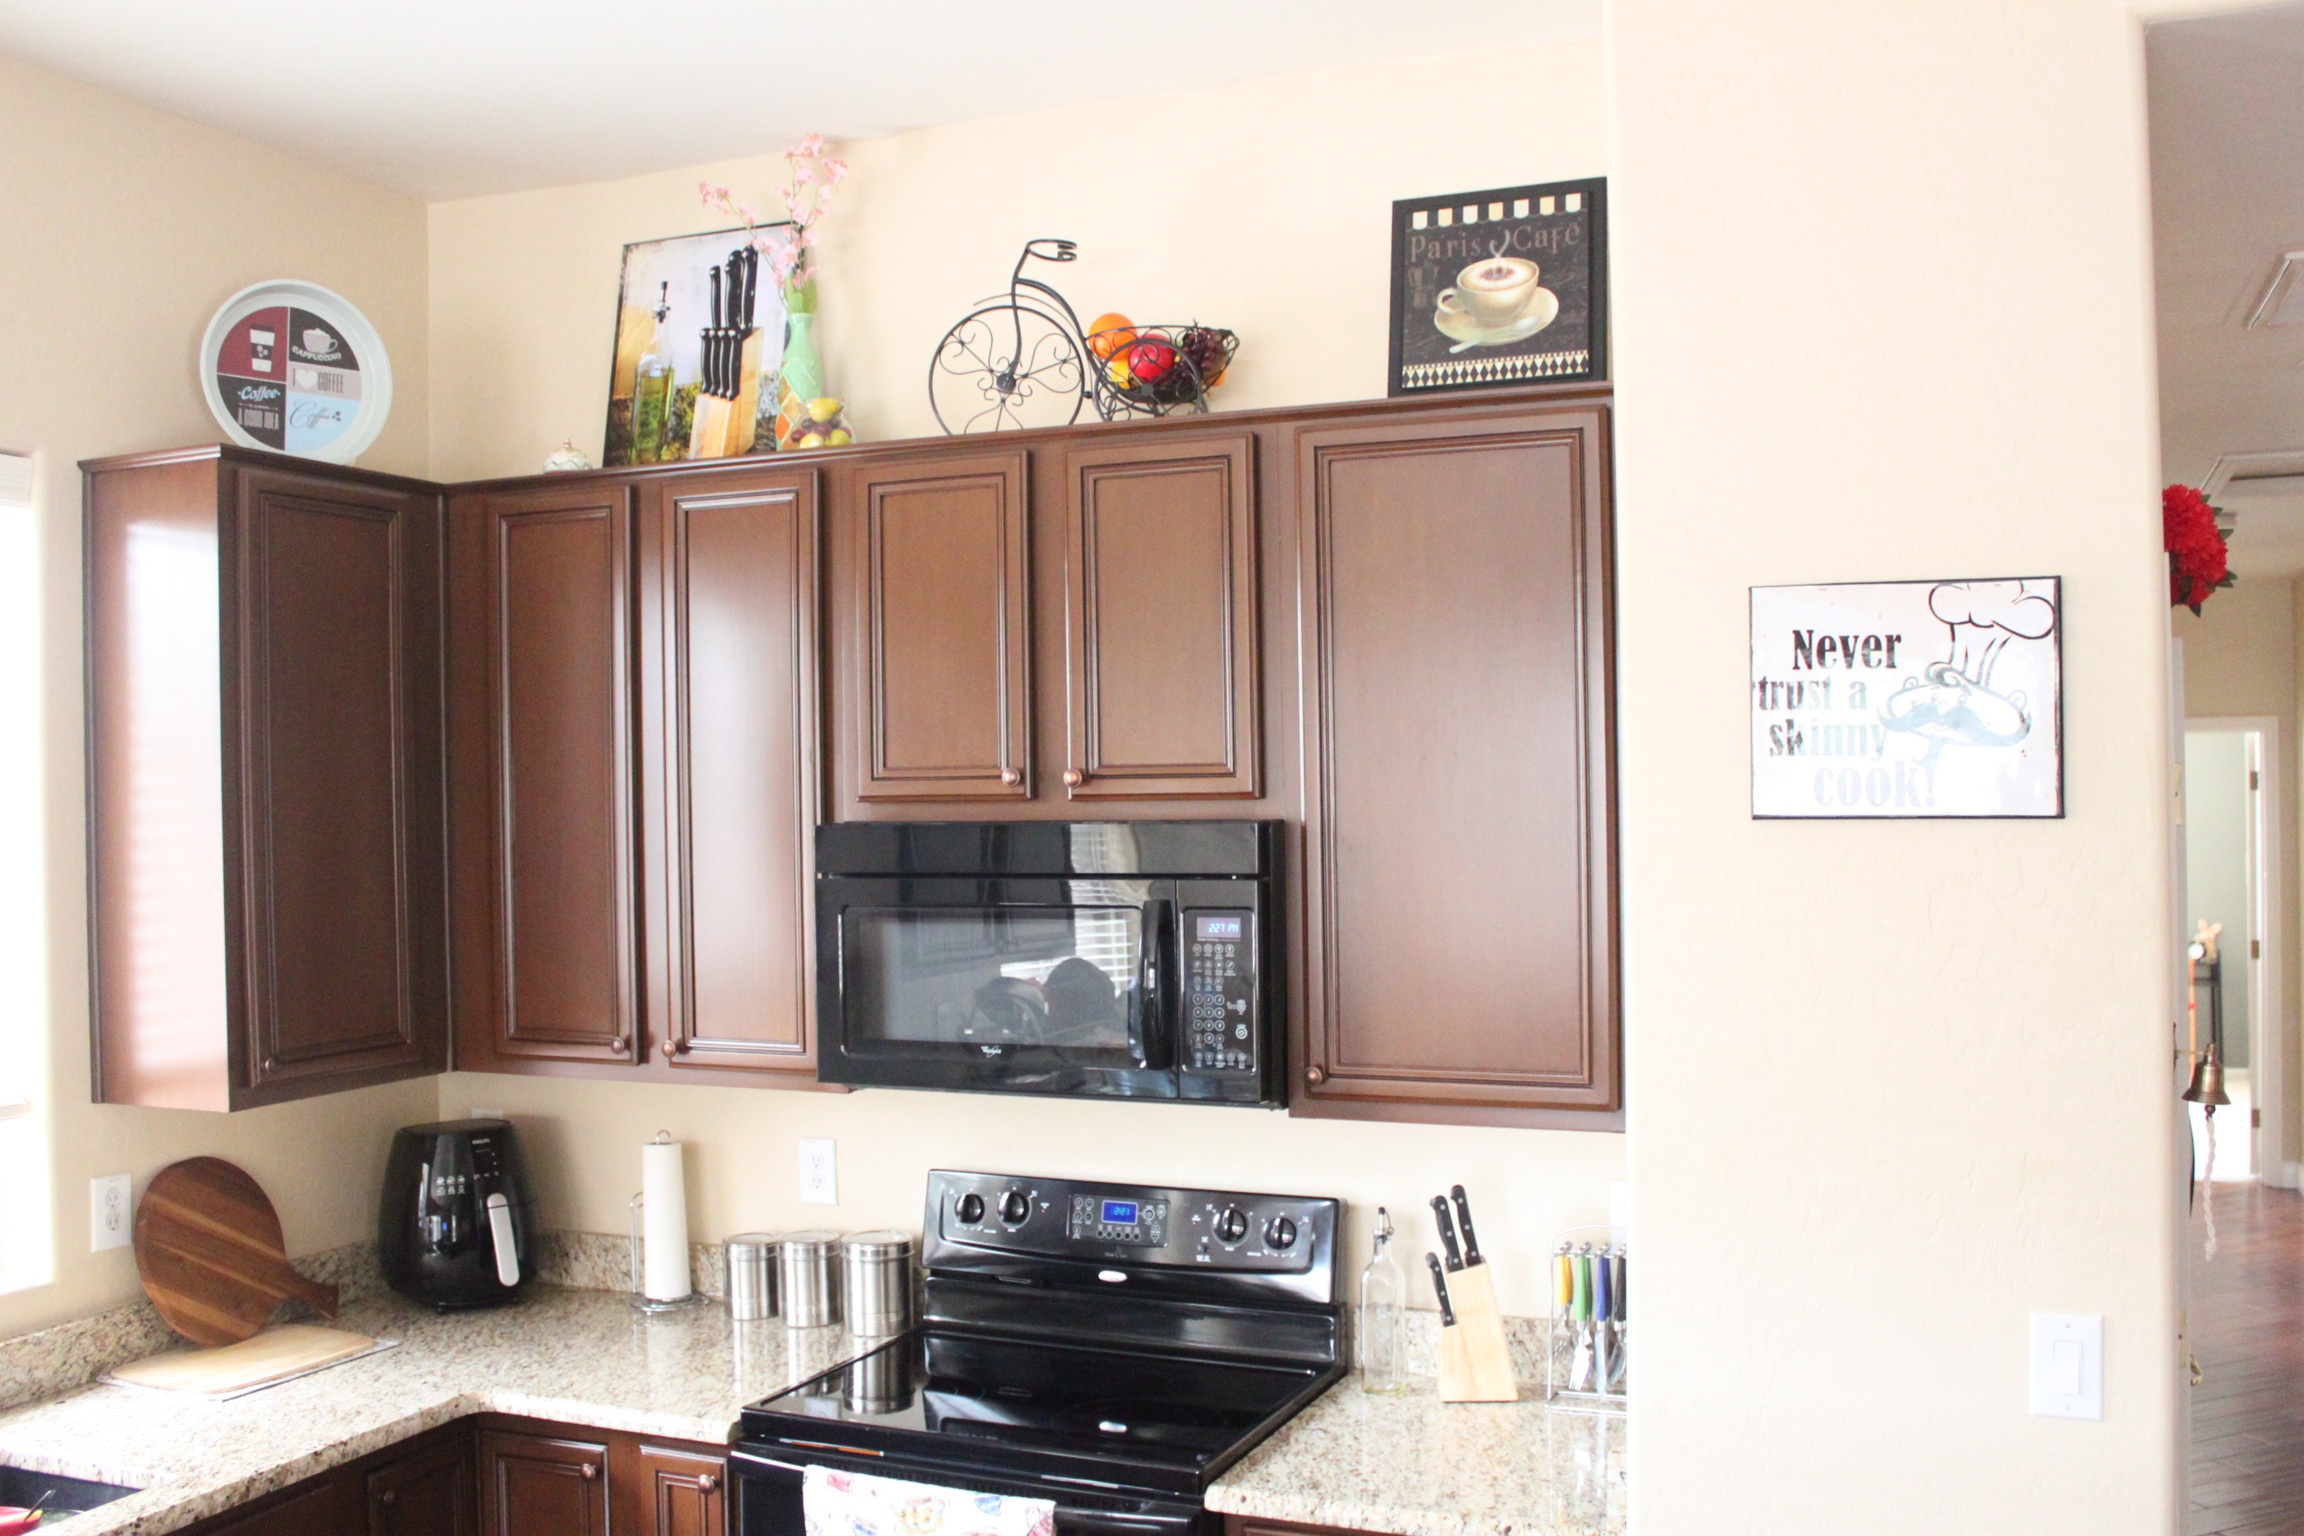
Personally, I don’t like that dead space, it just accumulates dust 😦  Yet, I couldn’t leave it empty and had to come with ideas. It would have been easy with the fake Ivy plants, however, I always feel they don’t go well with dark kitchen cabinets.

I brainstormed and decided to add some kitchen art work that matches to the stuff I planned to have over the cabinets.

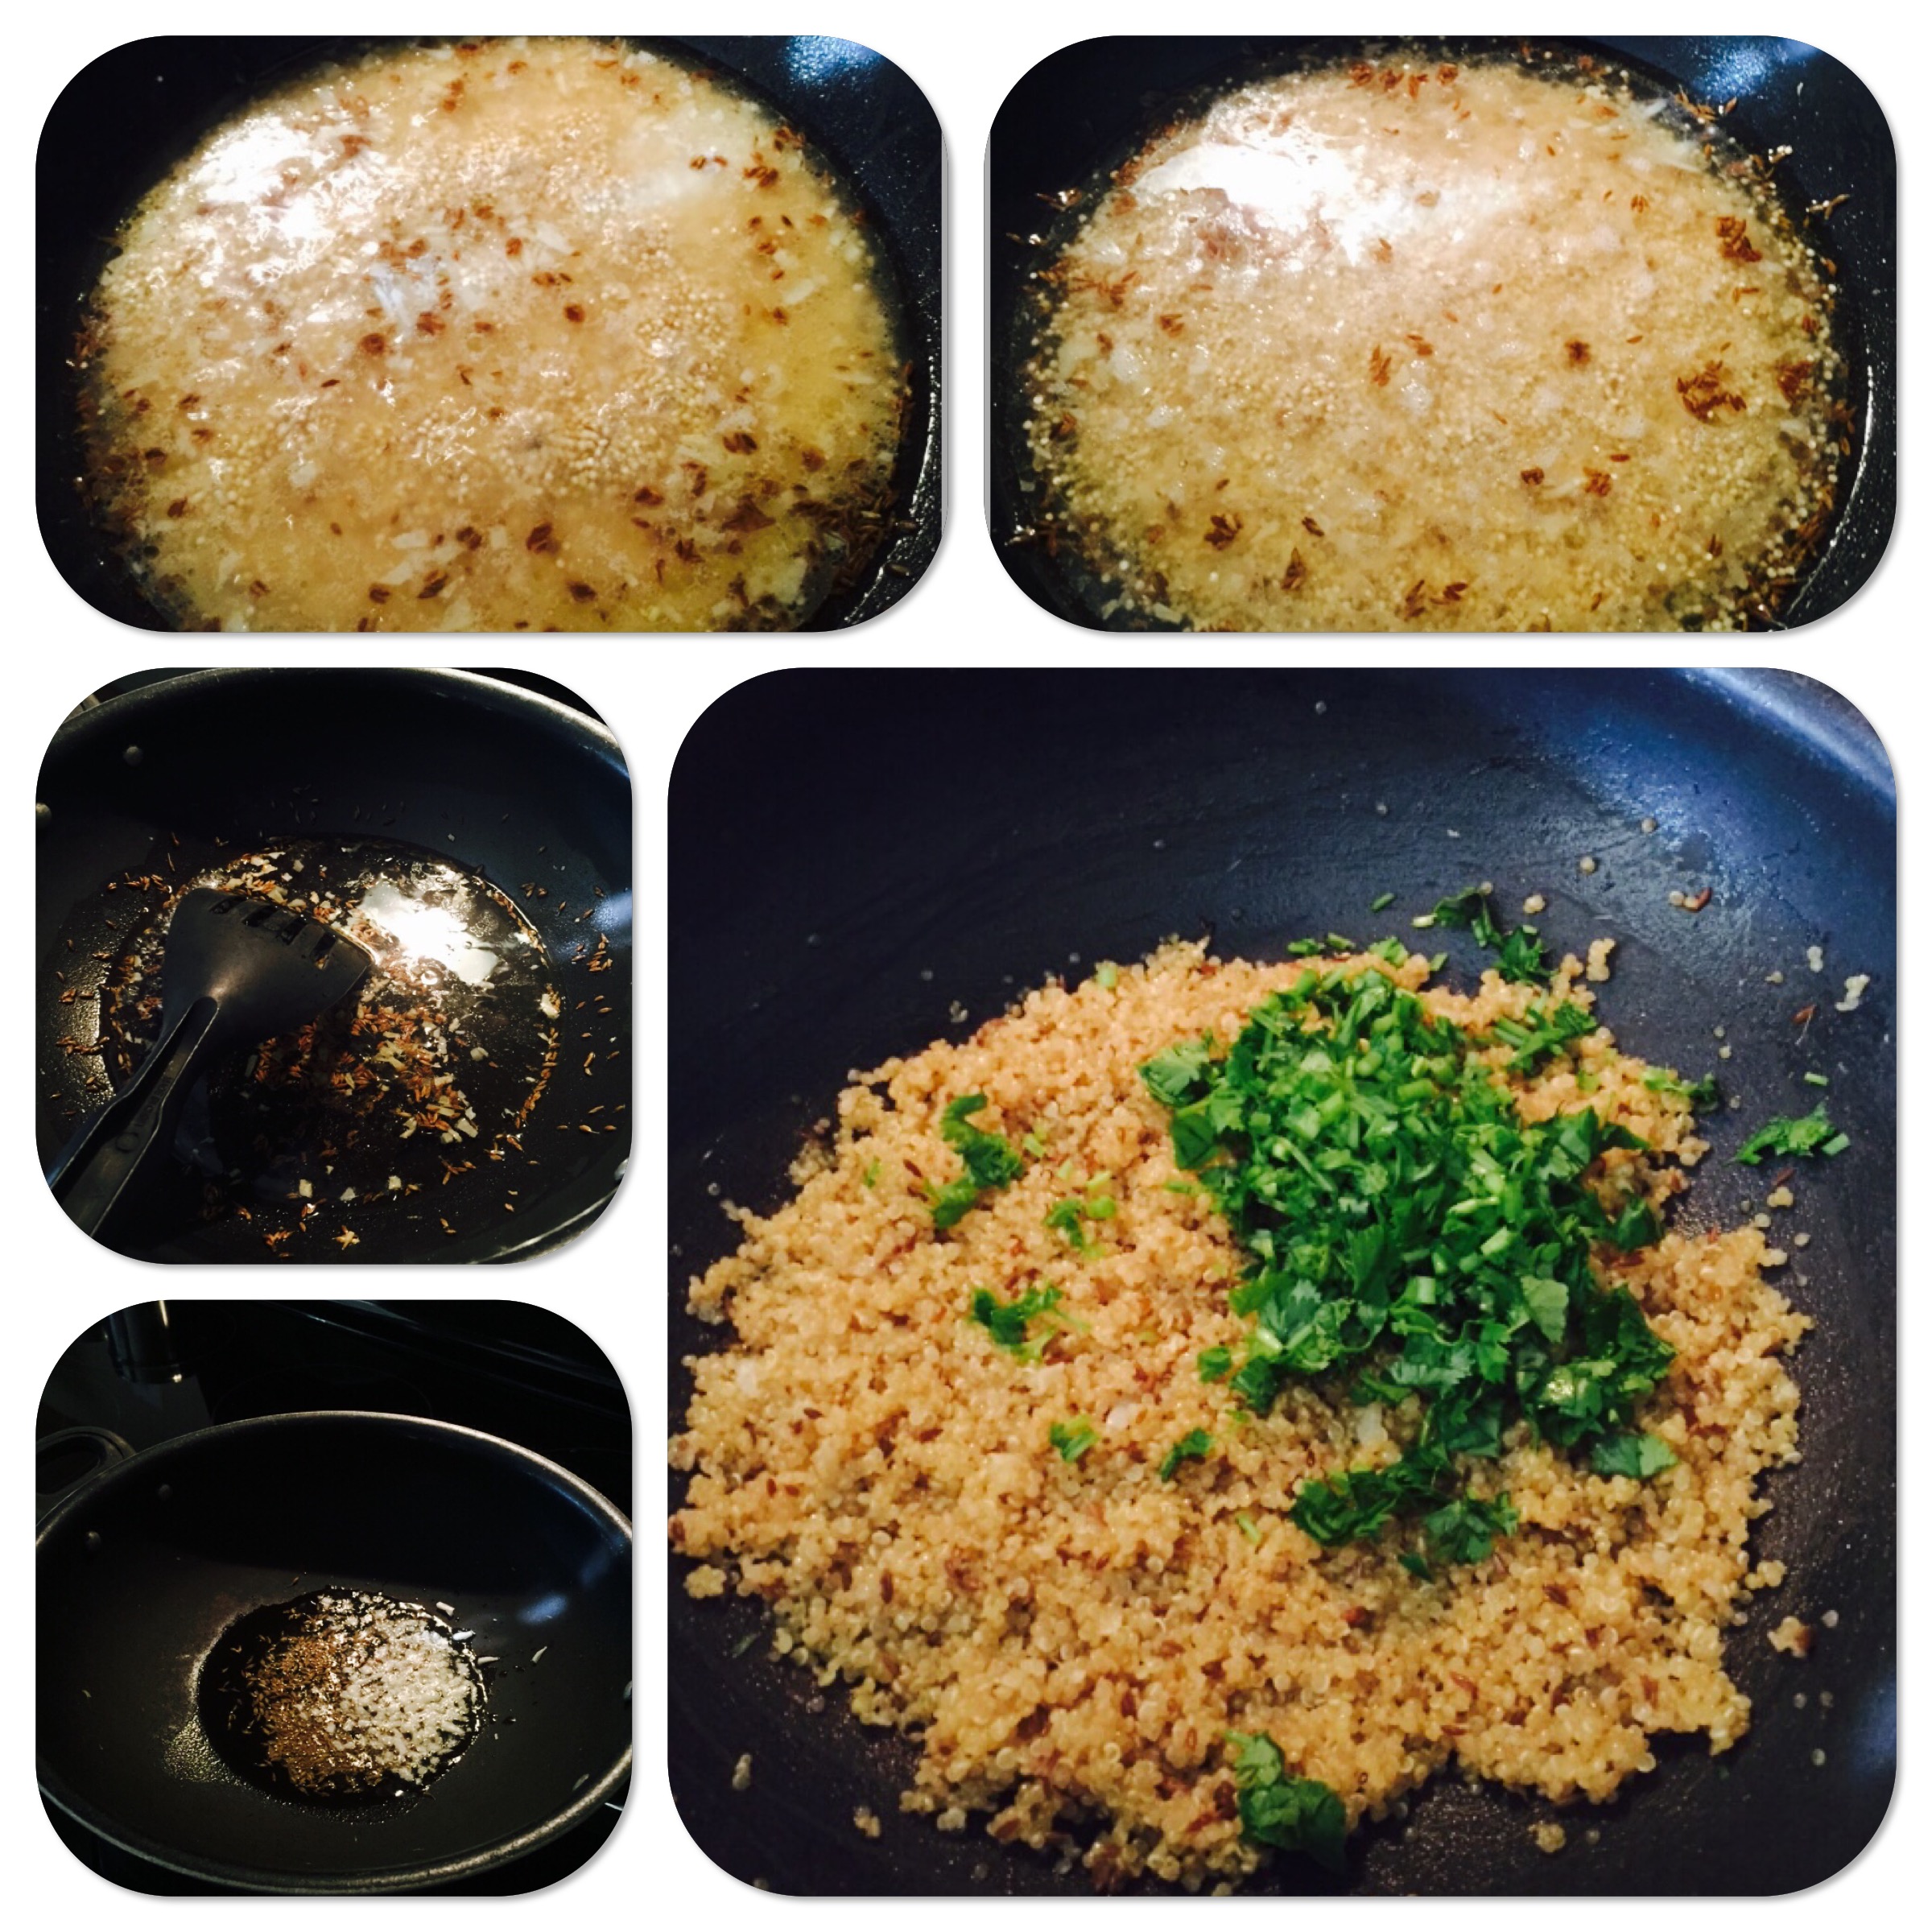
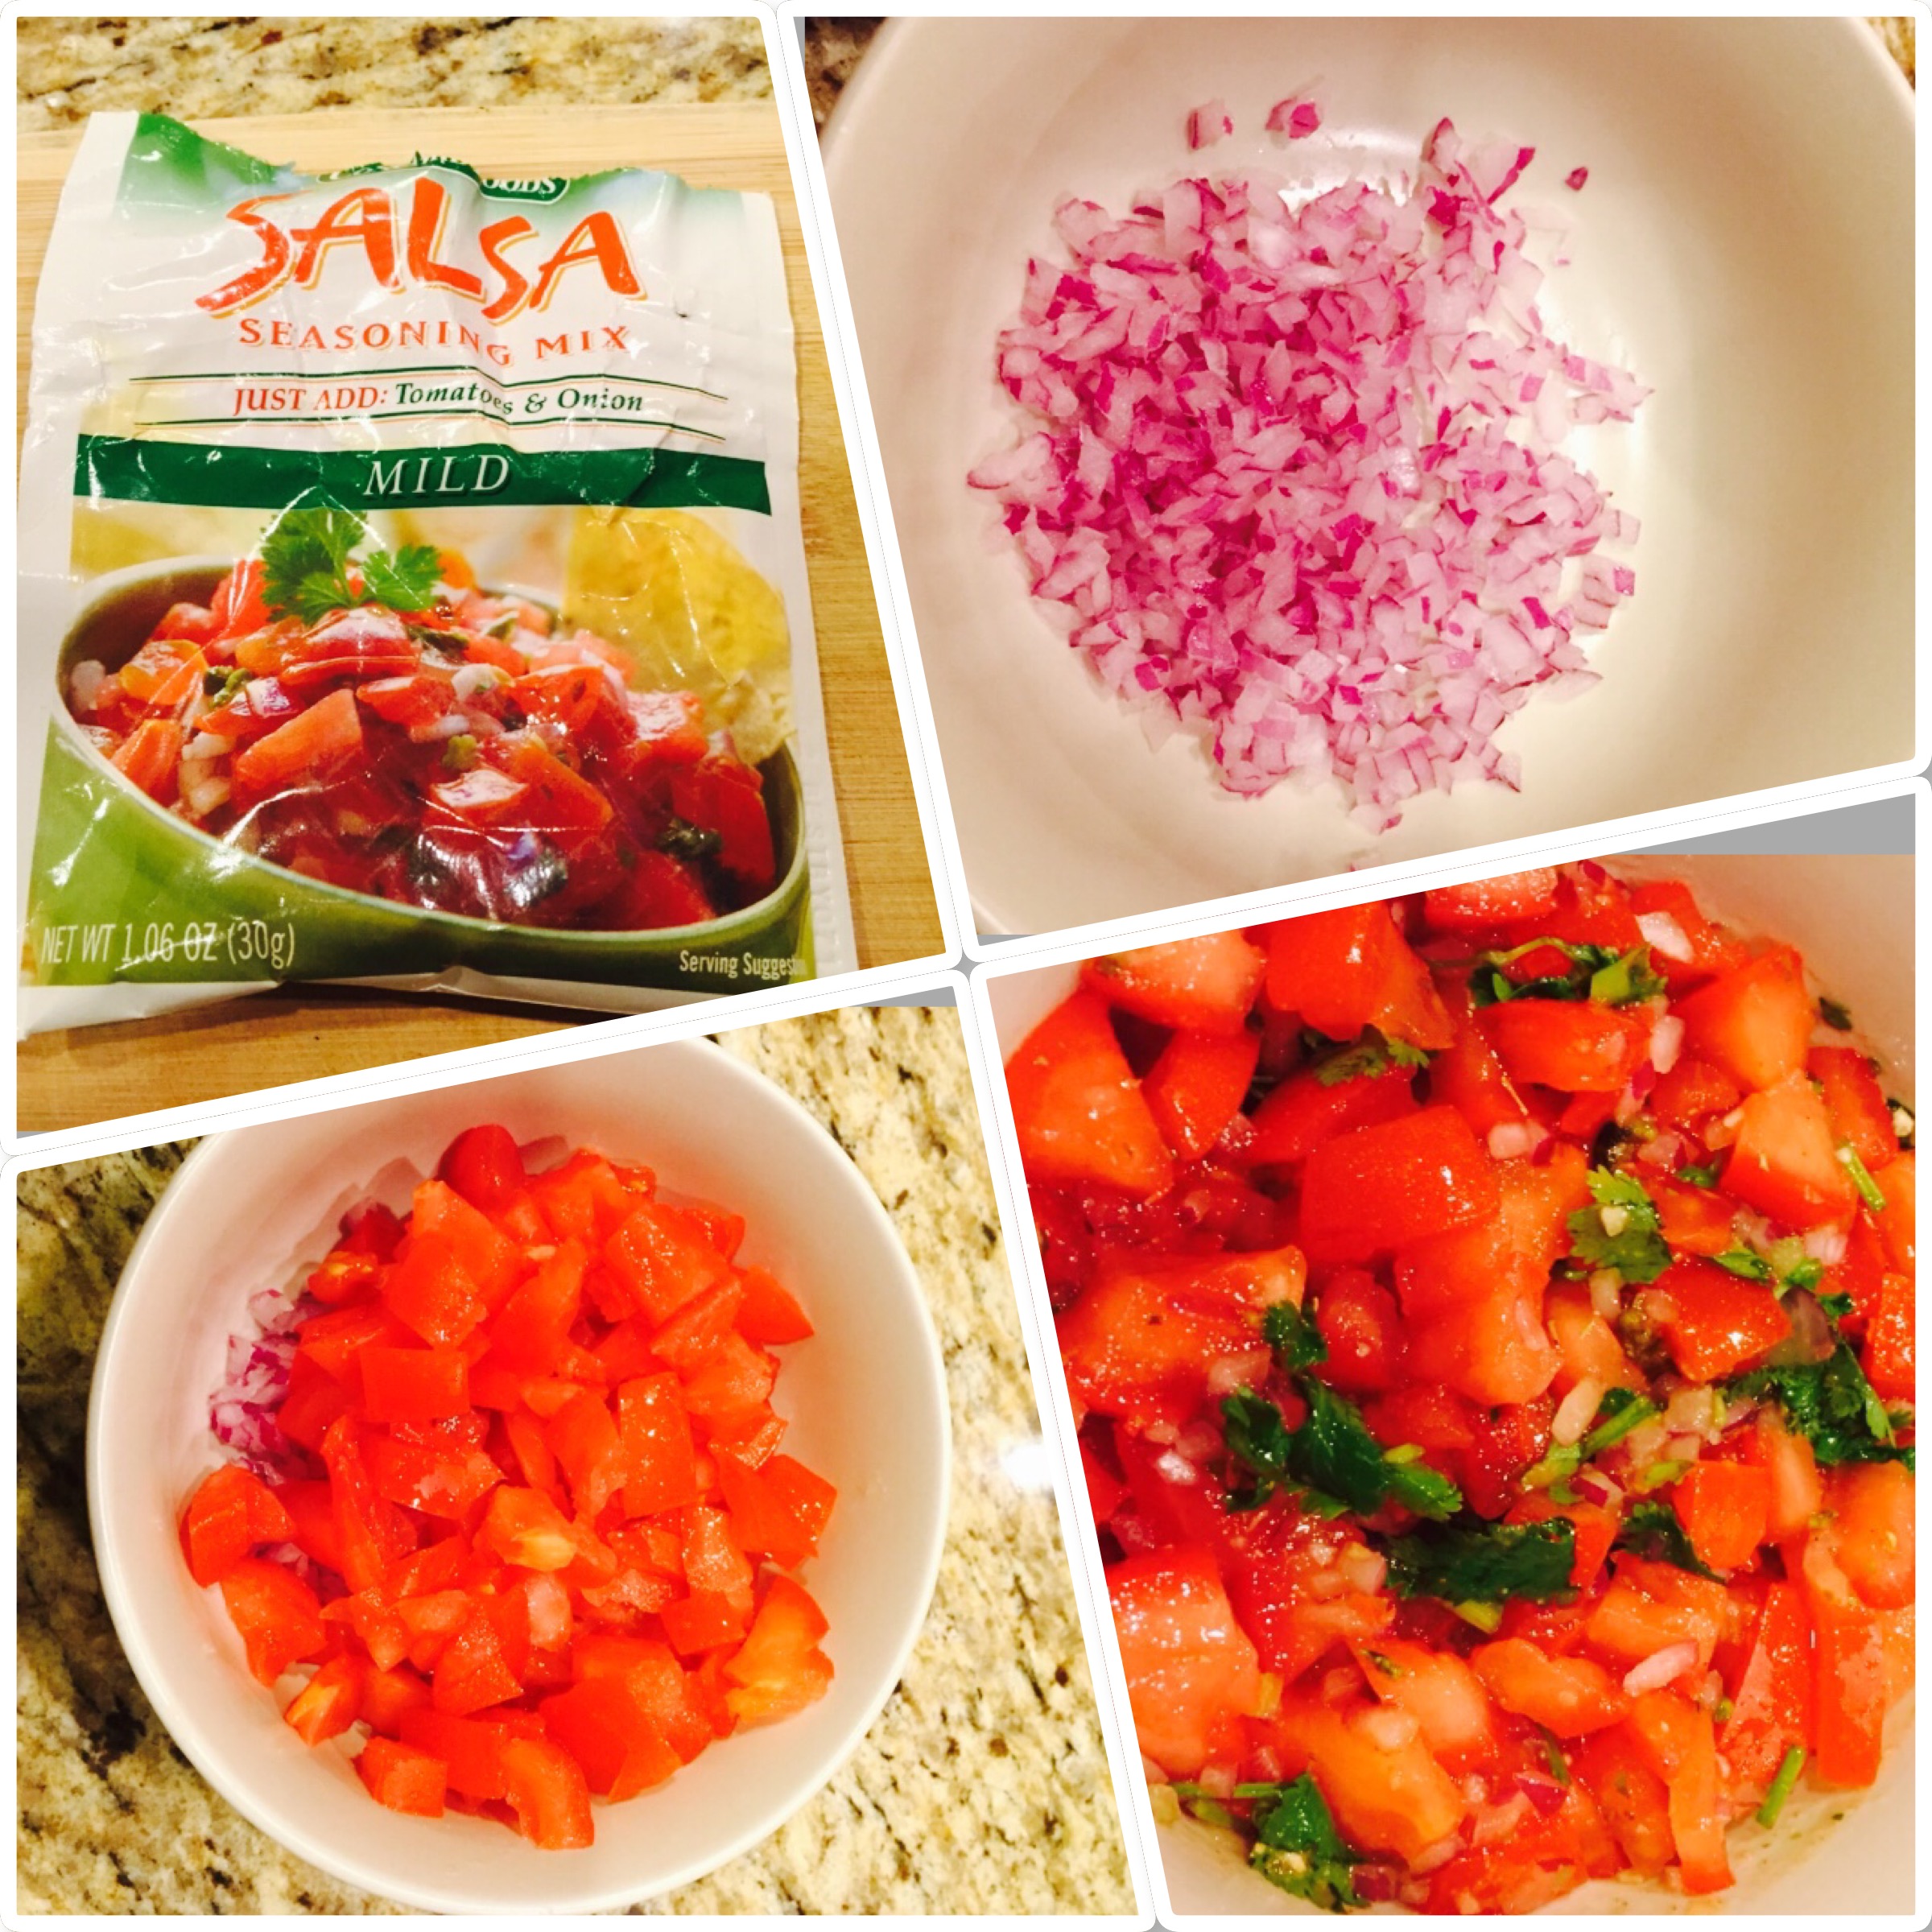
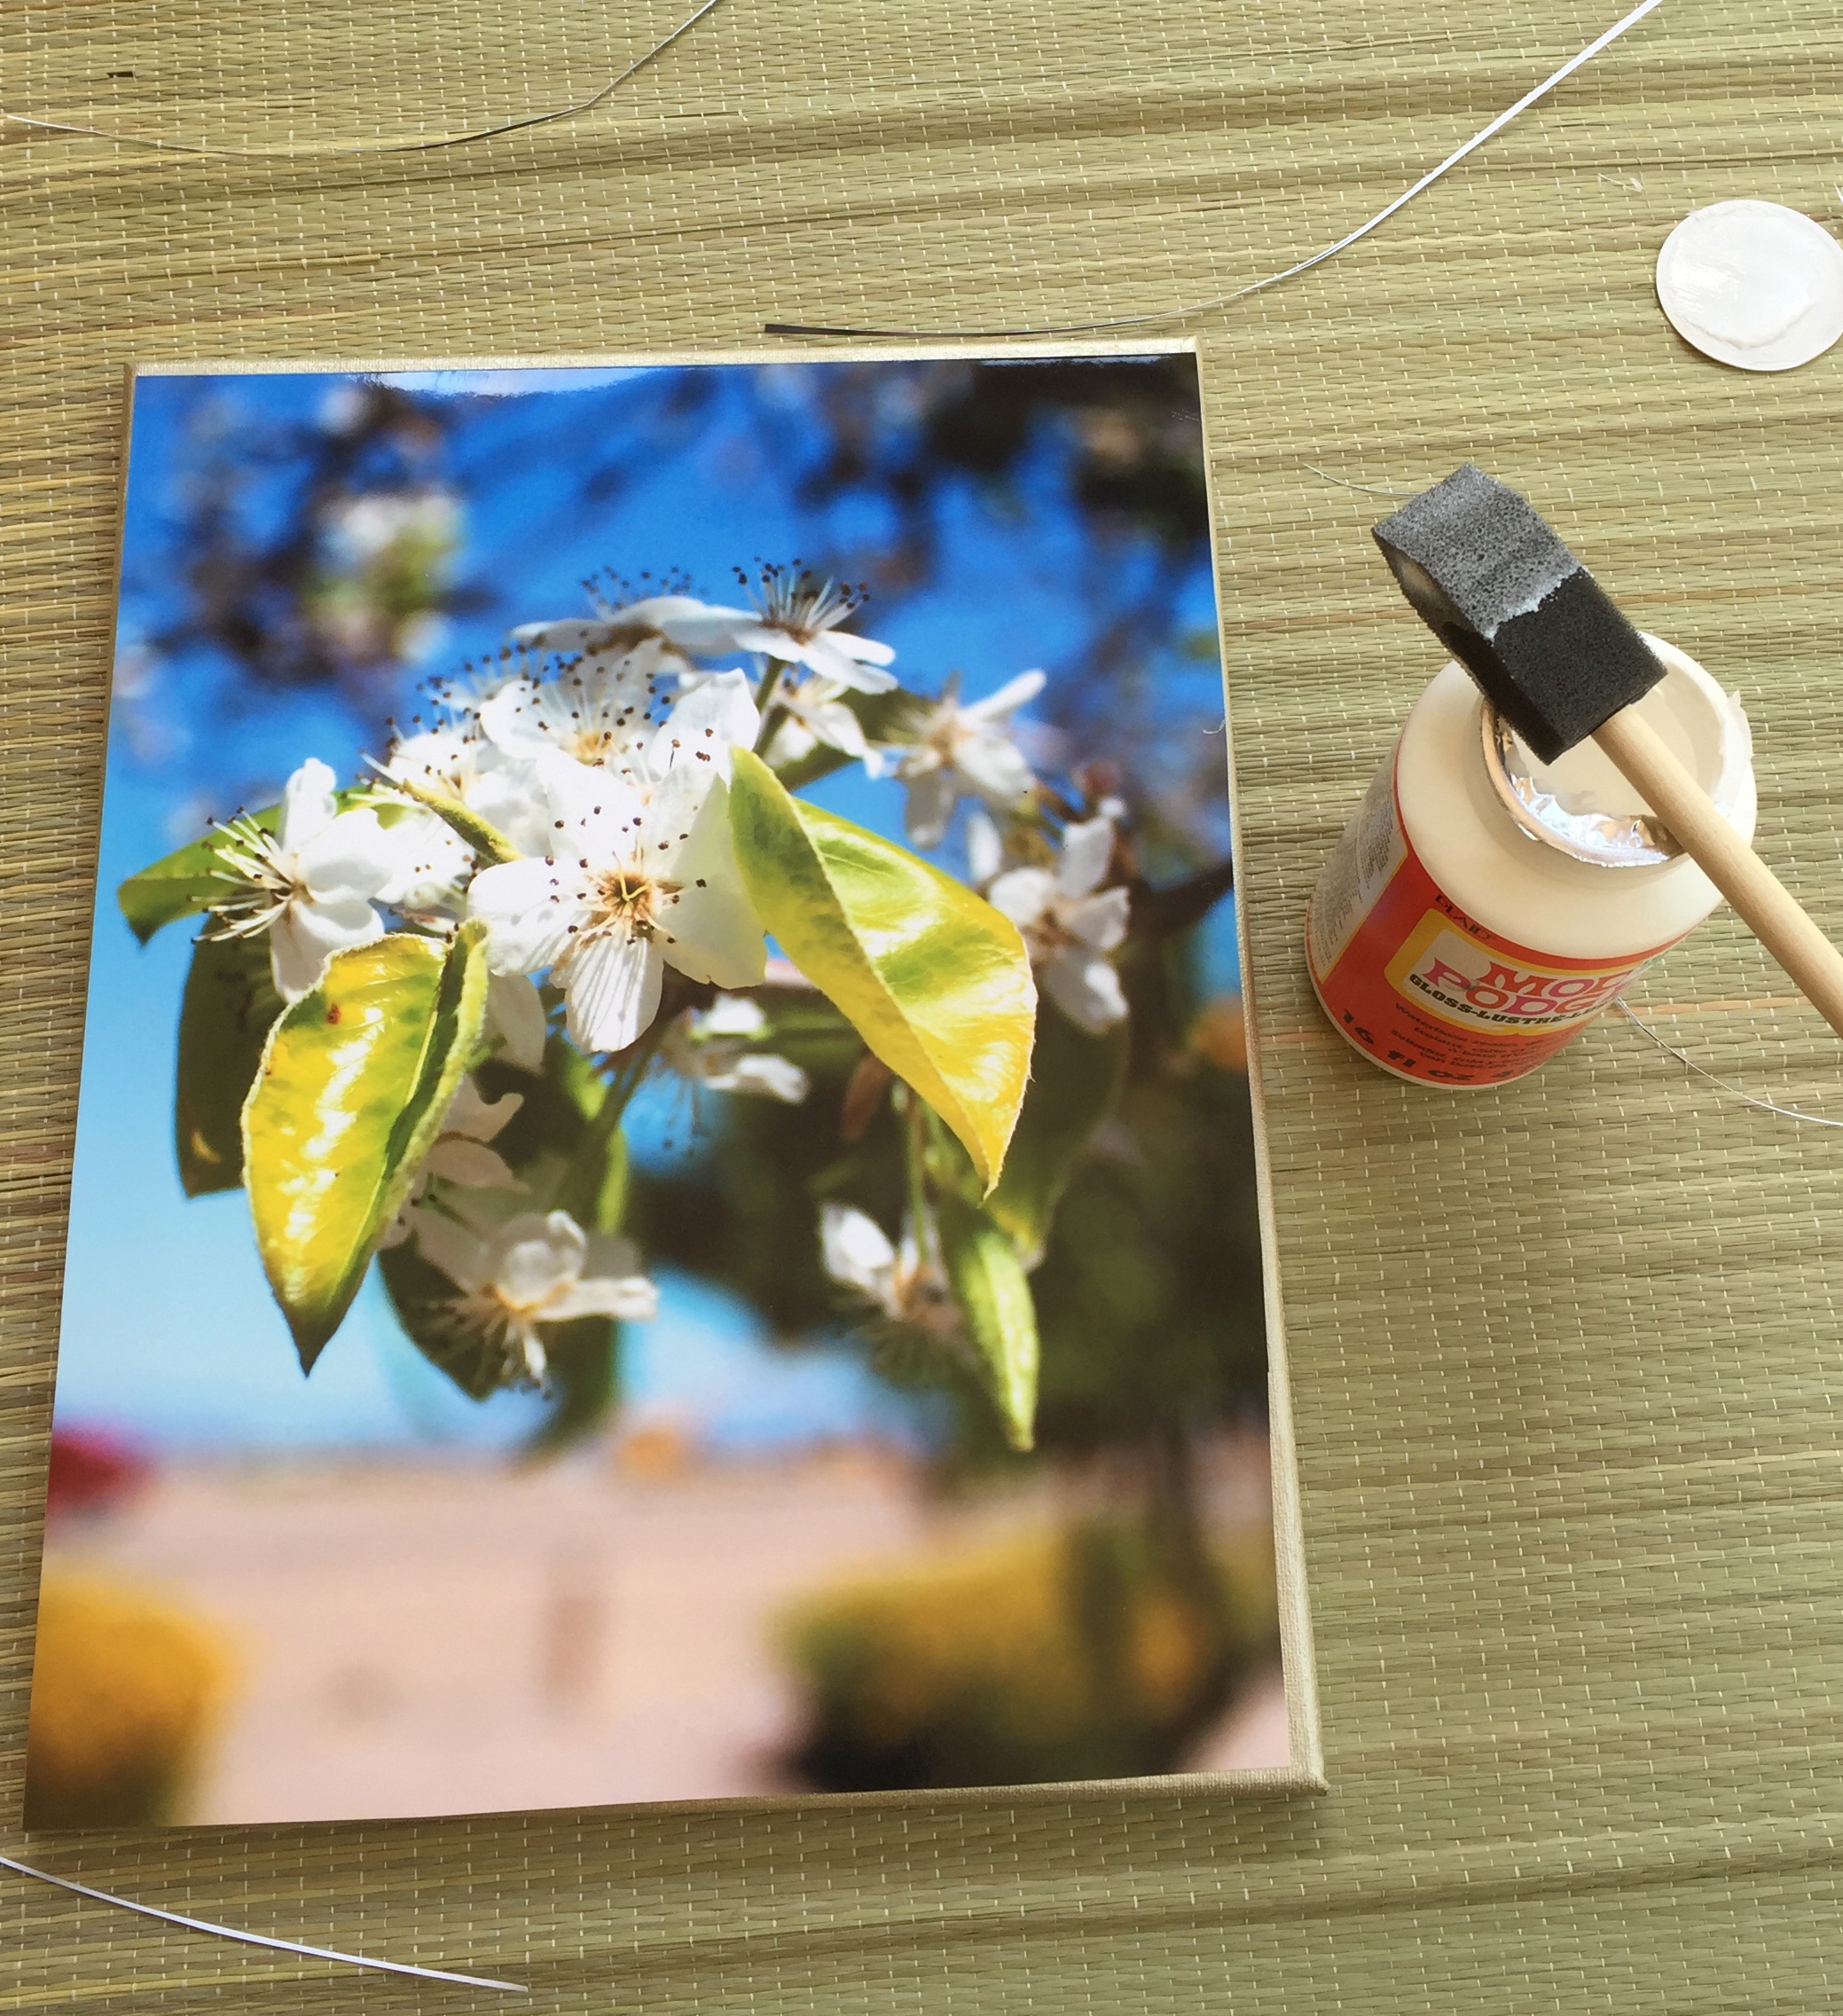
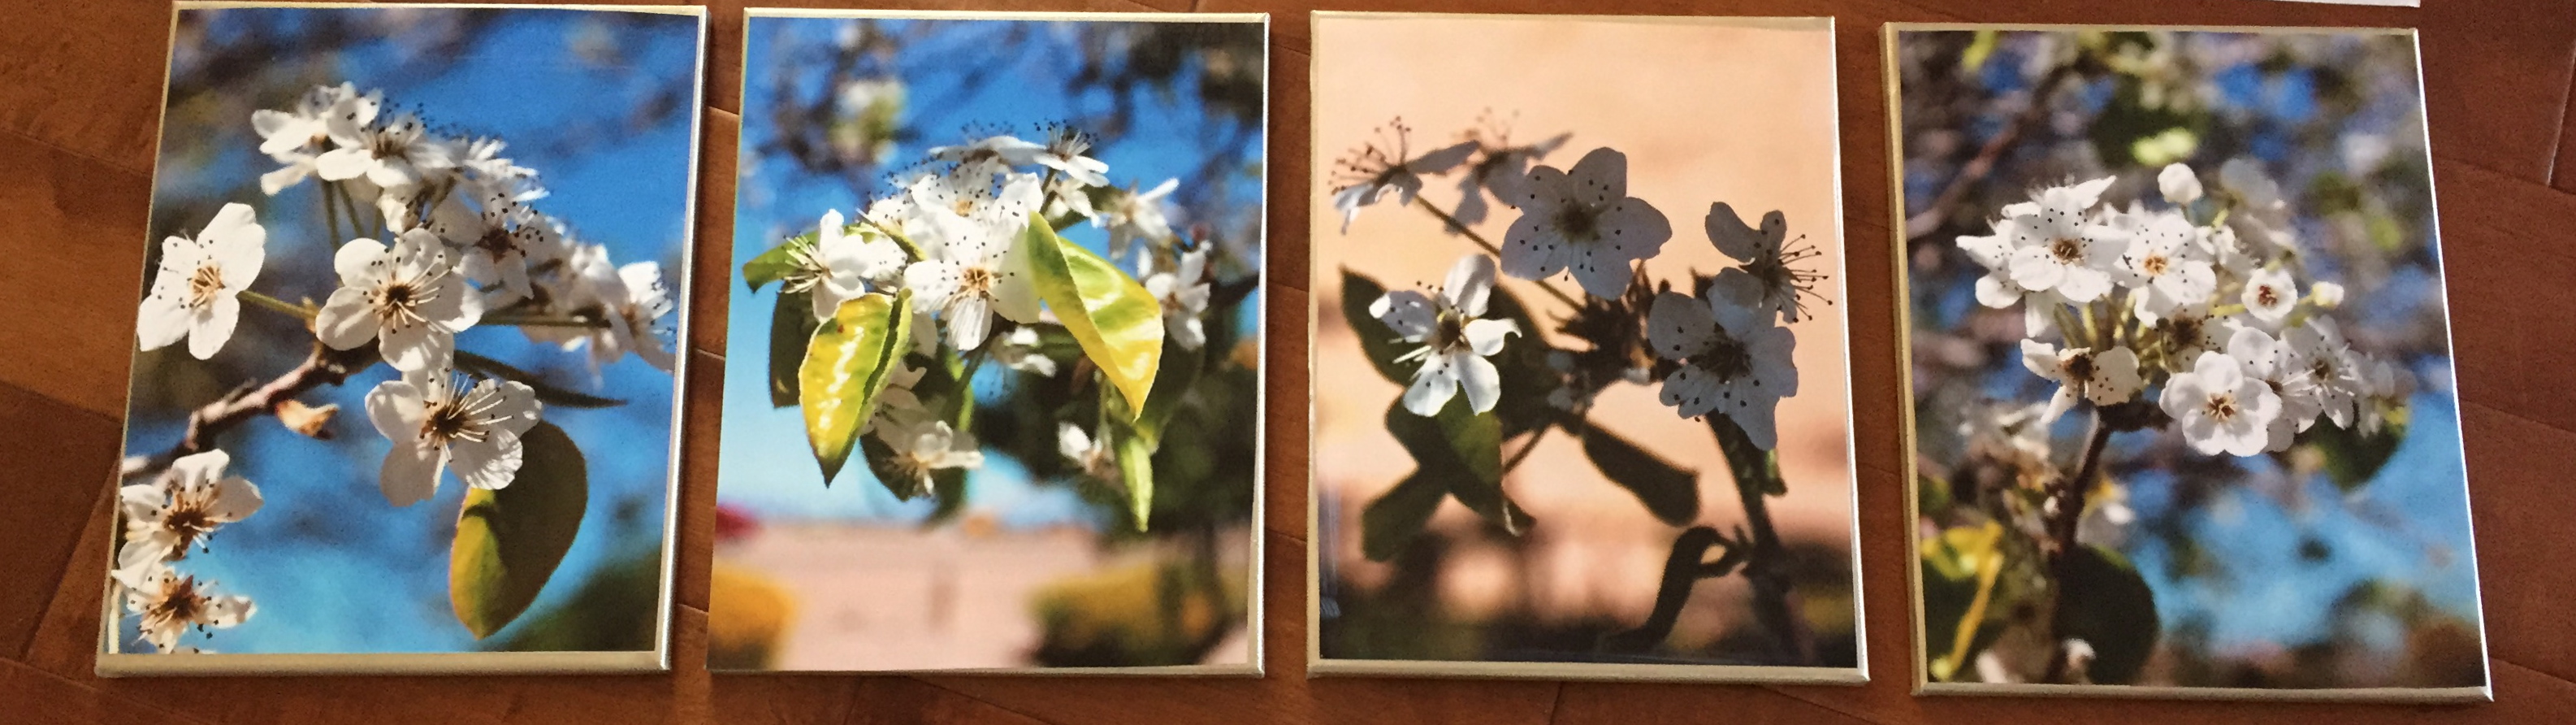
So, all I did for one of a kind kitchen art is food photography or still photography 🙂 I quickly arranged few thing from my kitchen and snap some shots and gave them old photo effect.

It is super easy and here are the before and after pictures.

IMG_0449 IMG_0450
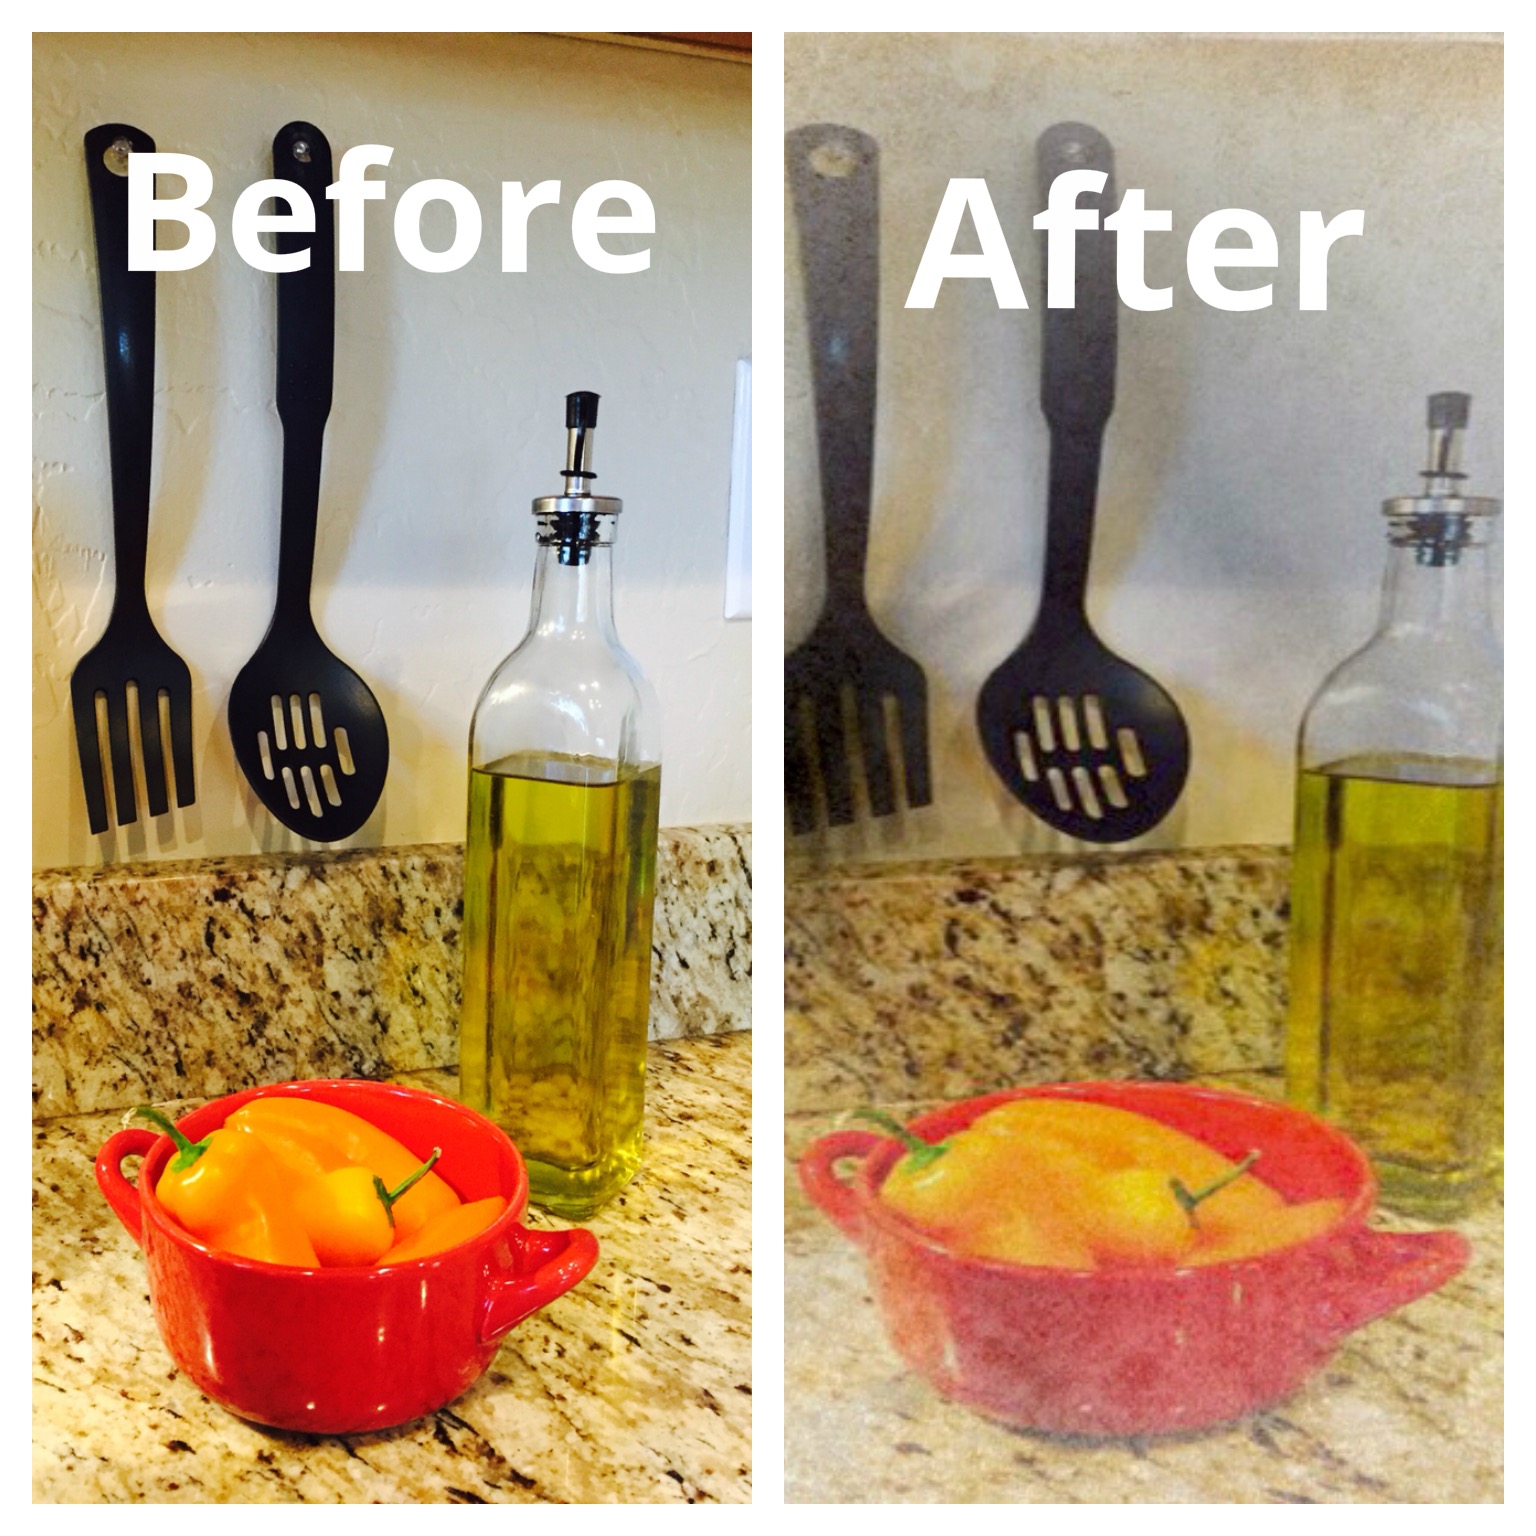
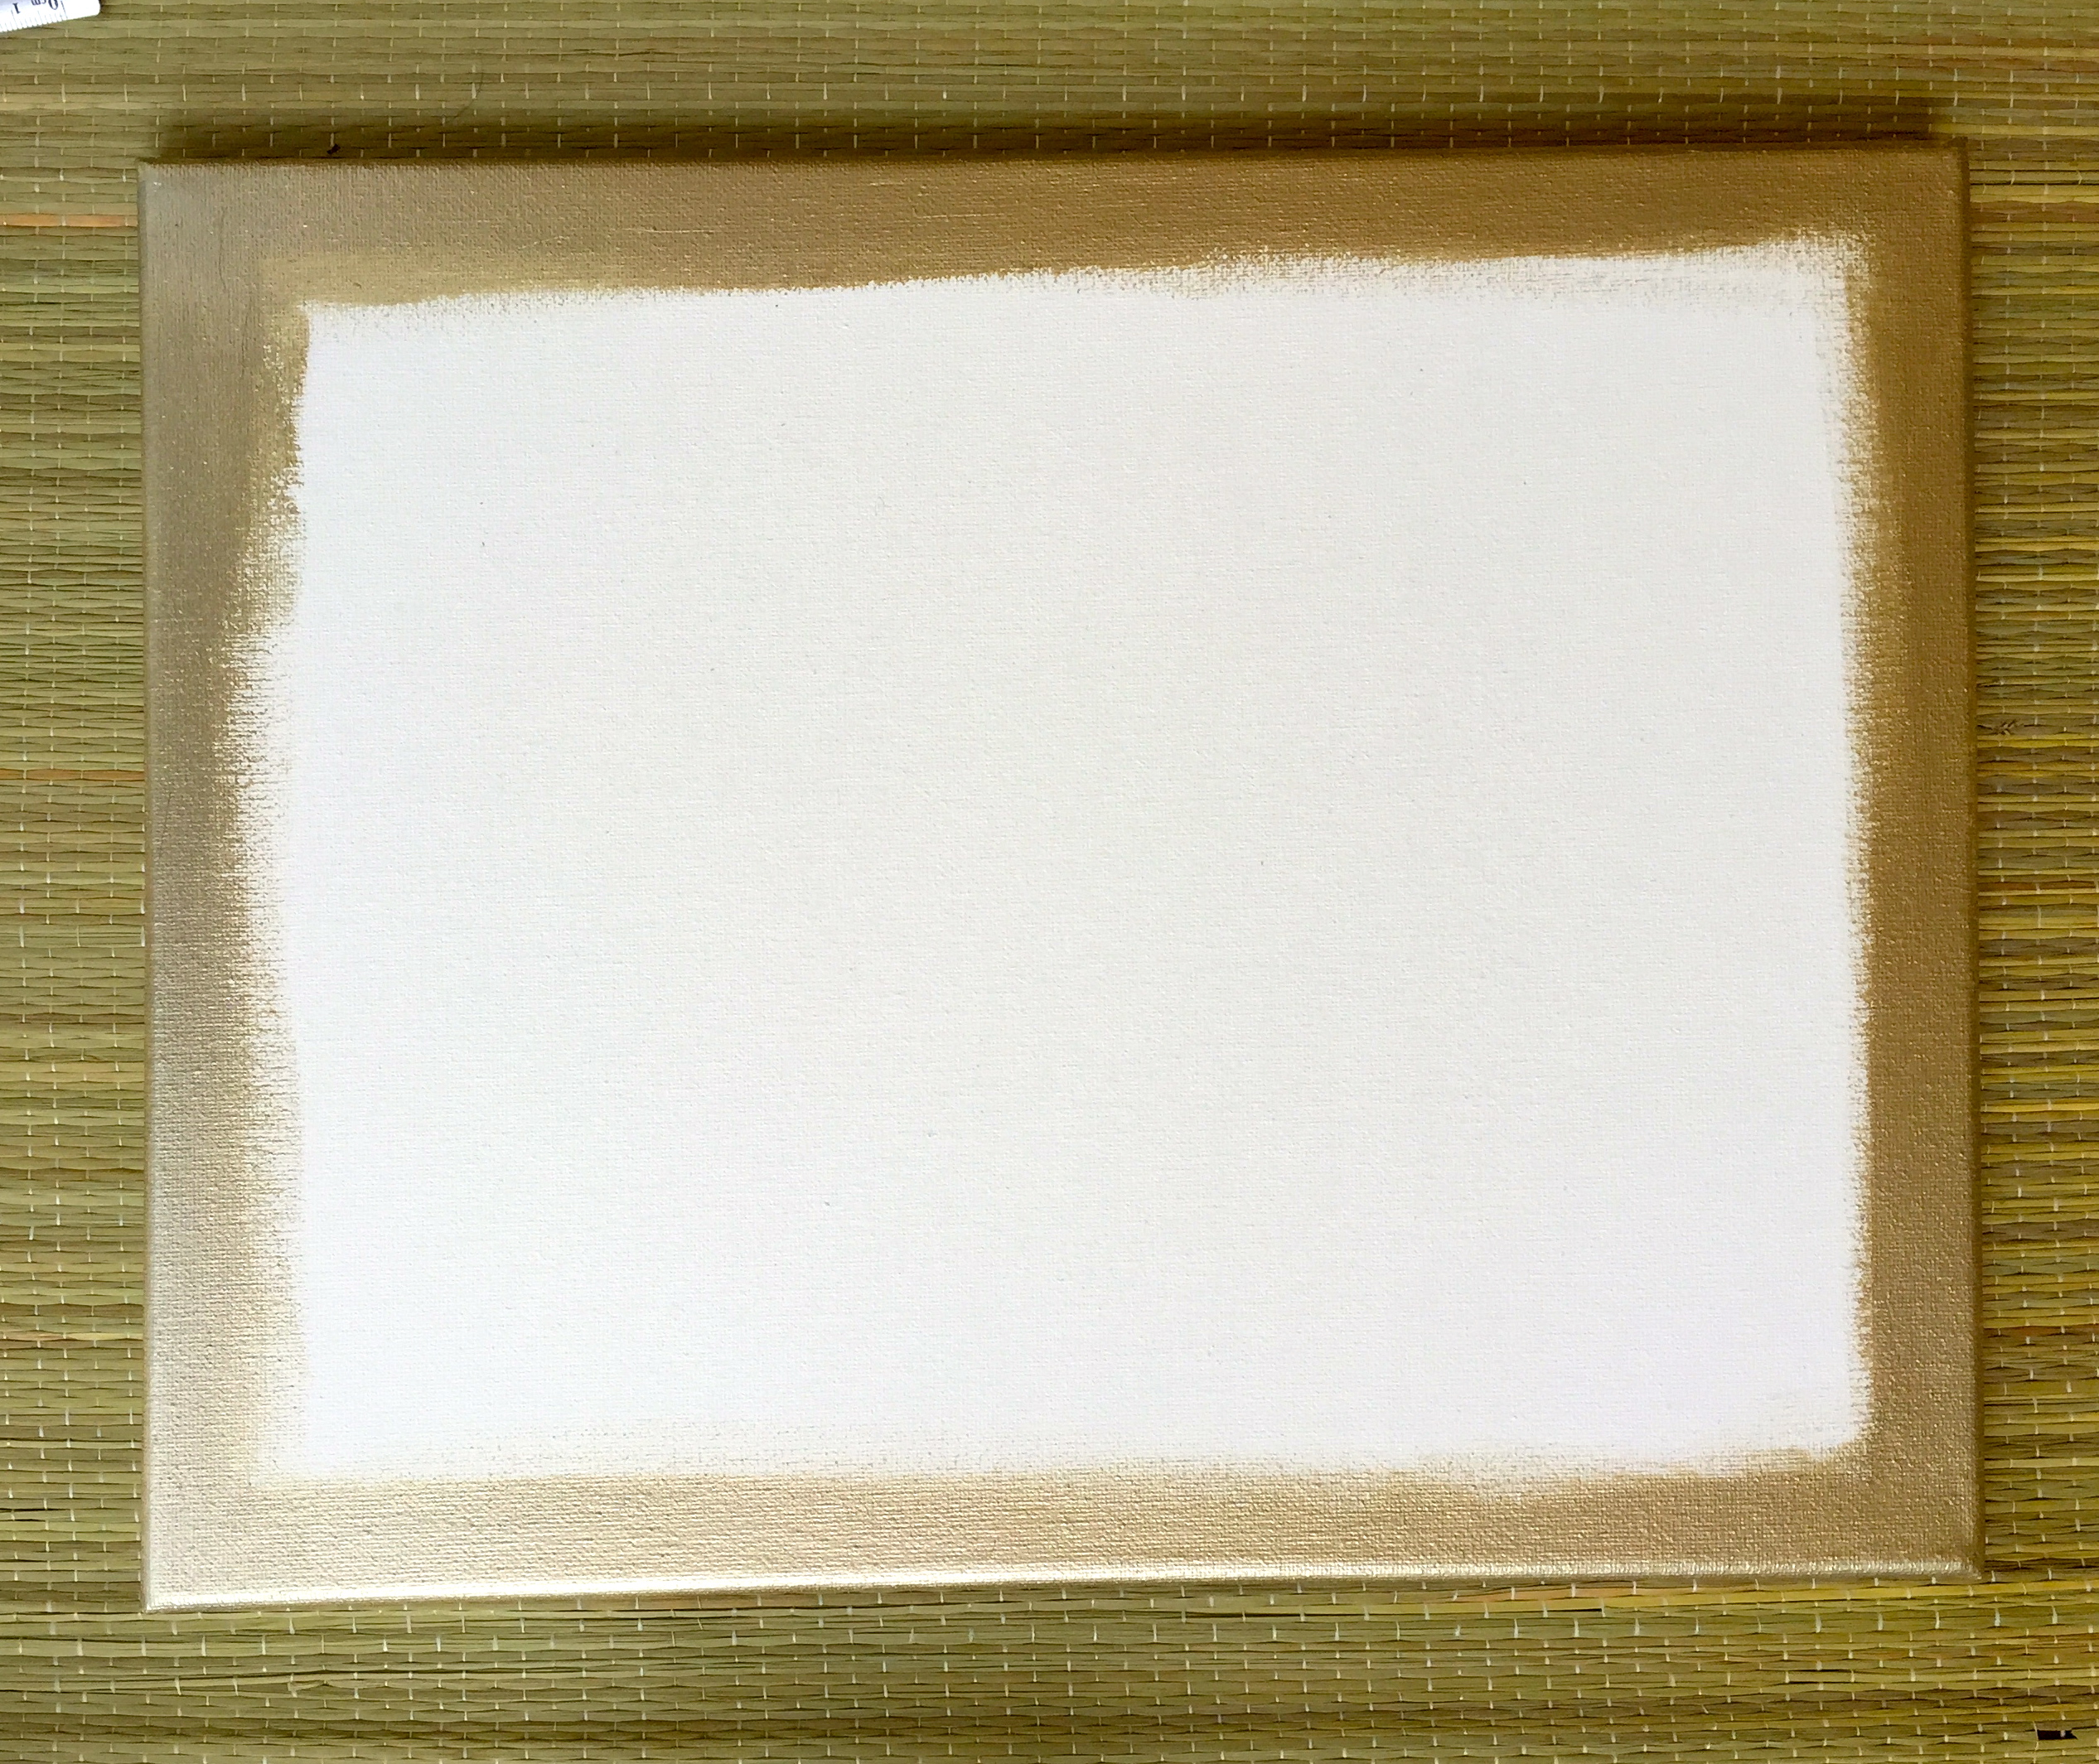
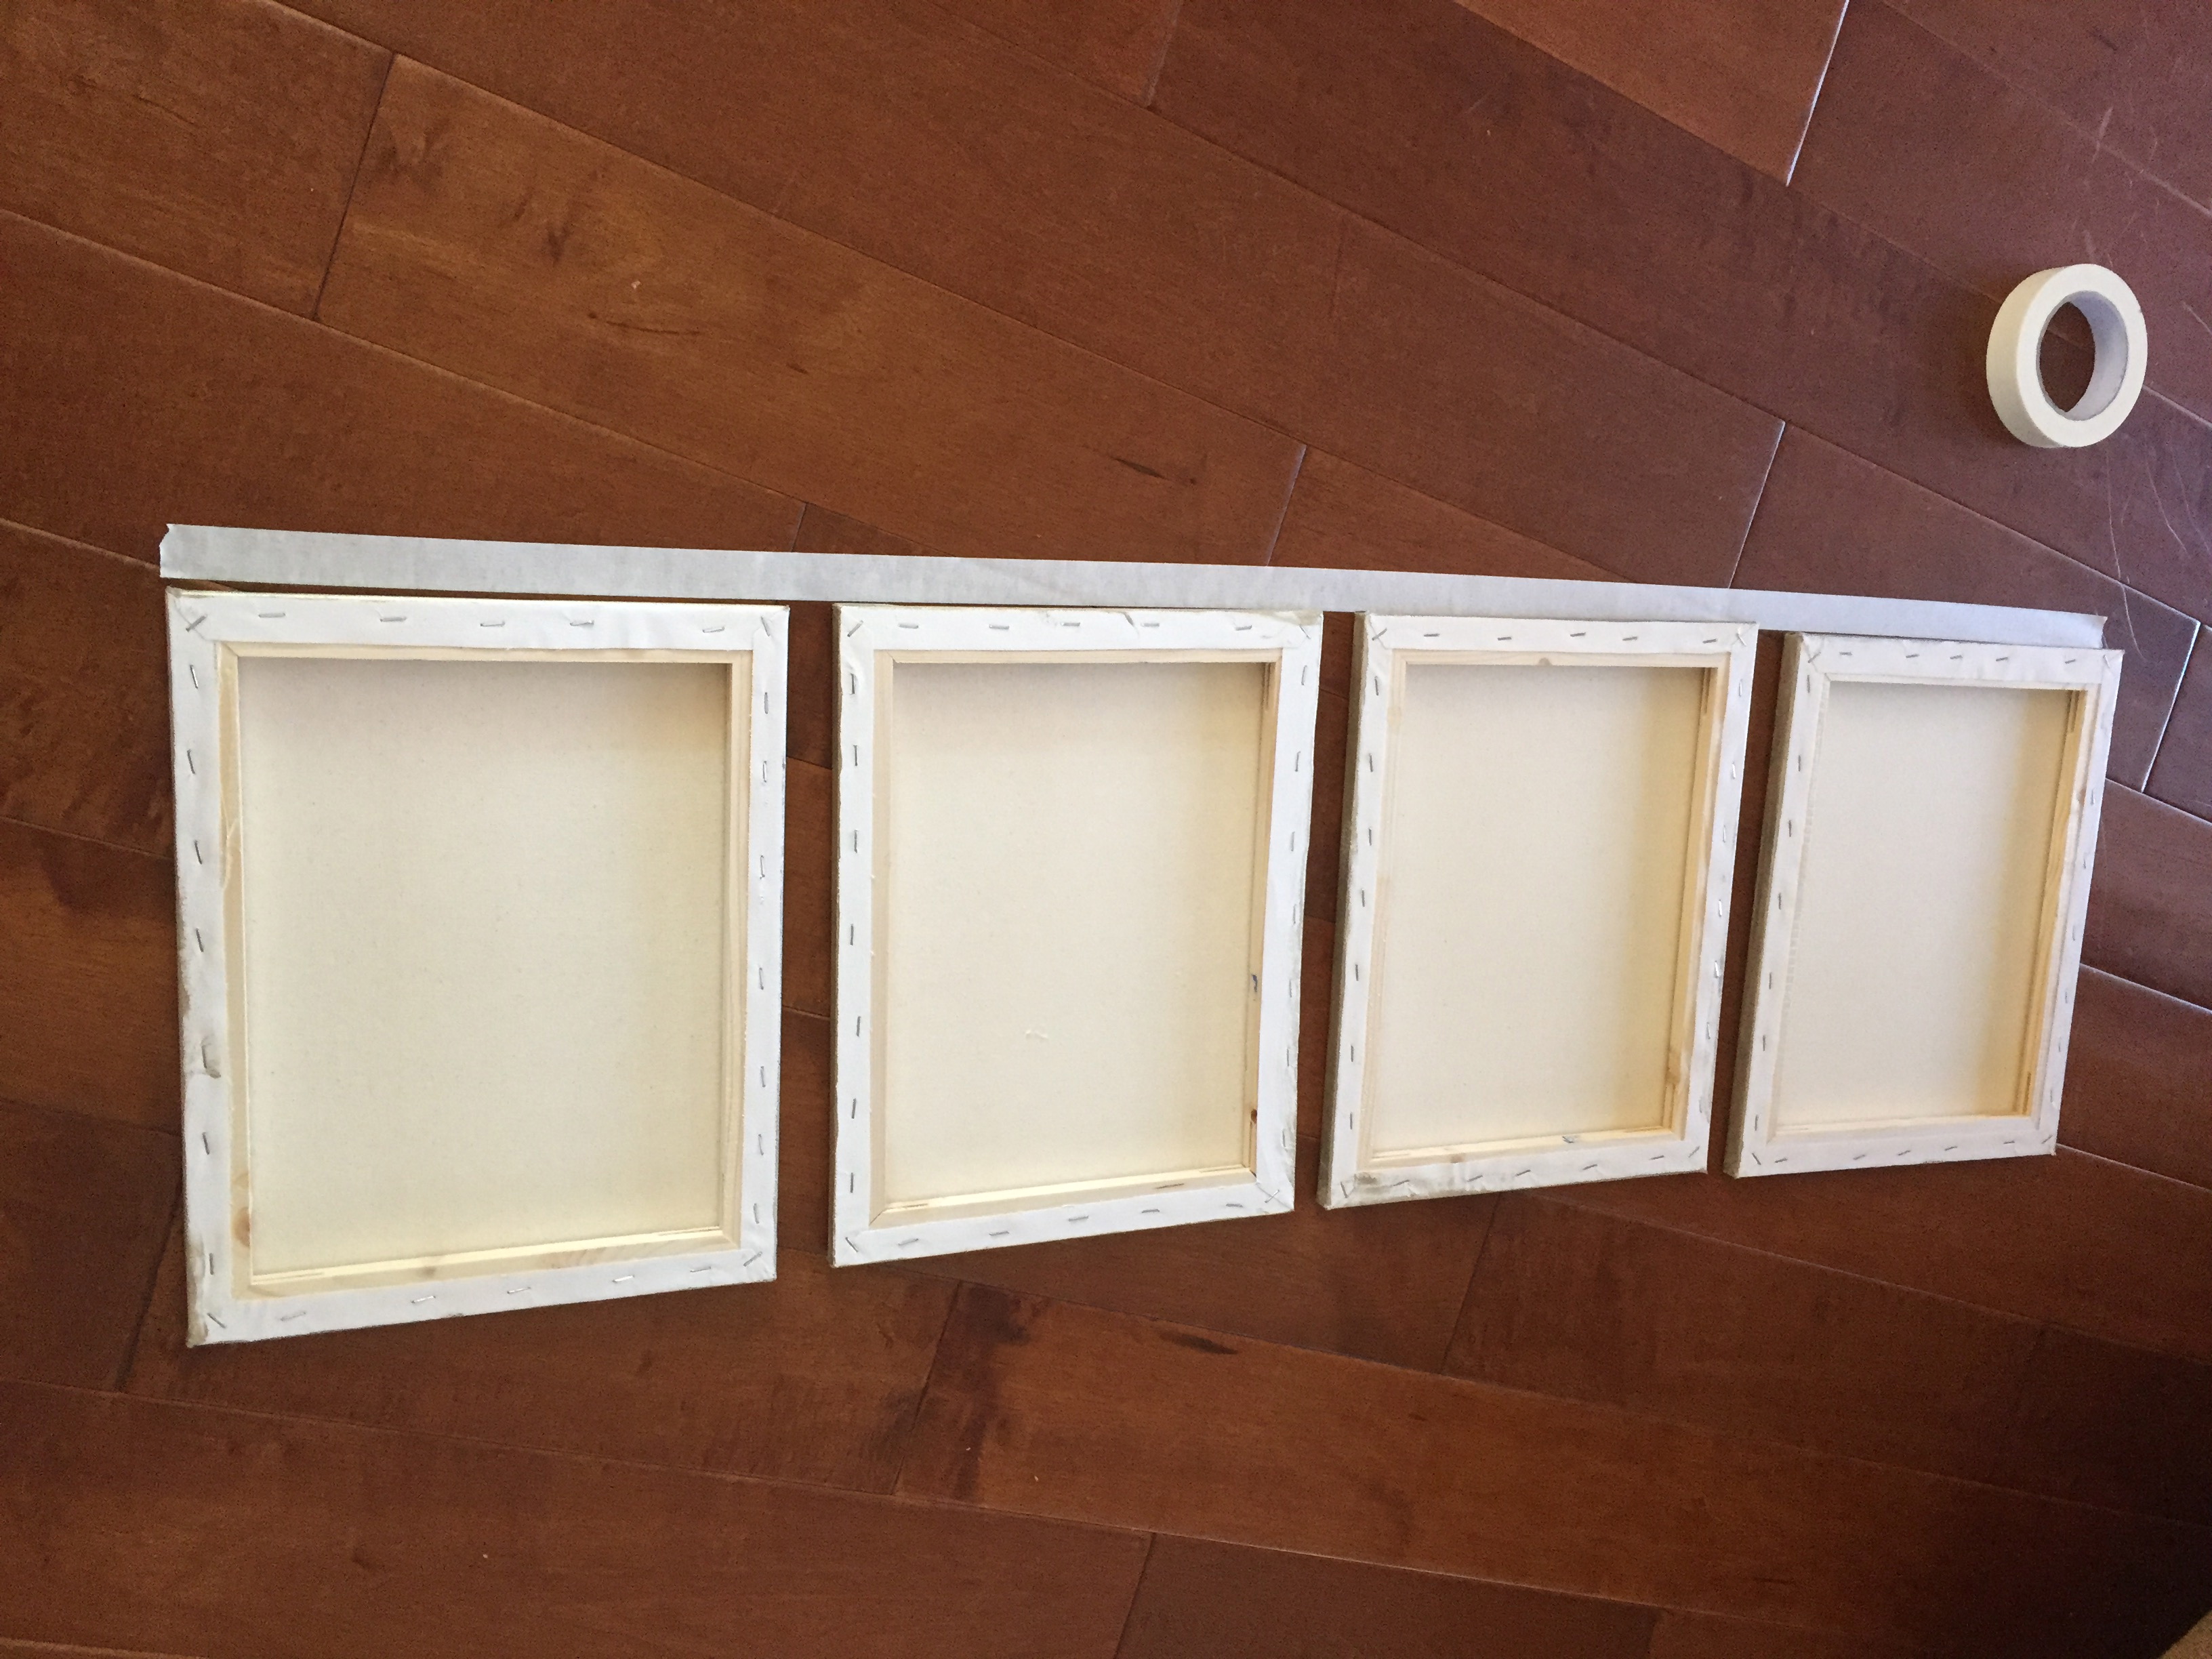
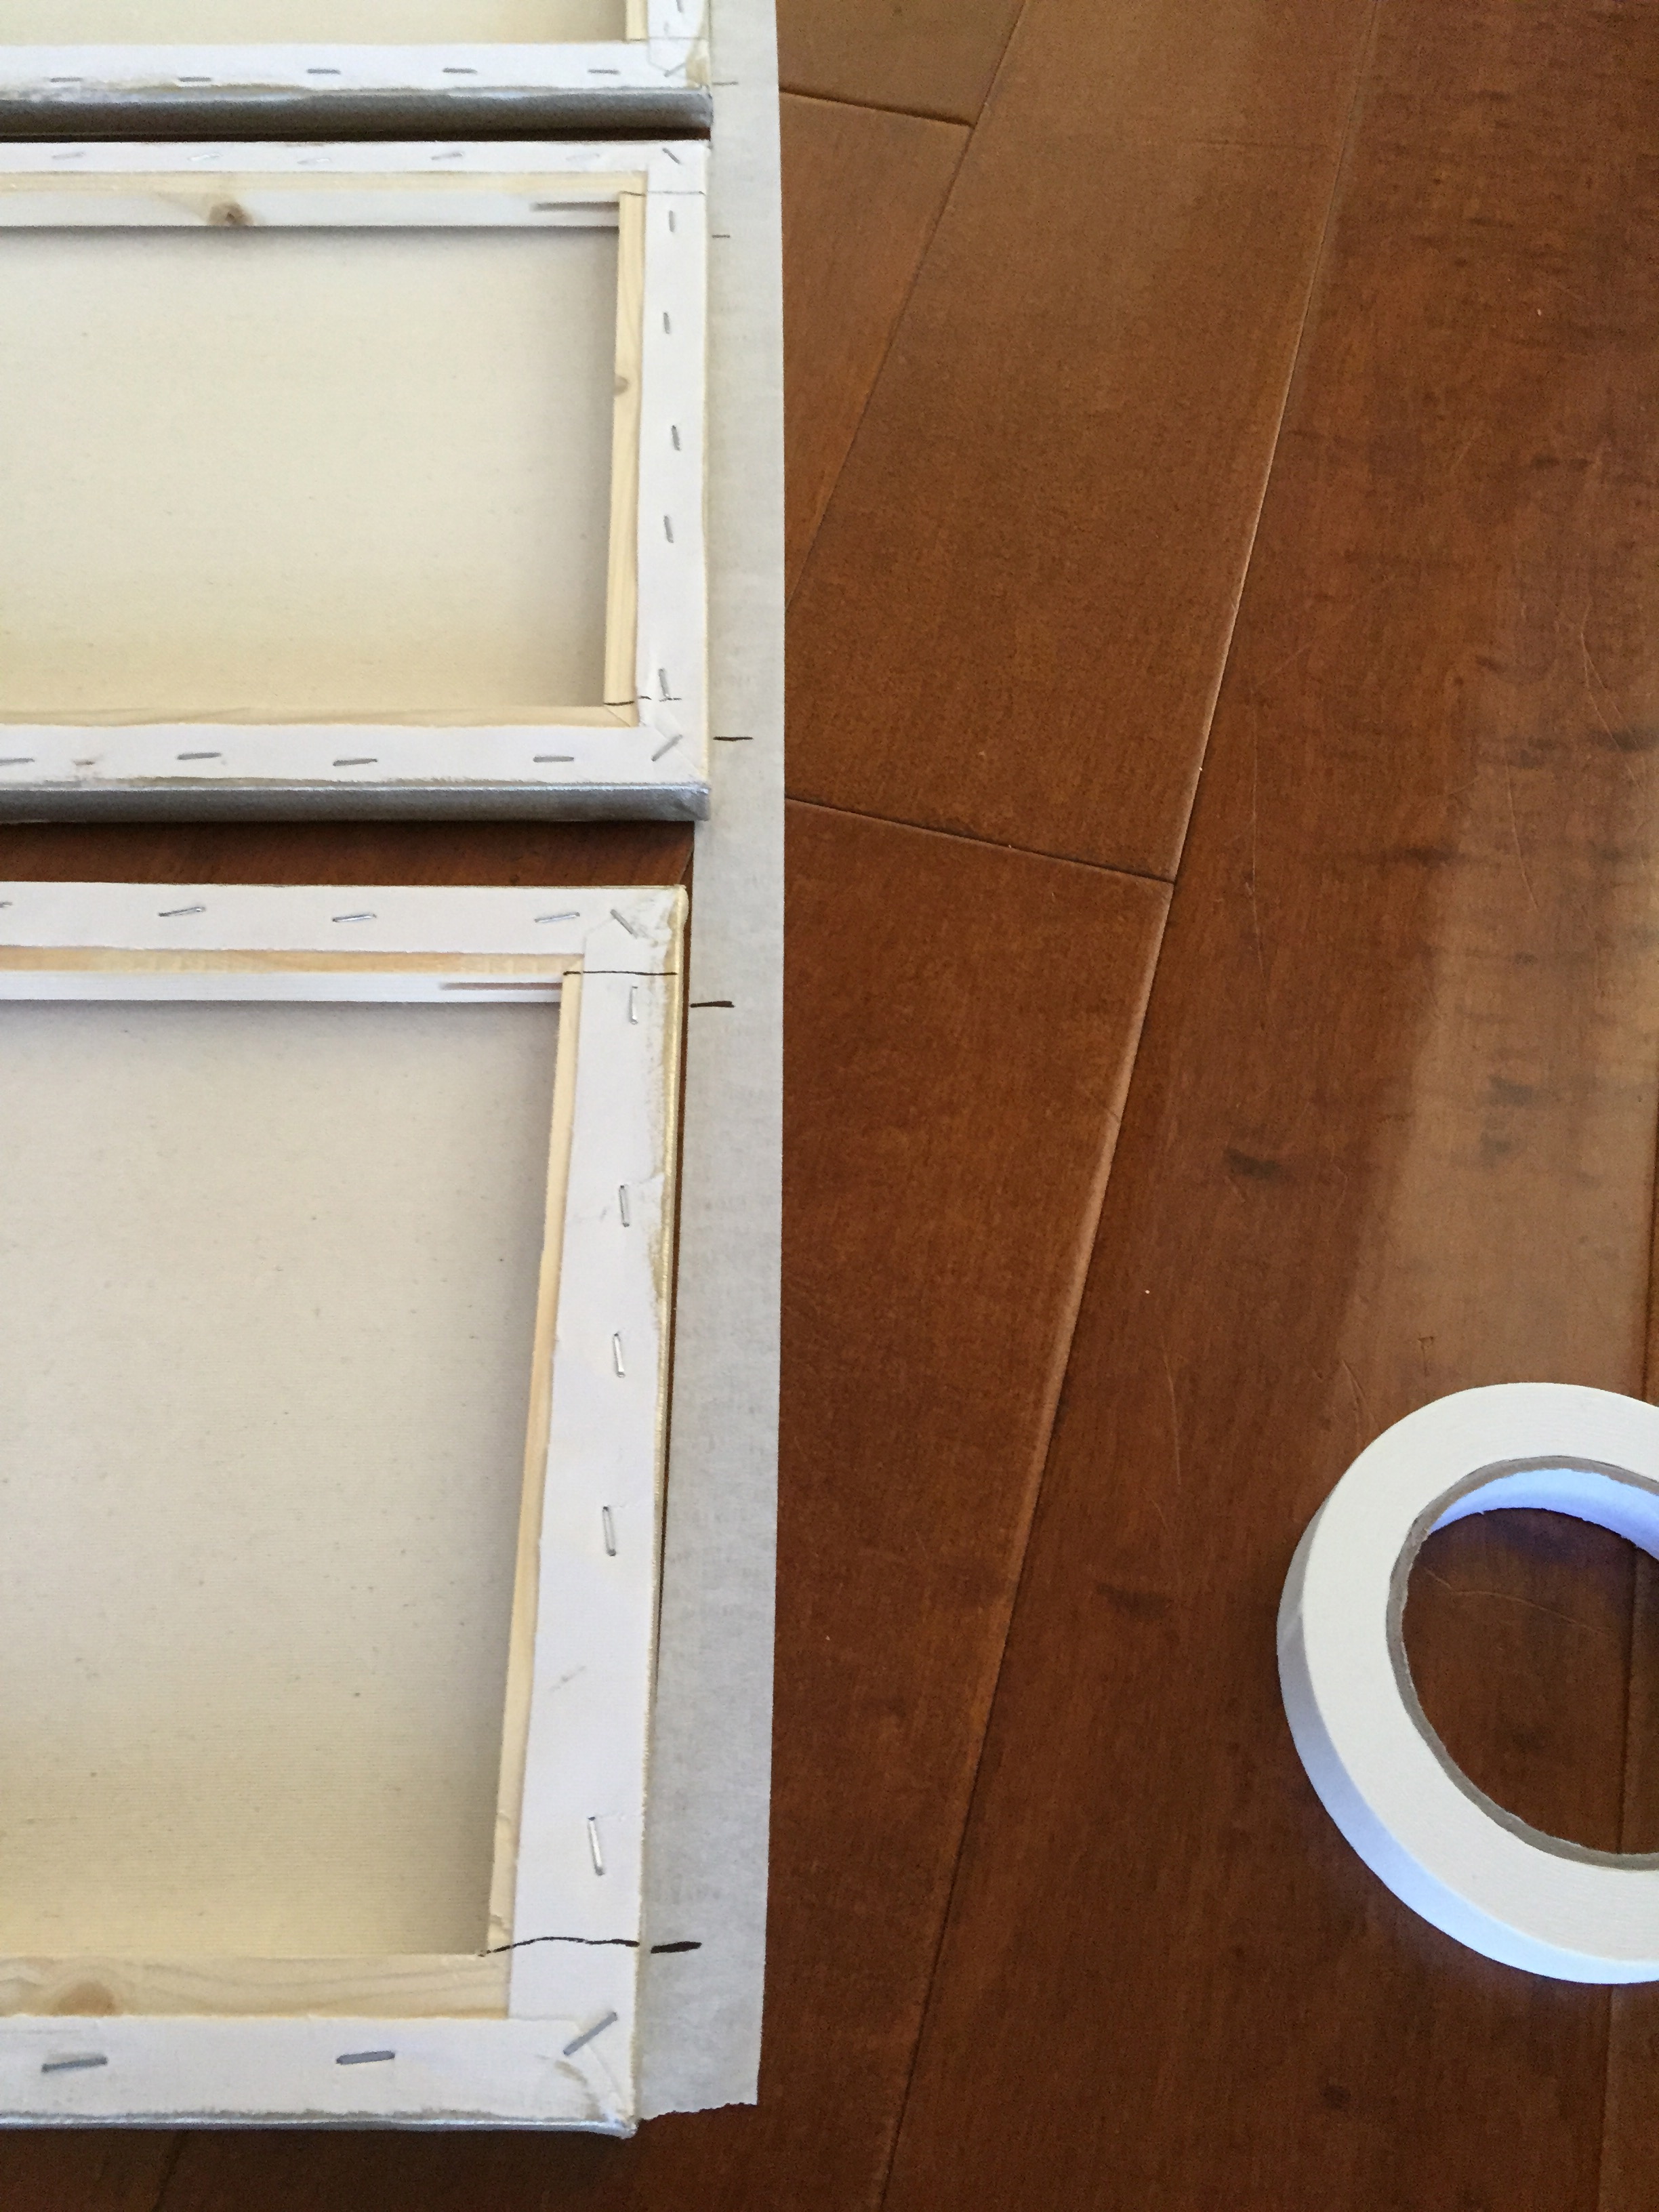
Then, ordered prints @ costco photcenter and mod podge on canvas like I did in my previous posts.

IMG_0846

Isn’t that gorgeous ?? The other piece is coffee tin tray from 99cent store and I used a plate easel to display.

IMG_0848

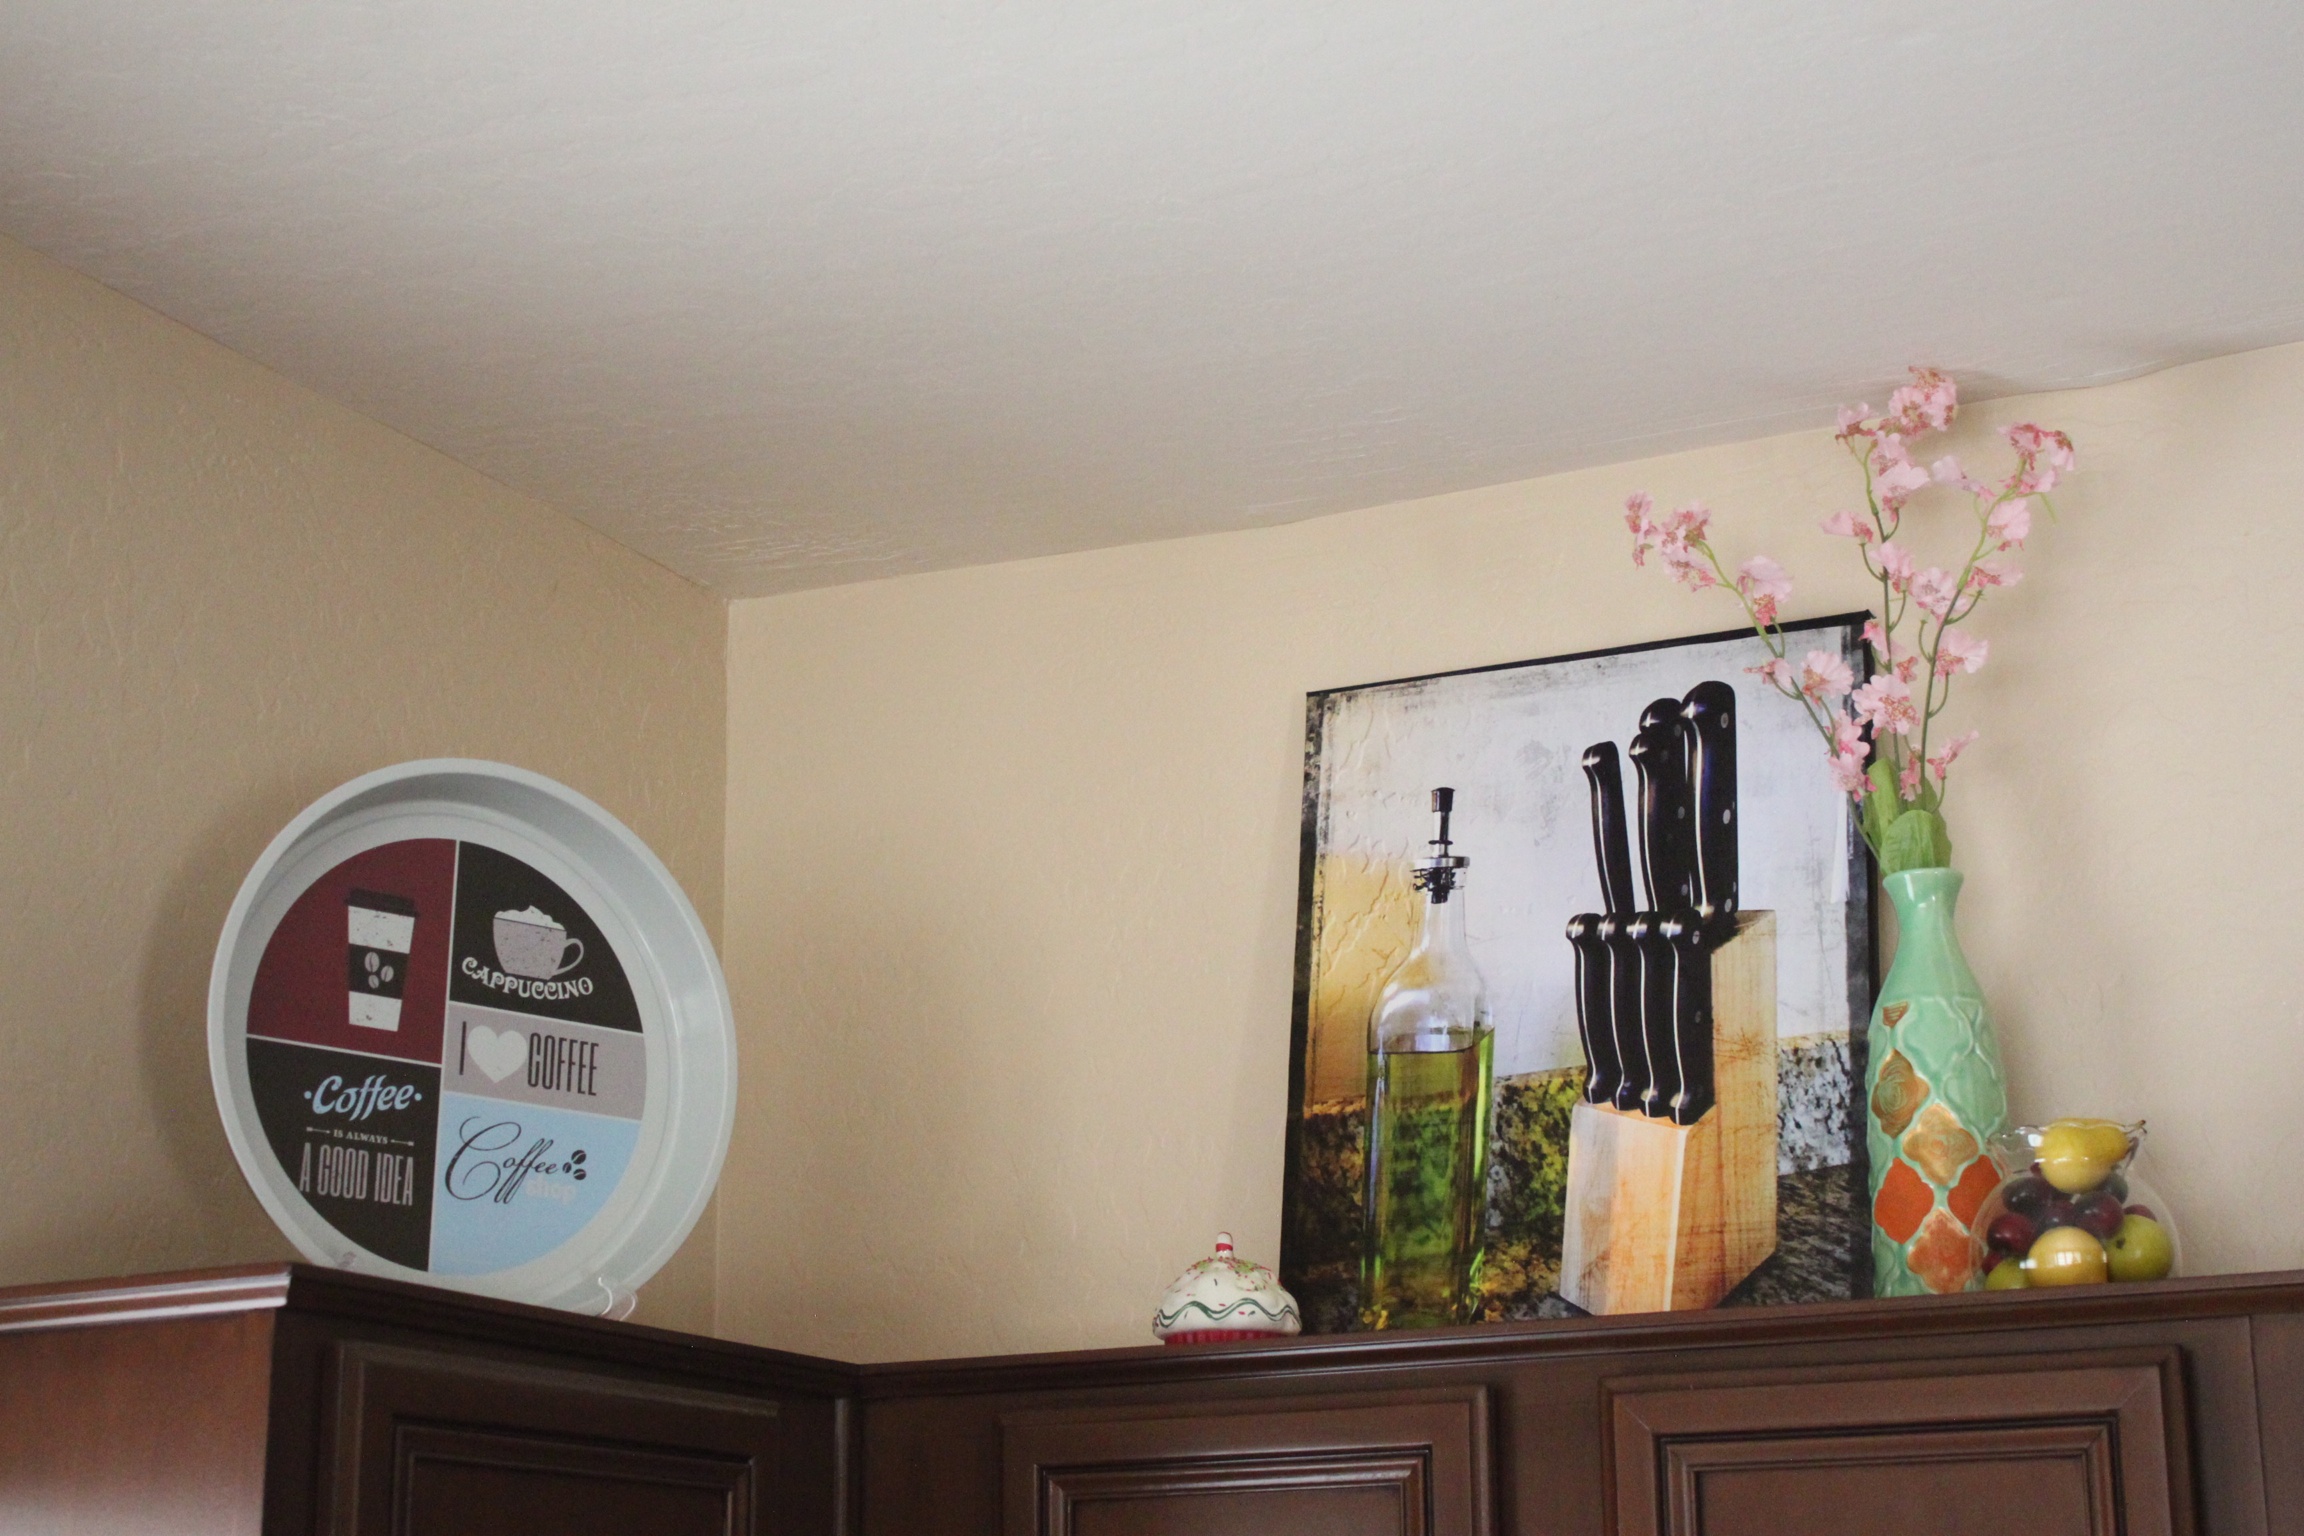
Also for rest of the area, I added a fruit basket, (already on hand) spray painted it black and added faux decorative fruits from dollar tree (already on hand). The cafe wall art is a gift I won @ my friend’ s baby shower fun game activity 🙂

IMG_0849

I kept it simple without spending a lot and they perfectly match the black appliances in our kitchen 🙂

Hope this post will be a bit of inspiration and help you to fill that space above the kitchen cabinets.

Cheers!

Chipotle Bar @ Home…

S and I are chipotle addicts 🙂

We absolutely love the big veggie bowl filled with their fantastic rice, beans, grilled veggies, mild-medium- and a pinch of spicy salsa, a finally top it with a scoop of guac…….

And then the carbs and calories thing makes me way too guilty. So, jus to replace the carbs to healthy protein that is gluten free, a spiced cilantro quinoa is a perfect combination. Well, I have been making this for lunch and dinner for a while now and it may not be quick(takes about an hour) but very easy with little preparation 🙂

Serves – 2

So, start by cooking cilantro-lime quinoa (replacing rice)

1 tsp of Oil

1 tsp of Cumin seeds

1 large clove of garlic – finely chopped

1/4 cup of Quinoa

1/2 cup of water

Salt to taste

1/2 lemon- juice

10-12 Sprigs of Cilantro

In a pan add oil, once oil is hot add Cumin and chopped Garlic. Once they garlic is cooked add 1/2 cup of water.

To it add 1/2 lemon juice, salt and add quinoa and bring it to boil. Simmer and cook it covered for 20 minutes and when it is almost done, add chopped cilantro.

IMG_0870

Black beans soak 1/2 cup of black beans for 2 hours and cook with little salt until tender or use canned beans.

Veggies – Chop red onions and peppers (green or/and red) and sauté on high heat with little oil and salt.

IMG_0876

Salsa – you can find Salsa seasoning mix @ most of the grocery stores and jus add tomato, onions and cilantro

IMG_0877

Lastly, my fav part of the bowl is Guacamole

2 medium sized avacados

1/2 red onion – finely chopped

2-3 Indian chilles/ 1 Jalapeno ( seeds and flesh removed)

1 Lime

12-15 sprigs of Cilantro

Cut avocado and scoop the flesh and add chopped onions, chilled, cilantro and lime juice. Add a pinch of salt and store it in a air tight container.

Tip To avoid avocados from browning – add another half a lemon juice on top and store. When you are ready to use take off the juice, mix well and it is ready to use. 

IMG_0869

Layer it in a bowl and you have a healthy and a yummilicous chipotle veggie bowl @ home 🙂

IMG_0872

Happy Tuesday!

Tip of the week – Giftology from Hallmark

If you have trouble making those cute bows or wrapping a gift in a fancy way or even fill a gift bag with tissues –  here are few videos from Hallmark.

Wrap a stuffed toy like a Gaint Candy

Make a perfect looking Bow

Fill a gift bag with tissues like a pro..;-)

Cheers!

DIY Decorative Pillows!

Everyone craves change –  it can be painting the walls, rearranging the existing decor or even reupholstering the furniture. But, not all of them are budget friendly or easy solution. The change has to be affordable and small, yet bring a great difference.

And something that is easy and quick is adding seating and decorative pillows.

IMG_1456

I was always unsure on how many pillows are allowed on a couch and didn’t want them to fill the place and give no room to sit.

So, after some deliberation and inspiration from these IKEA fabric pillows, I  decided to DIY custom decorative pillows.

Screen Shot 2015-06-16 at 7.20.28 AM

They are not oversized, bulky or take away the sitting place.

 Square – 16X16  —   Rectangle – 16X22.

IMG_1450

To make these cute little pillows you need:

Sewing machine

Matching thread and Needle

Fabric

Poly filling

Scissors

Step 1: Cut the fabric to the desired size – you can do it 2 ways

1 folded piece of fabric  or

2 squares of same size

IMG_1614

Step 2: Check the right side of the fabric and put the fronts together.

For folded fabric – sew 2 sides and leave half of the 3rd side open/un-sewn

For 2 piece fabric – sew 3 sides and leave half of the 4th side open/un-sewn

IMG_1615

That opening is required to stuff the pillow

Step 3: Then pull the pillow cover right side up and fill it with medium of your choice – I used some left over poly fill fiber and filled it 90%.

IMG_1616IMG_1618

Step 4 : Once the pillow is filled  hand sew the open edge with thread and needle. If you are not familiar with basic slip stitch – here is an easy tutorial to hand sew and close the pillow opening.

IMG_2291

And I absolutely love the new look, it is refreshing, has some personal touch and most important tie and blend the room together….yayyyy!!

IMG_1467

Hope you enjoyed this easy and fun project 🙂

Happy Tuesday!

Fabric softener !

Vinegar is my new fabric softener.

IMG_1553

I wasn’t very convinced to have a whole post on this, but I thought it will be useful to share it with all my friends and blog followers.

When we bought our washer @ Spencers,  the sales guys suggested to use Vinegar as softener instead store bought fabric softeners. It seems he has been using from past 20 years and it does increases the washing efficiency. Just not washer, the sticky softener residue fills up the tiny holes in dryer’s lint filter and avoiding it is good for dryers too.

After some thought and looking up online, I decided to give it a try. First time filling the softener dispenser with Vinegar, I was really worried because it doesn’t smell nice. I had many questions – Do I smell like pickles or does my clothes smell like vinegar – Do I have to wash the load again 😉

So, I tried it on a towels and they don’t smell anything like I thought. They are absolutely fresh and crisp. The dispenser looks clean too without leaving any residue.

And I have fresh laundry meticulously folded for the picture.. 😉 IMG_1554 It works great for infant, baby and toddler clothes because it is natural way to cleaning. They may not smell refreshing like actual softeners ( that fresh scent) but are safe and chemical-free.

Thank you for stopping by!

Clothespin Wreath!

For some reason my laundry room was ignored. The walls are empty, top of the storage cabinet need some decor and overall it needs some paint (to brighten the room)!

Well, “Project Laundry Room” has to start with something and here it is 🙂

IMG_0842I love this Pinterest inspired clothespin Wreath and most important it is related to this room 😉

If you decide to try your hand at this easy peasy project, all you spend is $4 and 30 minutes.

You need:

Clothespin  – 2 packs of 36 from Dollar tree – $2

12″ Cardboard Wreath – from carton box already on hand-$0

Faux flowers  from Dollar store – $2

Yarn/Twine/Ribbon – already on hand – $0

Cardstock and a metallic sharpie – $0

How you make:

Start by cutting the cardboard in the shape of wreath.  Pin the clothespin around the cardboard wreath working in sections. You may need less or more depending on the size you create.

IMG_0837You can pin them straight and flat or try different patterns.

IMG_0838

After clipping them all, it didn’t go well with our dark storage cabinets and I decided to stain.

To stain and change the color of the wood, I added a pinch of black and brown acrylic to water and stained to get a little darker shade.

IMG_0839

Lastly, since this is going to be in the laundry room made a little triangle bunting. To make the bunting I’ve chosen a dark color card stock and a piece of yarn. Used the silver sharpie marker to write down the letters on each triange.

IMG_0840

And with the 2 cute faux flowers, the wreath is ready to hang it on the wall or door.

Image

Isn’t that easy and that little stain has such a great difference and it is just perfect for that room:-)

I can’t wait to finish the rest of the projects and have the pretty laundry room I was hoping for!

Happy Crafting!

Kitchen Wall Art!

I cannot wait to share another Modpodge and canvas project and this time it is for Kitchen 🙂

Image

Who doesn’t love kitchen decor quotes that are encouraging, humorous and fun.  And this one is just perfect!

So, when I first saw this wall decal I was very excited to order one but it didn’t take long to realize that there is no room for wall stickers in my kitchen 😦 I was disappointed, then after a little thought something popped –  why not a wall art?

That’s it, took a screenshot of the picture from google images, cropped it and changed the effects to old photo and antique look.

IMG_0820Ordered the prints @ Costco (11X14), picked it in the evening and while my dinner was getting ready I made it. And in 15 minutes I have it to hang on my kitchen walls 🙂

And with material already on hand the total cost of the project is $4 🙂

Image 2

The process is very similar to my previous post “DIY Canvas Wall Art

The only difference is here I painted the edge of canvas black to match the old photo look of the photo print. Also, it matches our kitchen appliances 🙂

FullSizeRender

While the paint is drying cut your photo to fit the canvas may be 1/4 inch less.

Image 1

Add a layer of Mod Podge on to the surface of canvas.

Image 3

Position the photograph on the canvas well, it should lay flat without any air bubbles.

Image 4

To keep the glossy look I skipped adding another layer of Modpodge over the photo 🙂 Let it dry.

And Tadahh….. a beautiful handmade piece of art is ready!

IMG_1469

If you don’t have room to hang on your kitchen walls place it on top of kitchen cabinets or countertop like here 🙂

IMG_1473

Isn’t that fun, fast and cheap 🙂

Happy Crafting!

Scrambled Tofu Puffs…..

Scrambled Tofu is my new favorite because of low calories, gluten-free, less fat and high protein. I always look new ways to use it and make it different

If you perceive it as bland and uninspiring thing, then this recipe will change your perception and you will love it!

IMG_0965 These puffs are super delicious and can be a great appetizer for large gatherings 🙂

Ingredients

Extra firm Tofu

1 tbs olive oil

1 large garlic, minced

Sweet peppers

Red onion, finely chopped

Spices of your choice

Coriander for garnish

How you make

Step 1: Start by crumbling the tofu into a small bowl. It needs moisture so do not squeeze out the water.

Step 2: To it add some salt, pepper(or other spices) and finely chopped sweet peppers.

Step 3: In a pan add olive oil and once heated add the minced garlic and chopped onions and sautee until soft and translucent.

Step 4: Add the crumbled tofu mixture and cook on medium flame for 10 minutes.

Step 5: Garnish it with some coriander and let it cool.

Step 6: Thaw the puff pastry sheets and cut them in desired size and stuff with scrambled tofu.

Step 7: Bake @ 425 F for 12-15 minutes

And you have delicious appetizers ready to please your guests 🙂

Cheers!

Happy Monday!

IPhone Photos to Canvas Wall Art!

When you take pictures on your iPhone, do you do anything with them?

I am sure this project will be a great inspiration to convert some of your best shots into a gorgeous canvas panel art! And it is super easy that anybody could do it and I mean it!

IMG_1274

The flowering pear blossom is from our backyard clicked from iPhone6. They came out so beautiful that I was itching for a project. It was a perfect timing too to makeover our guest bedroom (family visiting for Memorial Day weekend).

This easy canvas art projects are all over Pinterest, but I loved mine so much that I have to share it with you all 🙂

Project cost –  $25    Time – 30 minutes  

Material 

Printed photographs (mine 11×14 @ Costco) – $16 for 4

Blank Canvas @ Michaels –  $12 for 7 canvas pack (40% off coupon)

Modpodge (any craft store) already on hand

Foam Brush/ putty knife

Optional –

Acrylic Paint

Paint Brush

Craft Knife

IMG_1269 IMG_1265

Step 1 : Paint the edge of your canvas (color of your choice). This is optional, however painting the edges would surely give a finished look. I used Metallic Silver acrylic paint.

IMG_1253

Step 2: While it is drying, cut your photo to fit the canvas or for colored edges may be 1/4 inch less.

IMG_1254

Step 3: Add a layer of Mod Podge on to the surface of canvas and a layer to the photograph.

Position the photograph on the canvas well, it should lay flat without any air bubbles.

IMG_1255

Step 4: Now add another layer of ModPodge over the photo. Make sure it is evenly covered and do not panic it dries clear.

IMG_1256

Step 5: Leave it for 30-60 mins to dry.

IMG_1257

Now the challenge is to hang them straight 🙂 If you remember my “Tip of the week” , I am going to use the same tip with little modifications to have them perfectly placed on the wall.

Place the frames/canvas you want to hang, upside down in the pattern of your choice. Then take an equal length of painters/masking tape and stick it along the borders.

IMG_1258

Using a marker, mark along the keyholes (right edge and the left edge) of the frame/canvas.

IMG_1259

Take off the marked tape and stick it on the wall you want to hang your pictures.

IMG_1261

Drill holes as per the marking. If it is a heavy piece use hollow- wall anchors. For canvas, I used pushpins.

IMG_1262

Hang the pictures/frames, make sure they are straight and take off the tape.

Tadahhh……..

IMG_1277

This is a simple, quick and an awesome wall decor to fill those empty walls and most important requires less time and low spending.

Happy Friday!

DIY Napkin Holder

This easy and a handy napkin holder is a fun project to keep your kids busy indoors during sunny days and an easy way to involve them in making something that is practical and looks nice too 🙂

Over time, they will enjoy a sense of ownership in watching how functional it is 🙂

IMG_1158

To create this, you need few supplies and little imagination.

Craft sticks – 8

scissors

Elmer’s glue/ Hotglue gun

Start by cutting a craft stick into half. That makes the base of the holder

IMG_0943Take 4 sticks and cut one end to make the base flat

IMG_0944Glue 3 sticks horizontally to two craft sticks

IMG_0946Then, glue the base – the 2 half pieces

IMG_0948Glue the remaining 2 pieces vertically at the other end of the base sticks

IMG_0950Isn’t that easy and quick 🙂 And it matches my Repurposed Silverware Holder!

IMG_1094

Cheers!

Cooking Without Limits

Food Photography & Recipes

Travelling Krishnaite

Shekhar Srivastava's Blog

Live-😊-Life..

"It has everything in little as a HAPPY package!!"

DesiCrafts

A blog Dedicated to Indian handicrafts, Fabrics and Supplies

Fulgorine

My adventures with art and polymer clay

The Beaded Bazaar

Polymer clay creations

Learn Polymer Clay

Inspiring you to explore your creativity and get down to work! A great collection of Free Polymer Clay tutorials

Wear the Ducky Tie

A Sewing Blog

sewmanju

Make your own style

SEW KATIE DID

because thread is the best glue.

The Crafty Coup

Finally, you're here! Let's make something!

The Daily Post

The Art and Craft of Blogging

WordPress.com News

The latest news on WordPress.com and the WordPress community.