DIY Glass Markers!!

Well, I am repurpose/recycle spree!! 😉

I am sure many of us would have been in a situation where we run out of glasses and and the used ones are sitting around empty.

Wouldn’t it be fun to have a glass marker and guests  picking a design of their choice. I think the  markers and charms are not only for beer mugs and wine glasses, they work great for water and juice glasses too.

I have a ton of rubber bands, because we get a pair for every purchase of Asparagus bunch.  Few I trash or sometimes replace them with sealing clips :-). Still can’t get rid of them.

That’s when something popped into my head and couldn’t wait to try. So, I soaked the bands in soap water for a while, washed and pat dry. They look perfect.

IMG_0494

 Since they are all blue, using a silver sharpie marker made some cute designs and it makes easy for guests to remember their glass.

And if you prefer hand wash like me, you don’t have to even take off the bands 🙂

I hope you enjoyed and if you have rubber bands on hand make them for  your next party or fun gathering with friends !!

Happy Friday!!

Tip of the week!!

Its Thrusday and I am here with a cool tip from Pinterest.

Who doesn’t like a clean car?? Having a trash bag helps in keeping it clean. But it can be annoying if the bag is tipping over in the car.

The best way to handle this is to use a command hook or suction cup hook. Simply hook the handles of a paper bag and keep changing the plastic bag whenever it is filled.

Screen Shot 2014-07-17 at 9.08.30 AM

Happy Thursday!!

Reuse or Recycle!!

Recycling is a great habit.  Reusing is more fun as you tickle your mind with ideas.

Especially, when you clean home you will find all those fancy stuff you haven’t trashed assuming you will use it one day 😉

So something like that happened and I found iPhone box. I love Apple products, they not only design beautiful products, but their packing is also eye-catching. They use nice white boxes and very sturdy.

So, I kept it aside and brainstormed for a while on how it can be used.  The first thing that came up was to use it to store jewelry. But I wasn’t comfortable in just dumping the stuff and create clutter.

Then after a while  a fun project popped in my mind. Yes, “Travel Jewelry box” and  since I am repurposing, I wanted the rest of the material used also be recycled material or something you otherwise trash.

And the result is this handy little jewelry box to easily stow in your purse or suitcase.

IMG_0475

Isn’t that fun to make, you can carry few earrings, rings, a bracelet, a chain and a watch too 🙂

Though it took a while for me to figure out the materials,but once you have all of it gathered,it is doesn’t take more than 30 minutes 🙂

The first thing is go and search your phone box 😉

Step 1 : Empty all the stuff inside and keep the base and top and the thin plastic lid is optional. However, it acts as an extra cover.

IMG_0476

Step 2: Now time to create a compartment/divider, that helps to store all types of stuff. It is optional to have the divider. You can just make a rings & ear stud holder.

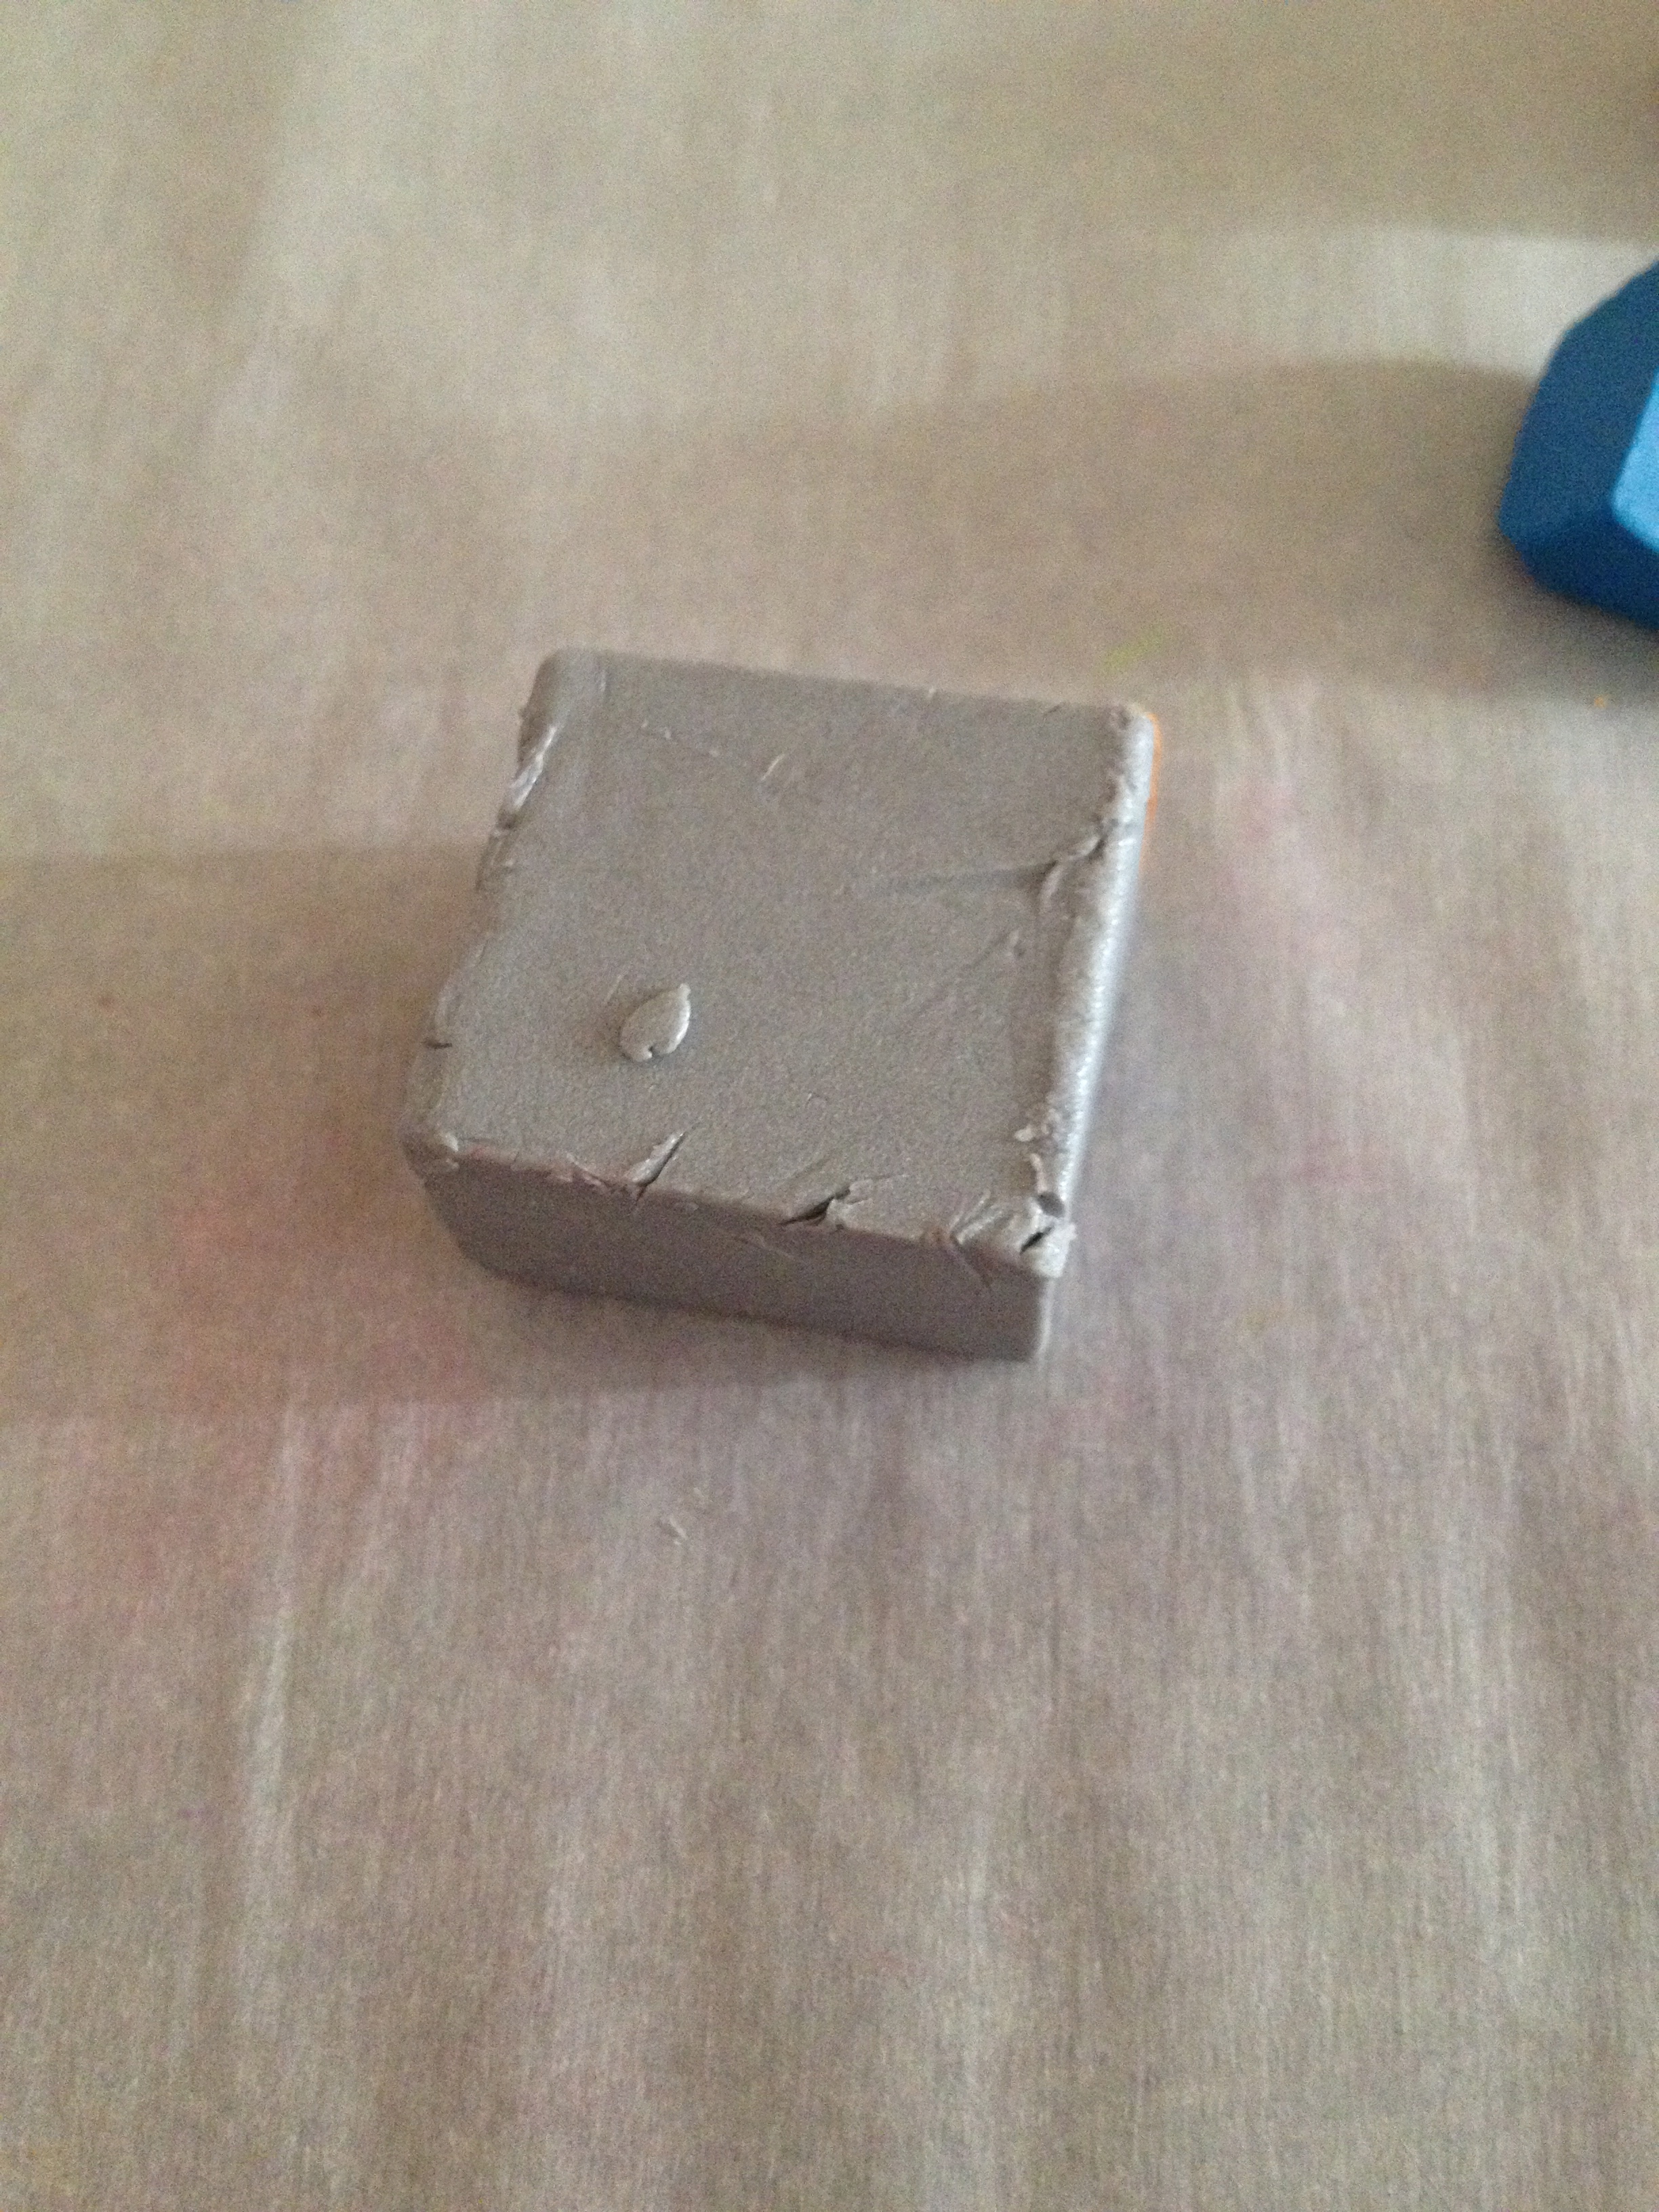
For the divider I took a piece of floral foam brick(already on hand) and cut it to the size of the box. You can also use a piece of thermacol or and old id/credit card. I used a contact paper/self-adhesive sheet to cover it.

IMG_0477

Step 3 : Creating a crease to hold the studs and rings. I used a packing foam sheet(already on hand). Cut the foam sheet little larger because I wasn’t sure of perfect rolls. Once rolled, glue the ends. Let it sit for a while. After drying take all the foam rolls and trim of the edges with a kitchen knife. Now place the foam rolls as shown below.

IMG_0478

I was quite happy with the natural foam color as it matches the jewelry case, however you can always lay a layer of felt or matching fabric on top. Make sure you keep the creases as it is important to hold the jewelry in place.

Step 5: Now push the foam rollers and stick the divider base making sure you don’t have any vacuum.

You can as well add a nice button/acrylic bead/ bottle cap on the top of the box. Since I wanted to use this as travel case, I  prefer it plain.  Just to make sure I open the box easily, added a piece of t-shirt fabric to the bottom of the box( as shown in the below pic)

Step 6: Lastly, you don’t want it to look like a phone box so cover it with self-adhesive liner(already on hand or you can buy from dollar store @ Shelf liners section)

IMG_0479

Ta-dah!!! My new love and something cute to show off  jewelry.

IMG_0483

Have a great day!!

Paint Chip wall art!!

After my last paint chip wall art, which was quite simple and cute, I felt time to make something better and bigger 🙂 Weekend I was at HomeDepot and found a really cute shaped paint chips and I couldn’t resist to grab a few.

Since I wanted a bunch of them in different colors, this time I asked one of the associates and her response was “Sure, are you planning a paint chip DIY”. Hehe, no wonder if I see a price tag or a board that says more than 10 paint chips pay 1cent each 😉

Anyways, this is how my new paint chip project looks and it costed me nothing, absolutely no price involved 🙂

IMG_0466

Isn’t that pretty, and also since we don’t own this home I wanted something that is mess free and can be reused.

All you need for this project is some paint chips (free from home depot) & I used painters tape(already on hand).

IMG_0468It took a while to decide on the design. Since it is a larger area I wanted to create a design that fills the wall.Once you are sure of the design time to place them on the wall.

IMG_0469

So, I took a piece of tape approx 3 inches(sticky part has to be on the fingers) and fold both sides towards you. This way you are using the tape the opposite side, making sure the sticky part is facing outward. Now stick them on to the paint chips. Make sure you take a picture of the design and start placing from the center.

IMG_0467

And you have a bright and colorful art in minutes for no cost 🙂

Hope you enjoy the tutorial.

Happy Monday!!

Fridge Coasters!!

If you are like me, hate doing chores a simple tip that makes the job easier is all you want 🙂

One such chores is cleaning the refrigerator. I do it once a month and it is nothing short of torture.

I try to do before the grocery shopping, but it is always filled with stuff. And takes time to empty, take off the bins and other compartment trays, clean and dry and put everything back.

So last year, when I was browsing Pinterest I came across something like fridge coasters. The first look was fancy and cool and I wanted them. They are mats that line the shelves in your fridge.

So, I started looked for cheap plastic mats @ dollar store and target but based on my fridge measurements, I needed a lot of mats and it wasn’t budget friendly. So I decided to use the shelf liners as they are vinyl, water resistant and easy to clean 🙂

I couldn’t wait and got couple of rolls from dollar store. They are so easy to lay and I have been using for more than an year.  Now, I finish cleaning in less than 10 minutes 🙂

IMG_0449

The whole project costed less than $3 and my fridge looks fancy and sparkle 🙂

If you have any such tips that makes chore-ing, not boring please do share 🙂

Have a great day!!

No cheese Quiche!!

I haven’t had quiche a lot but the best one was “Cowboy Quiche” served by our host Rochelle @ Smith Hotel Bed and Breakfast on our last trip to Utah, Spring 2014. It was delicious, healthy and quite filling.

Since then, I have been planning to make but then the cheese part wasn’t very convincing. And I wasn’t sure on skipping because every recipe calls for it.

After debating for a while I decided to make a no cheese Quiche and I was surprised with the results.

IMG_0437It is light, puffy and delicious 🙂 Also, one dish meal that is great for breakfast, brunch, lunch or dinner.All you need is few eggs and vegetables of your choice.

So, lets get started:

Step 1: Pick veggies of your choice – I added a pepper, a potato, few beans, 1 onion and few tomatoes(from my friends garden) . Heat a pan and add 1/2 tsp of butter and sautĂŠ  onions. Once the onions are translucent, add the chopped vegetables and tomatoes and sautee for 2-3 minutes. I added some  spices like Cumin, coriander and curry powder. It is optional. Saute for another minute and let it cool.

IMG_0442

Step 2 :Preheat oven to 350 F and grease a quiche pan. Beat 5 eggs until well blended, add 1/4 cup of milk, 2 tsp of wheat or almond flour, salt and pepper and finally add the sautÊed vegetables mix until well coated.

IMG_0443

Step 3:  I used 9 inch ceramic pan, bake it for 45-50 minutes. Since each oven vary check after 35-40 minutes, when a butter knife inserted it should come out clean and once done let it cool for few minutes.

IMG_0444

Printable Recipe :

Cook time  : 1 hr   Prep time: 15 mins   Servings: 4

What you need:

Potato – 1

Onion – 1

Pepper – 1

Tomato – handful

Beans – handful

Eggs – 5

Milk – 1/4 cup

Cumin powder- 1 tsp

Coriander powder – 1tsp

Curry powder – 1 tsp

Salt and pepper as per taste

Wheat or Almond flour(gluten free) – 2 tsp

1 tsp of butter – 1/2 for sautee and 1/2 to grease the baking pan

How you make : 

Step 1: Heat the pan and add 1/2 tsp of butter and sautĂŠ onions until translucent

Step 2 : Add the chopped veggies(except tomatoes) and cook for 2 mins and then add tomatoes and sautee for another 2 minutes

Step 3 : Add the spices of your choice( the above mentioned spices are optional) however, adding few will enhance the taste and sautĂŠ for another minute till the rawness is gone and are well coated on the veggies.

Step 4 : Preaheat oven to 350 F and grease the baking pan.

Step 5: Beat 5 eggs, add 1/4 cup of milk, flour, salt and paper and mix well. Then add the sautĂŠed veggies and mix throughly.

Step 6 : Pour it to the greased pan and bake for 45-50 minutes. Since each oven vary check after 35-40 minutes, when a butter knife inserted it should come out clean. Let it cool and enjoy your meal.

BON APPETIT !!!

DIY Bangles

I am having so much fun working with polymer clay. Last week I made a ton of bangles and I am so excited to share few.They are so easy and quick that you make them now and wear them tonight 😉

IMG_4658

So here is the tutorial on how to make these colorful bangles:

Step 1 : Firstly,decide on the base color and other colors you want to have. I picked silver as base color and some multiple colors as they go on most of the dresses/tops. I picked a little extra blue as it goes well with Jeans and a t-shirt too.

IMG_4628IMG_4627

Step 2 : Conditioning the clay is important. Usually it is done by hand or pasta machine. I still don’t have the fancy machine so I use my hands. Basically you knead the clay and get it more playable. Lay the silver clay flat and place the conditioned color balls(as shown below)

IMG_4630

Step 3: Roll it and make it a ball making sure the colors blend. And take a small amount and roll a snake.

IMG_4631IMG_4632IMG_4633

Step 4: Now forming the bangle has different ways. From few tutorials, I saw them using coke cans or any empty cans and glass jars that match to the size of you bangle and roll the snake,form of a circle and bake. Since I don;t have cans or glass jars that match my bangle size I used a bangle that is a bit smaller to my current size.

All you do is wrap the clay snake around the bangle and seal the edge and leave it for 2-3 minutes in the freezer. This way the circle shape stays in place. Take the bangle off and bake it @ 270 F for 18 minutes.

IMG_4635IMG_4654

Step 5: Once they are baked don’t be impatient like me and leave them for at least 30 minutes until they cool. You can add polymer glaze for a glossy finish.

Since the silver base I used has some glitter on it, they look perfect without glaze.

IMG_0419IMG_0432

An inexpensive way of making matching bangles 🙂 The designs and options are endless. You can experiment by mixing the colors or keep them plain and still they will look perfect.

Also fun to make something for those who have toddler(girls) as they are soft and light weighted and don’t hurt their sensitive hand in any way 🙂

After all, we all loveee colors and accessories that match our dress 😉

Have a great day!!

35th Post – For Dad & Mom

Today’s post  is dedicated to my parents who celebrated their CORAL(35) Wedding Anniversary on June 15.

Congratulations Mom & Dad on this milestone!!

Their courtship didn’t take place over the phone, online or via text messages 🙂 In fact, they only saw each other face-to-face a handful of times. They are one happy couple.

Well, my parents taught us marriage wasn’t easy!! The 3 important things they taught are :

1. It is a journey with compromises

2. Communication is critical

3. Your spouse is your best friend

So true!!

Also, last 2 years my mom wrote some devotional songs ( Regional songs on Indian gods) and my dad approached music directors and got the music composed and made some CD’s as an anniversary gift 🙂 My dad is the best and this is how the CD cover looks:

Srivenkateswaram_Pouch

Well I also made some gifts for them 🙂

A quilled art:

IMG_0416

A cute paper weight rock painting for my dad’s desk

IMG_4257 (1)

And some miniature fruits and veggies fridge magnets out of polymer clay 🙂

IMG_4675IMG_4674

Congratulations again!!

There isn’t a sweeter couple than you!!

DIY Wall Scones!!

Well, I can be called a crazy candle holder DIY’er 😉

Hehe, yes I am again with a decor project with candles, of course, a little different 😛

IMG_0421Yes Wall Scones!!

So, couple of months back, I found a really cute mirror wall decor for 99 cents (2) and I couldn’t resist to buy. I was sure that it can look great with little make over. First I thought i will add little glitter and sequins. However, I wasn’t sure on where they can be hanged.

After some thought, I felt adding a candle holder is a better idea as the background has a nice mirror. May be  I will add more color when I get bored of looking at these plain ones 😉

Most of the supplies are  already on hand and the set costs less than $2.50.

Here is what you need:

IMG_4611

Wall decor from 99c store or any other decor that you can transform

Candle holders (sorry they are not seen in the pic)

Strong adhesive(already on hand)

Acrylic paint (already on hand)

Paint brush

Let’s get started:

So the one I bought look like this:

IMG_4608

Paint 2 coats, leaving 15 minutes to dry after each and after 2 coats they should look like the pic below

IMG_4612

Time to add the candle holders, sorry I forgot the add them while taking the supplies pic. Glue the holder to the frame and leave it for 15-20 minutes to dry

IMG_4613 IMG_4617

And there you have a pretty looking wall scones ready to hang and fill some color and light 🙂

IMG_4647

Have a great day!!

Cooking Without Limits

Food Photography & Recipes

Travelling Krishnaite

Shekhar Srivastava's Blog

Live-😊-Life..

"It has everything in little as a HAPPY package!!"

DesiCrafts

A blog Dedicated to Indian handicrafts, Fabrics and Supplies

Fulgorine

My adventures with art and polymer clay

The Beaded Bazaar

Polymer clay creations

Learn Polymer Clay

Inspiring you to explore your creativity and get down to work! A great collection of Free Polymer Clay tutorials

Wear the Ducky Tie

A Sewing Blog

sewmanju

Make your own style

SEW KATIE DID

because thread is the best glue.

The Crafty Coup

Finally, you're here! Let's make something!

The Daily Post

The Art and Craft of Blogging

WordPress.com News

The latest news on WordPress.com and the WordPress community.