Yummmmiieee!!!

IMG_0364Making a healthy and delicious meal is always a challenge!!

Recently, we discovered that we are sensitive to gluten and reducing/avoiding is helping. But the problem is we are not used of eating rice for dinner and now if we stop eating wheat I cannot cook dinner..:-(

It took a while to get used to this change, but I am glad that we are able to eat more salads for dinner. This change in  routine also motivated me to create various versions(Indian) of salad.

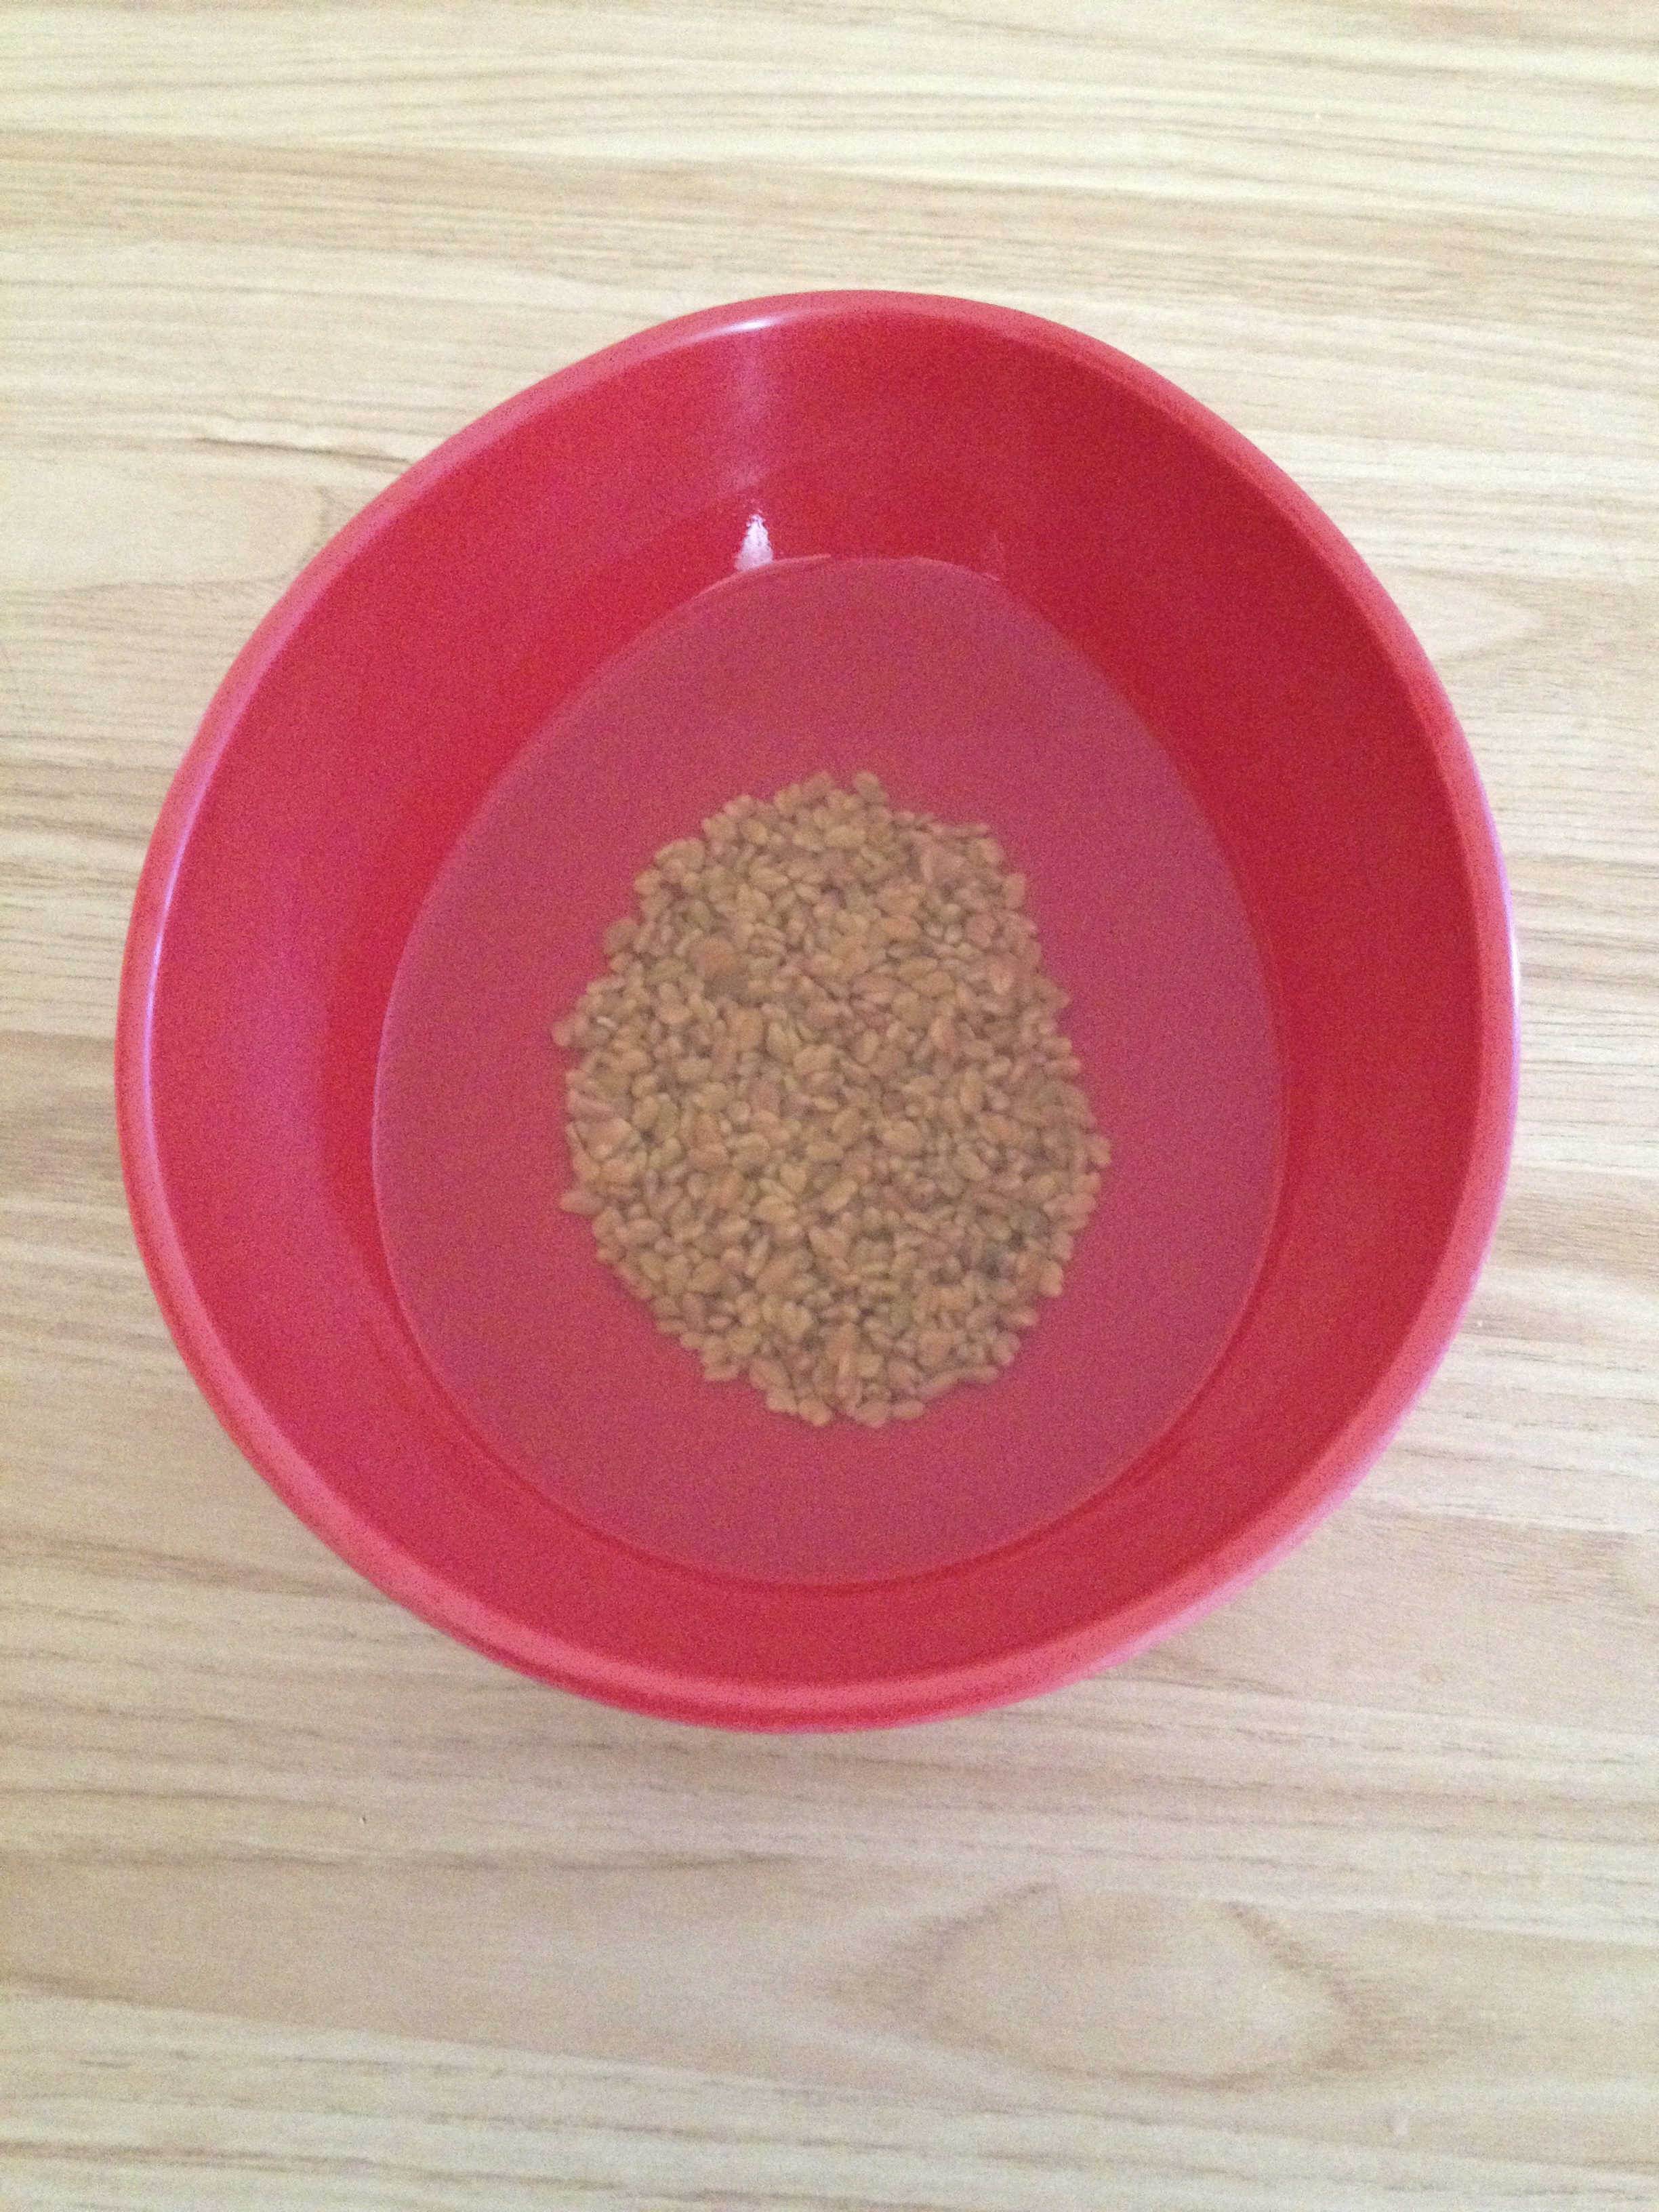
I have fenugreek fresh from my garden and I usually make dal or a curry and today I  wanted to try something new that is quick, healthy and can be added to my dinner menu..;-)

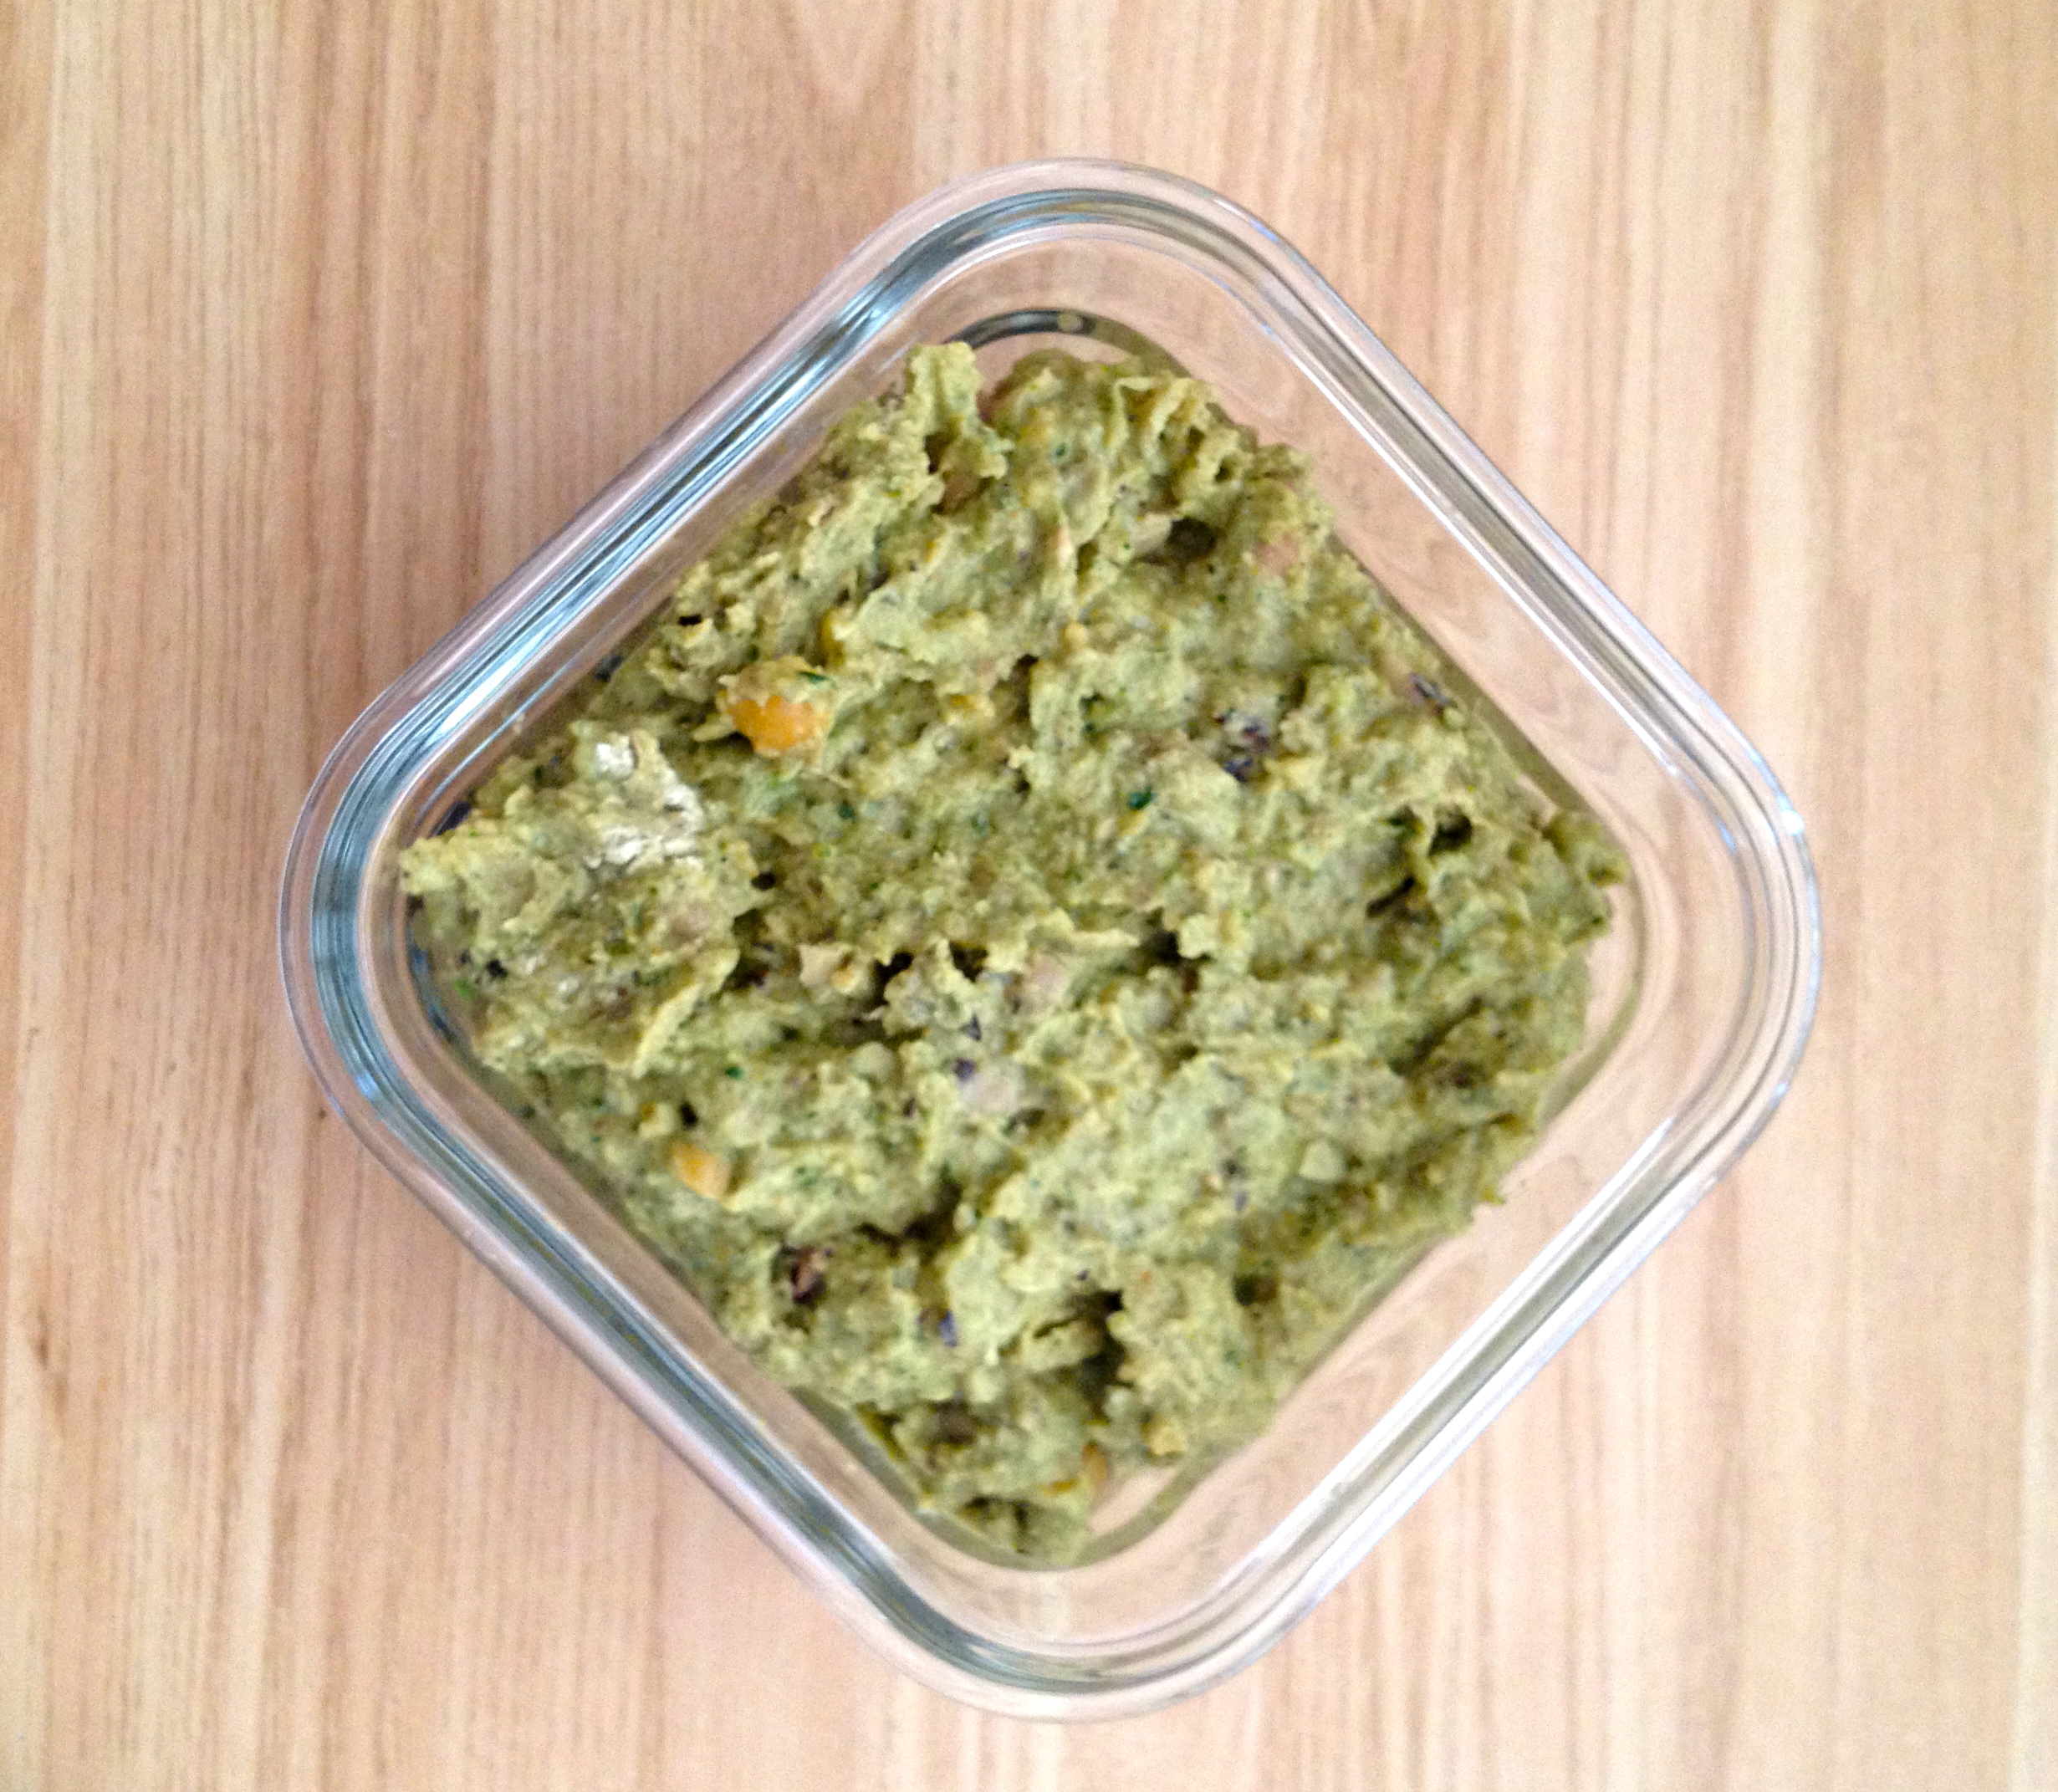
Here I am with an absolutely delicious dish that has amazing flavors and aroma. It can be eaten as salad or used as stuffing for some quick veggie wraps. If you find it dry you can as well add some plain yogurt and it tastes absolutely great 🙂

IMG_0369

Well, Let’s not waste anymore time and get started 🙂
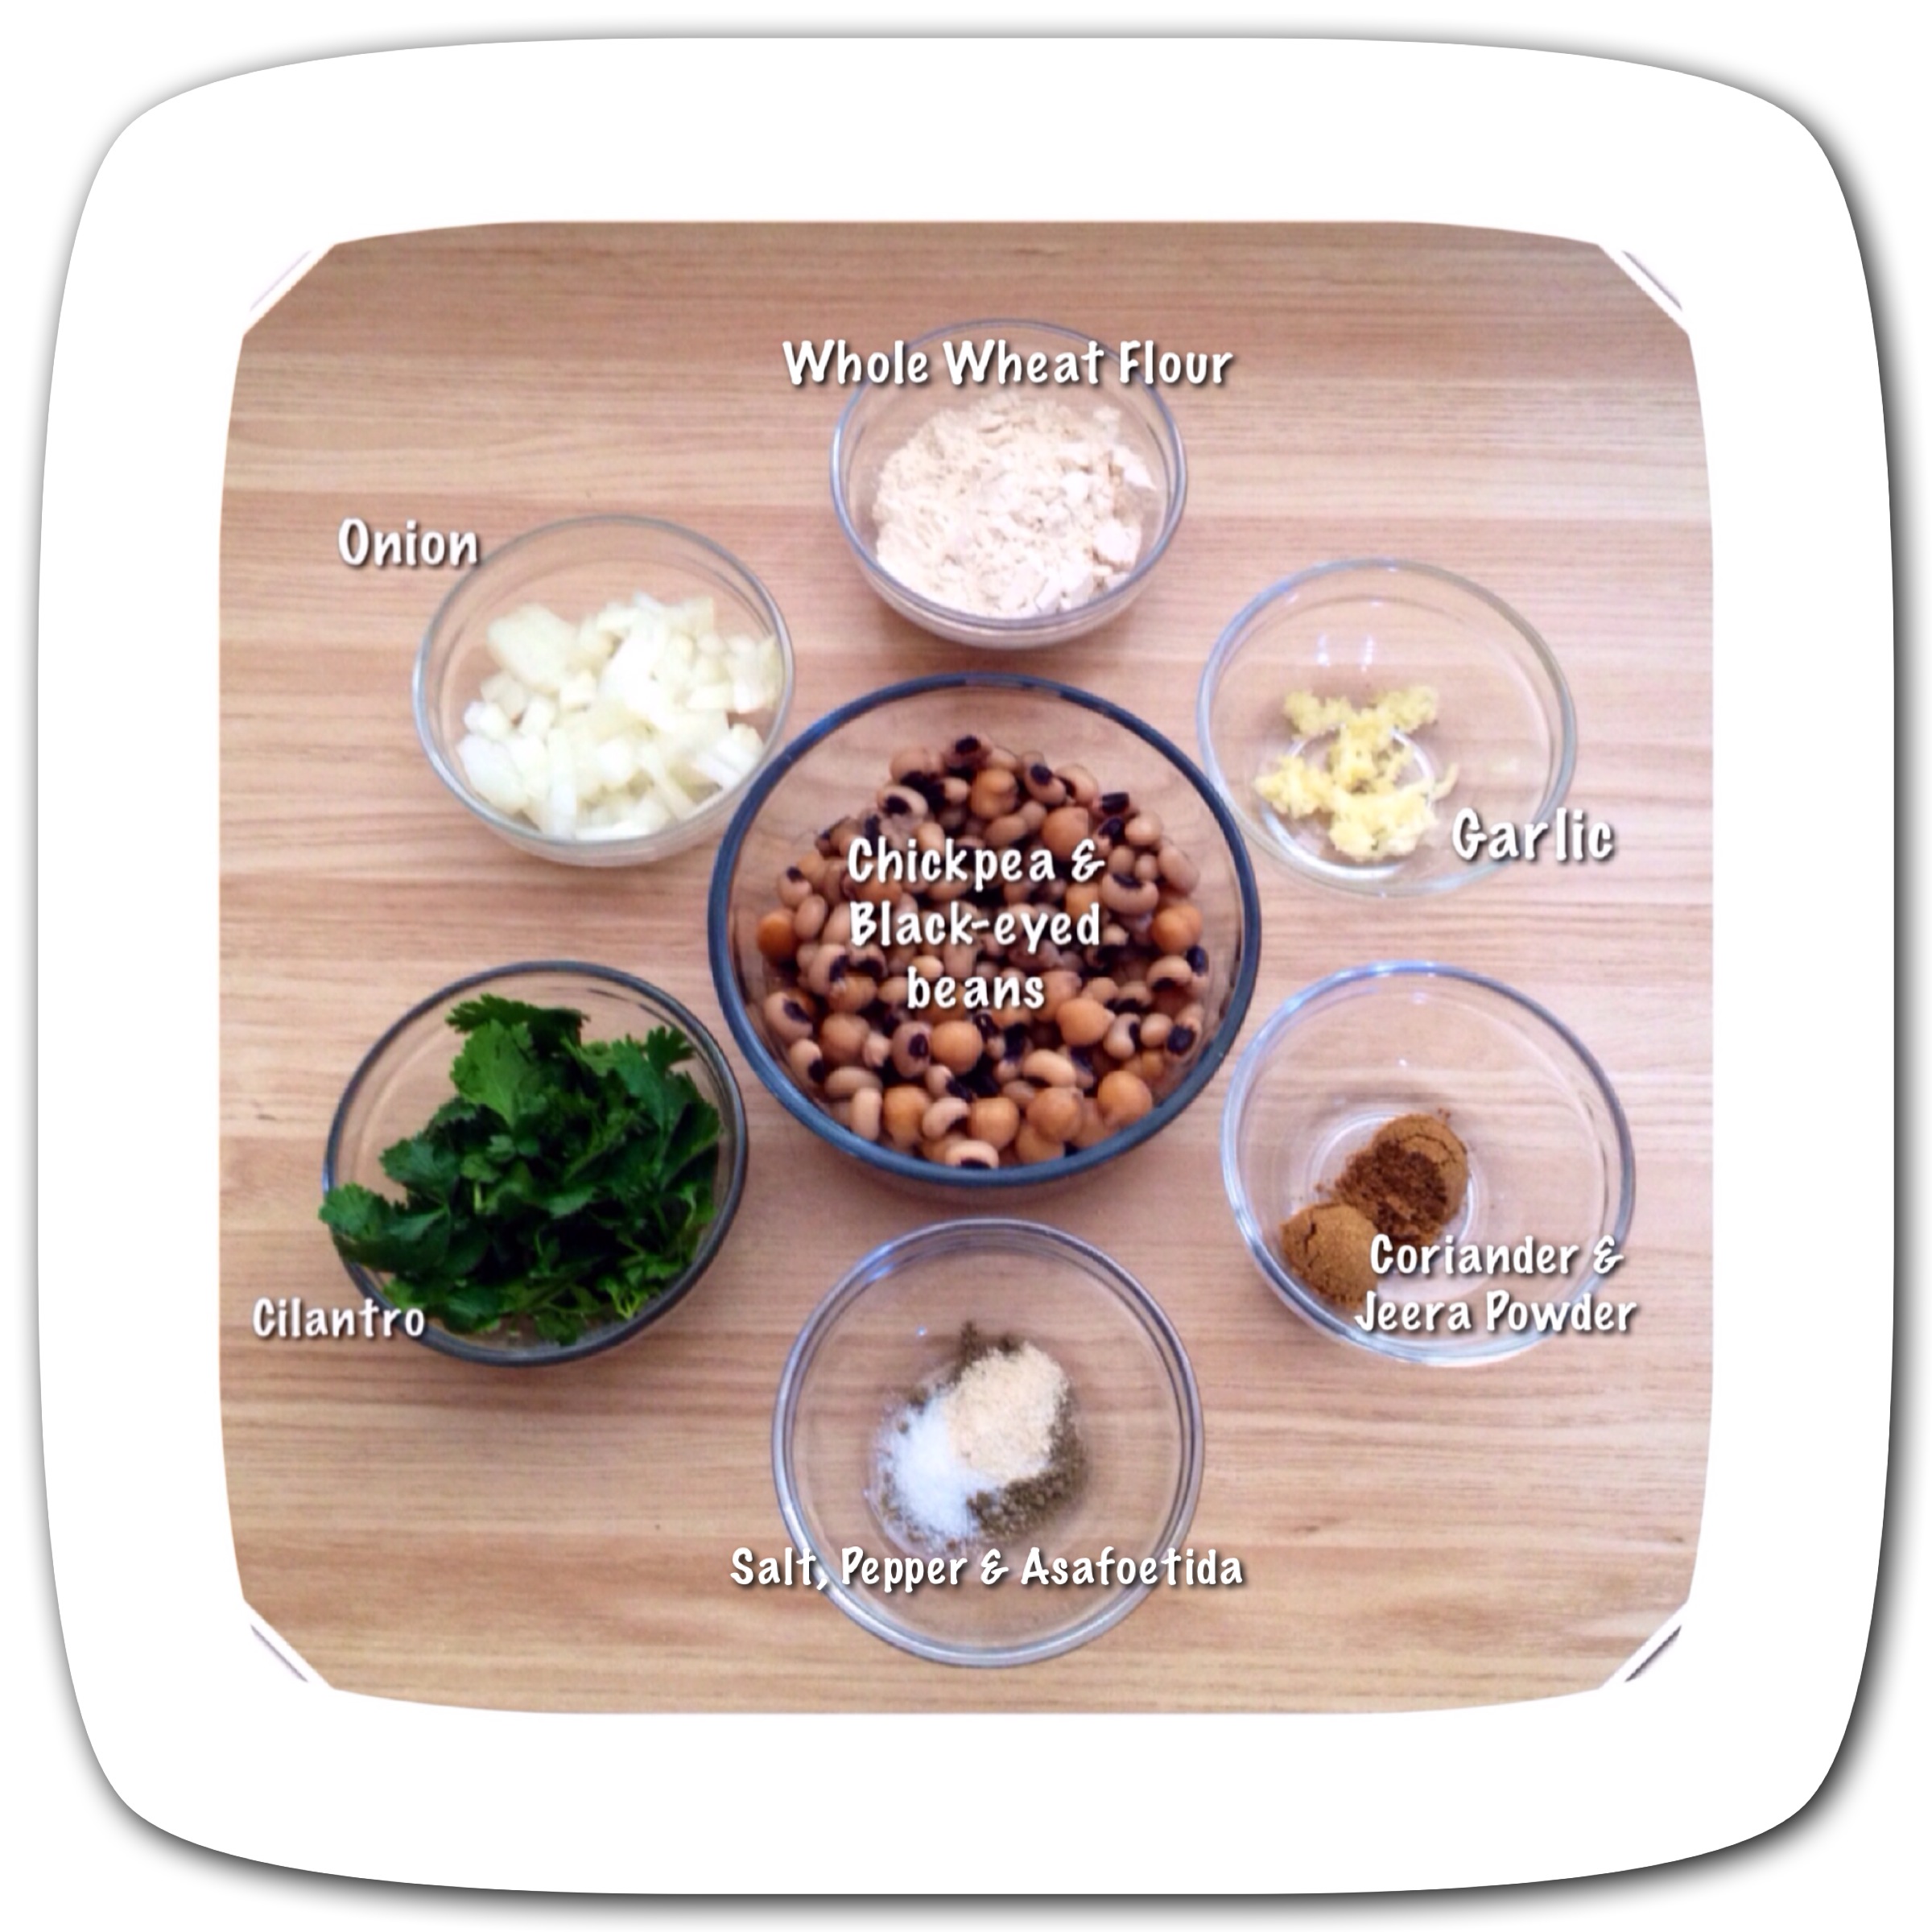
What you  need :

IMG_0360 IMG_0361

How you make :

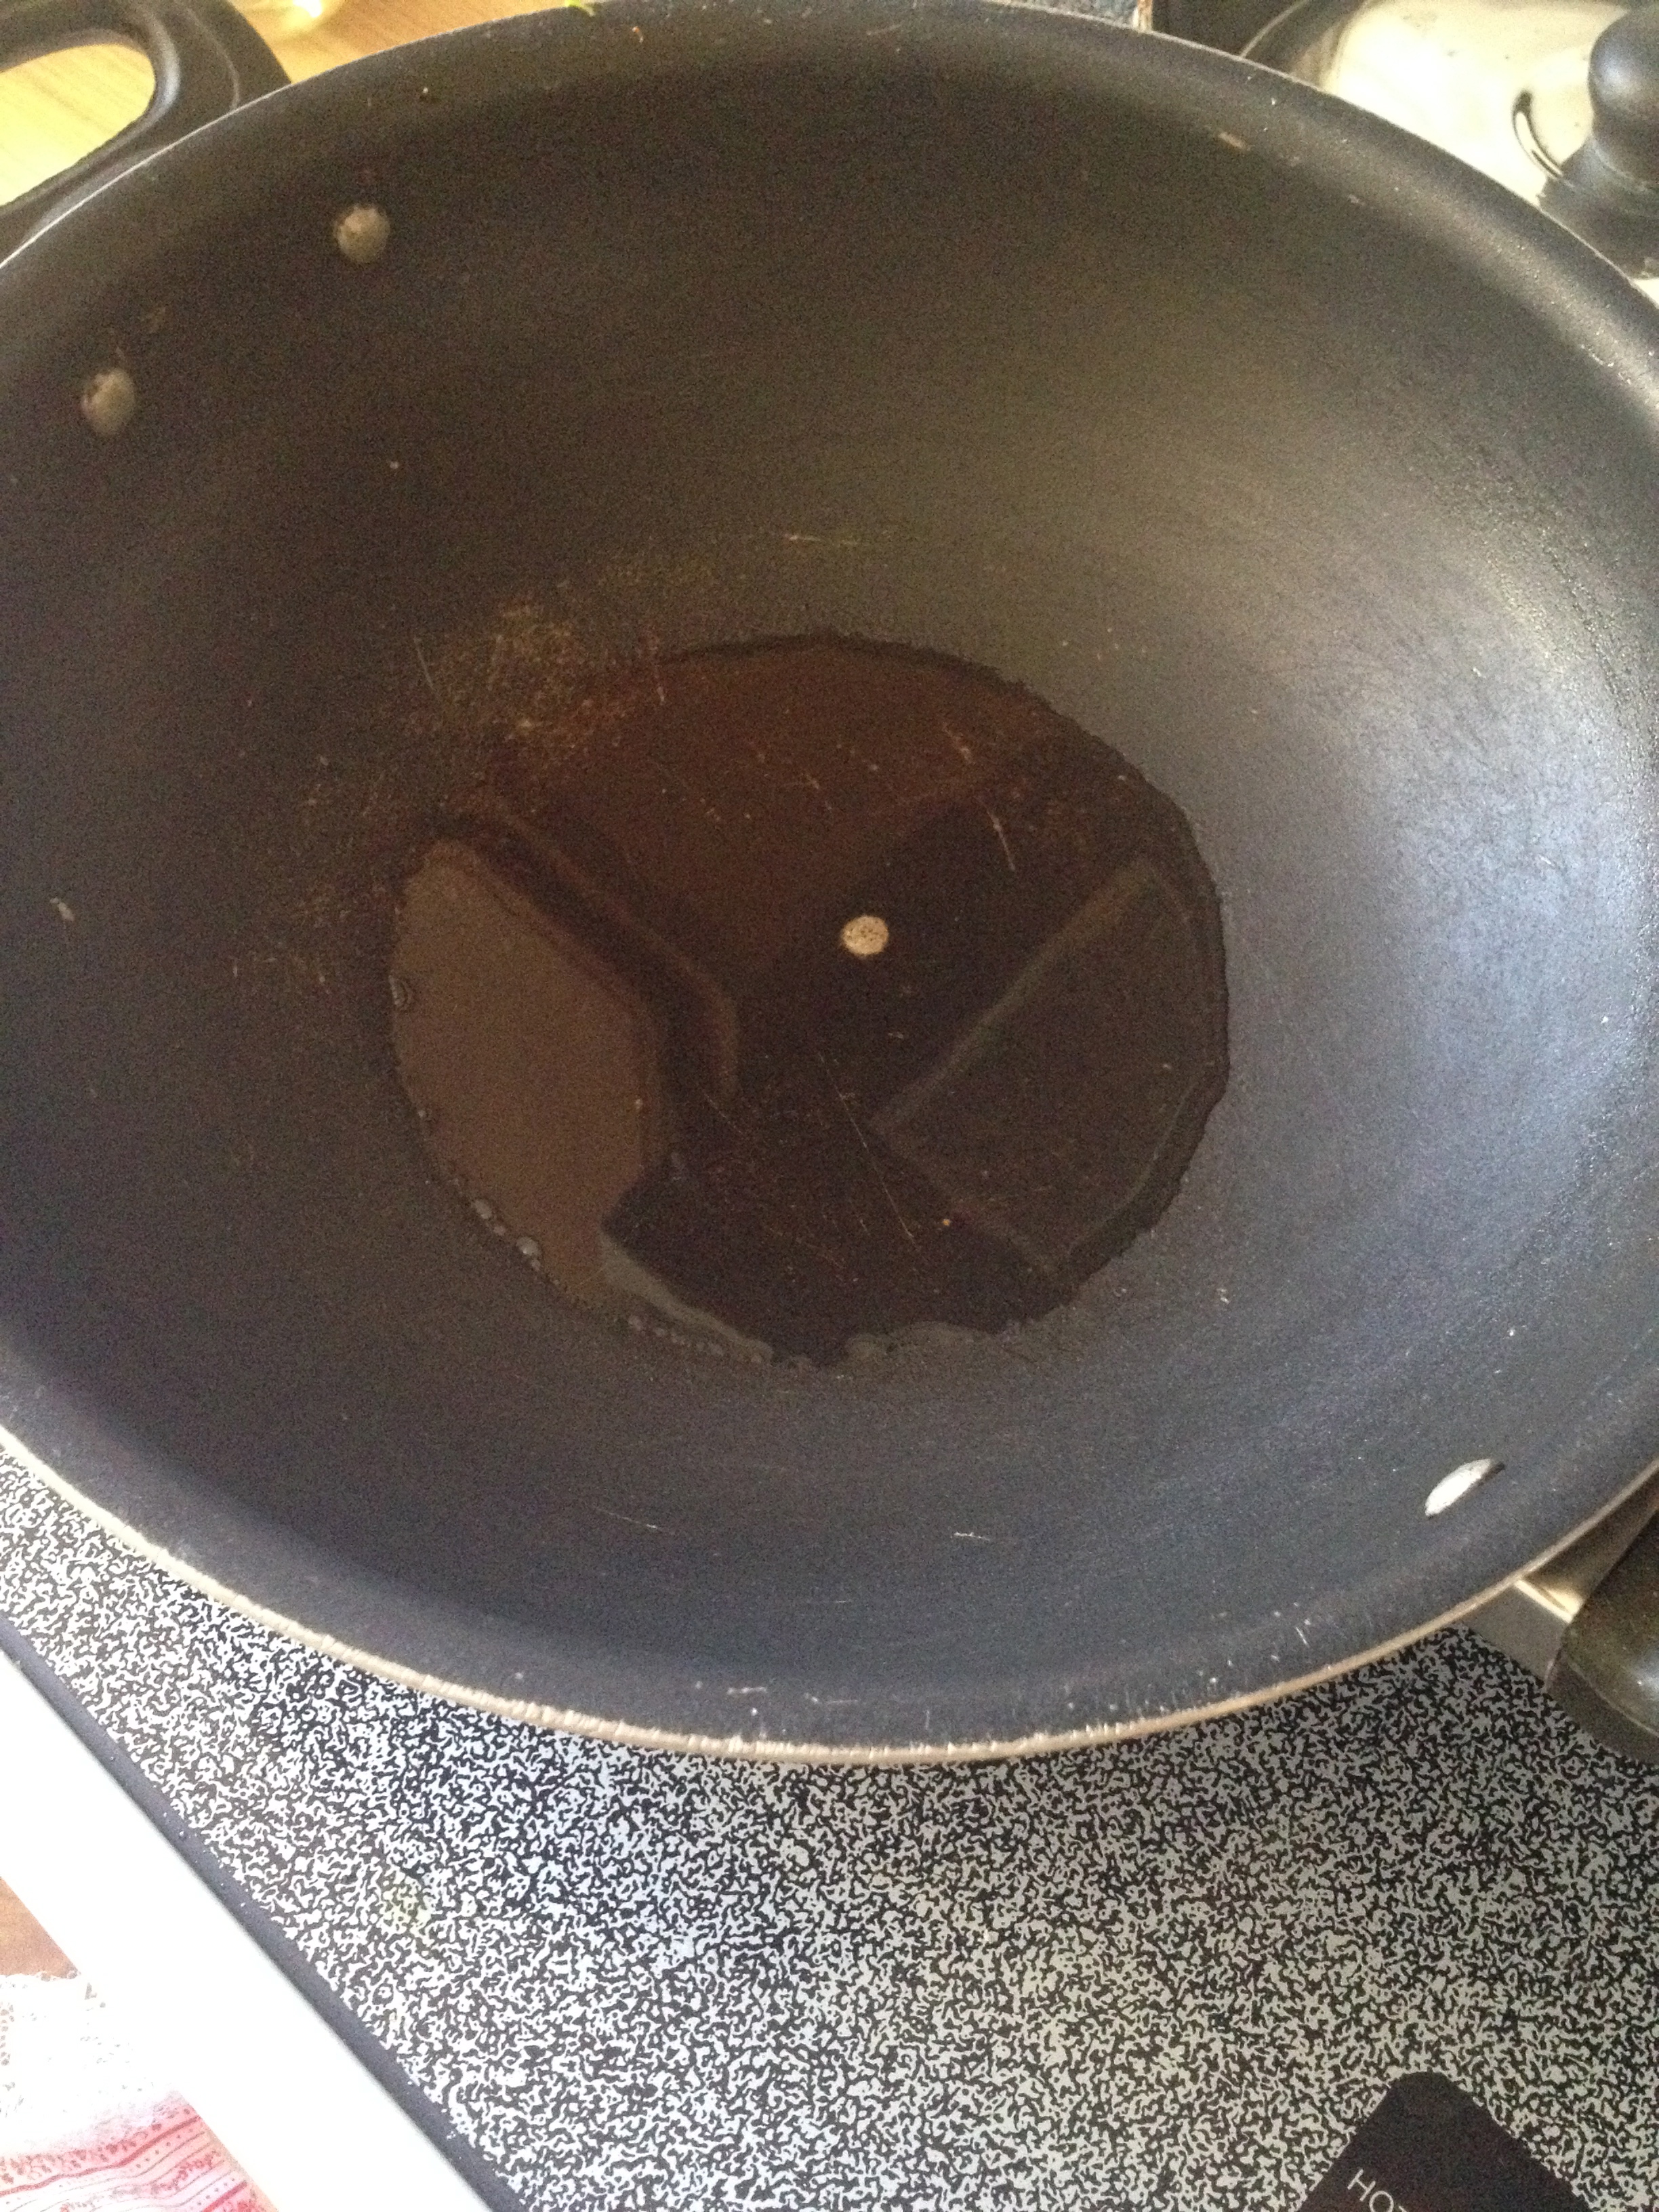
Step 1: In a pan add 1-1.5 tsp of oil and let it heat on medium heat for few minutes.Add cumin and sesame seeds.

IMG_4082IMG_4083

Step 2: Once they are brown add Asofetida, chopped ginger & Chillies and let them sauté for few seconds.

IMG_4084

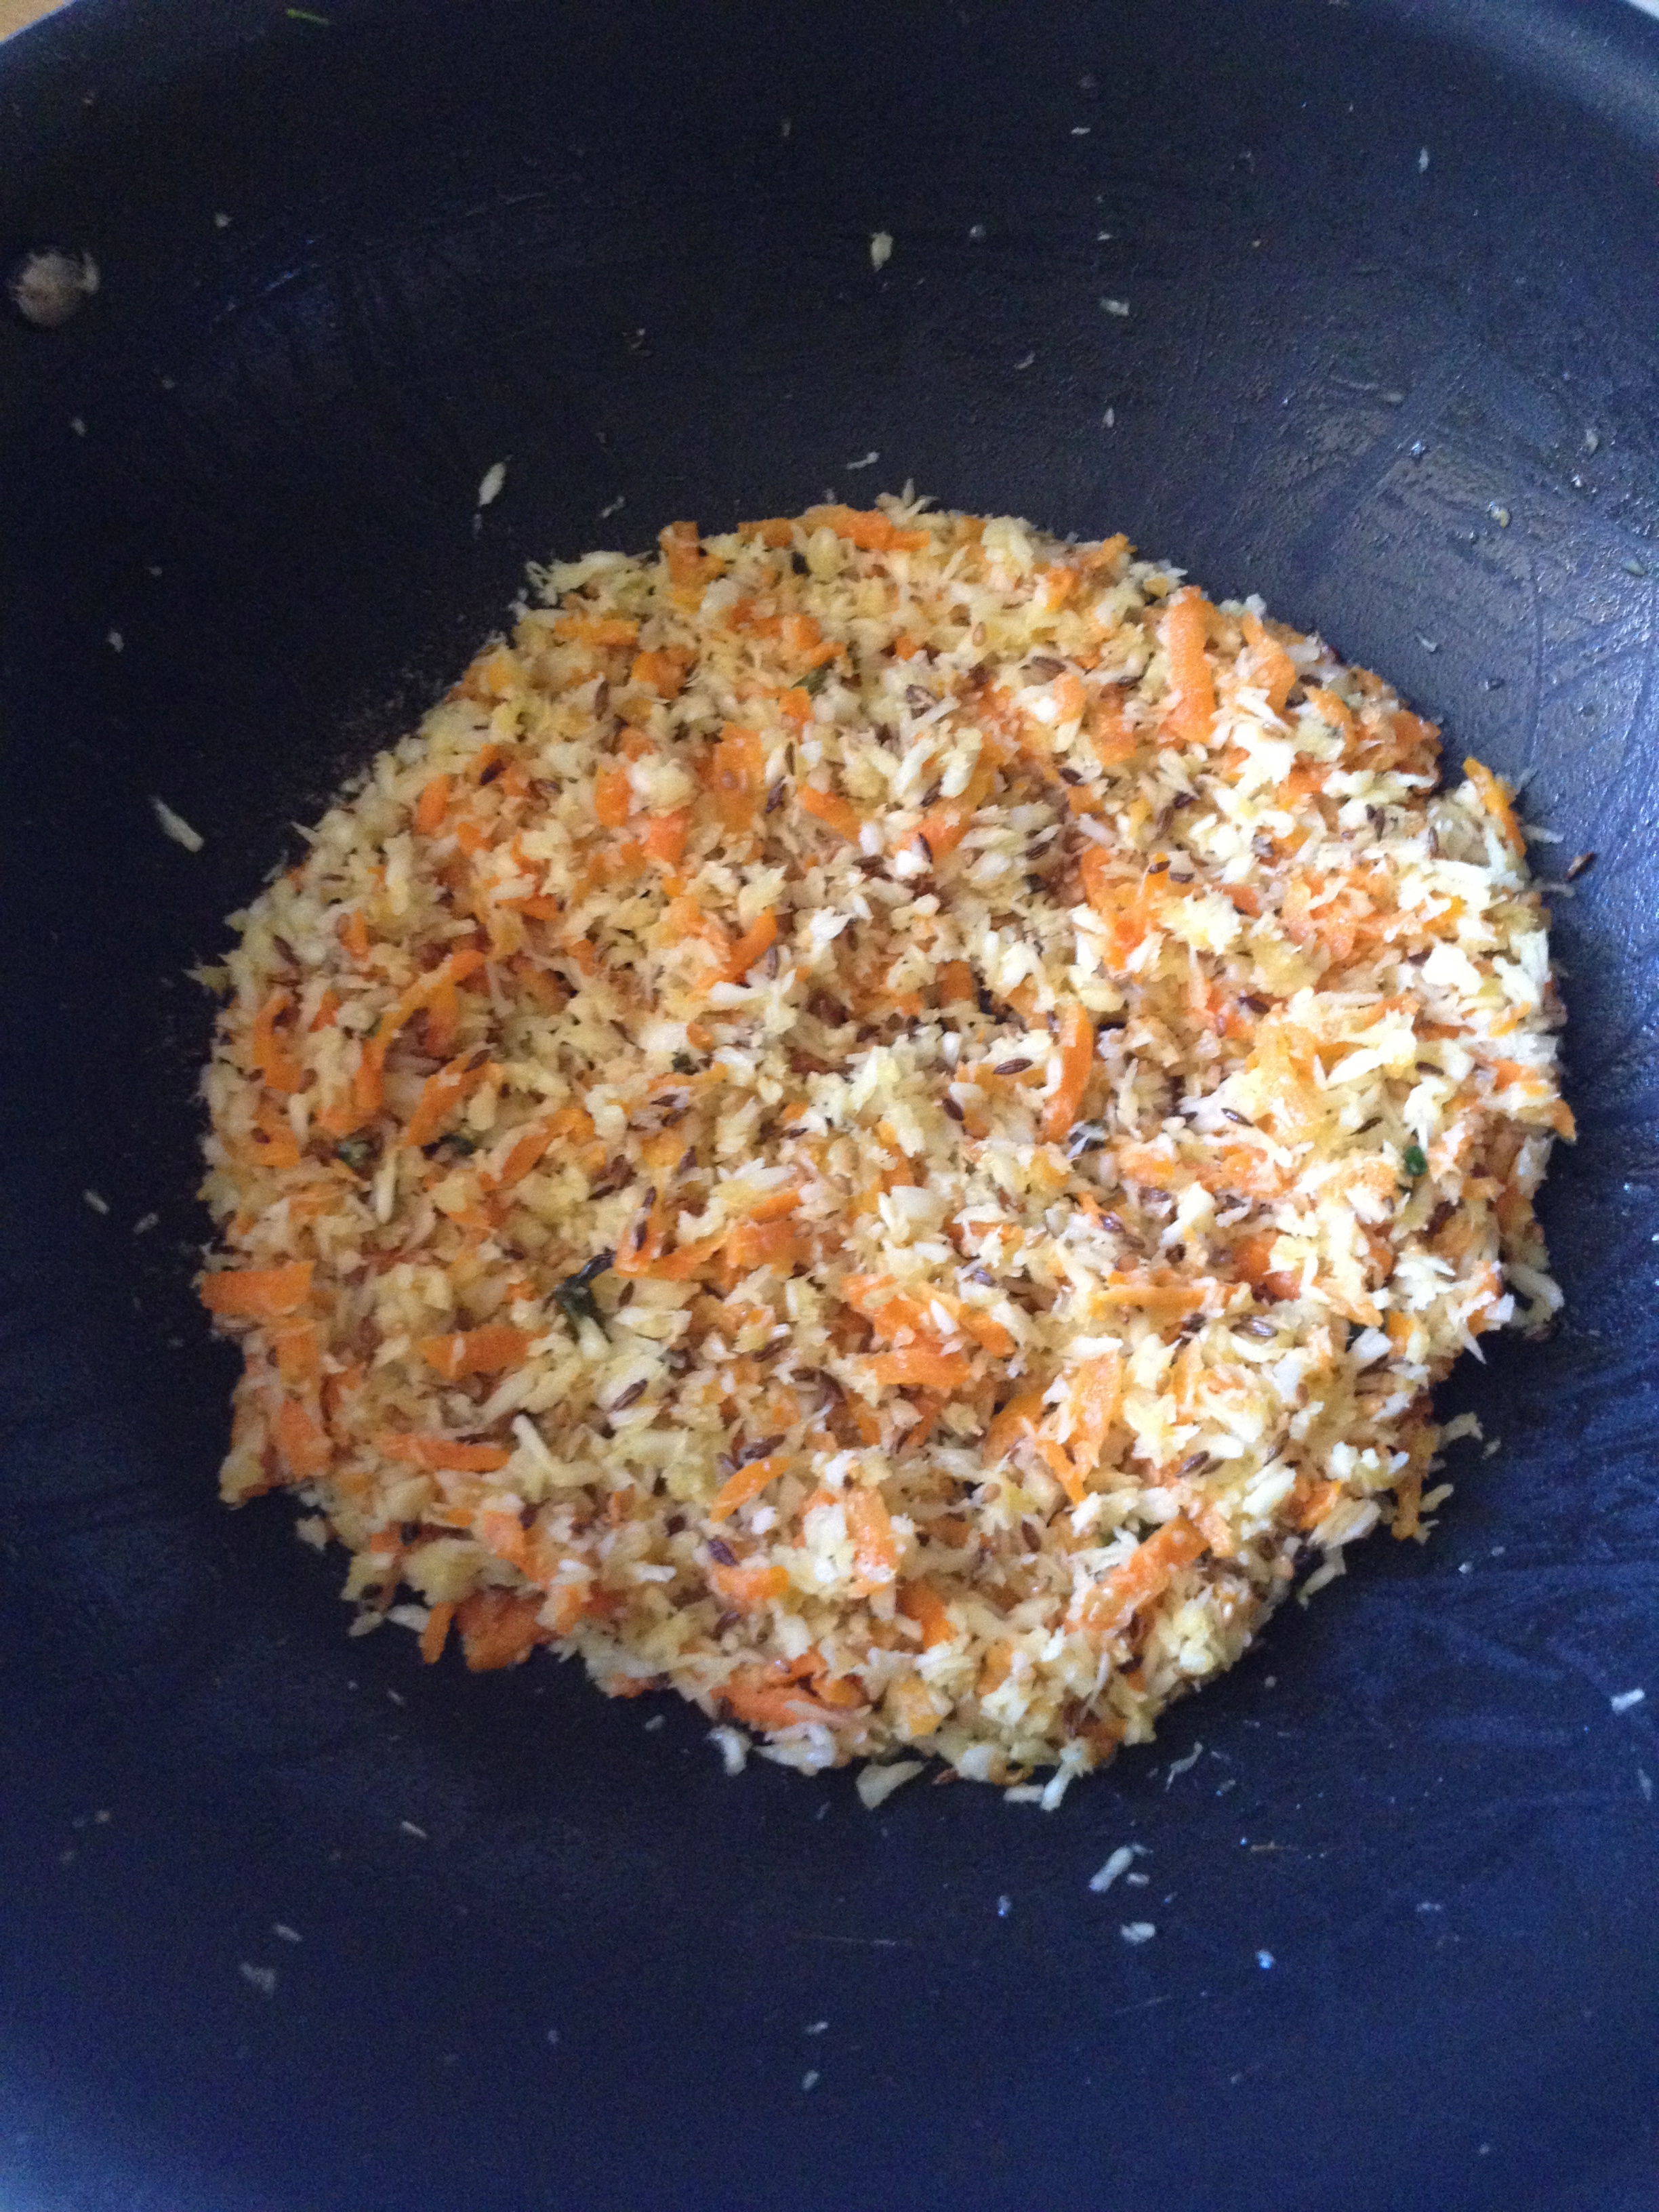
Ste p 3: Add fresh/thawed coconut and carrots and sauté for 2 minutes

IMG_4085

Step 4: Once the rawness is gone then add chopped fenugreek and carrot leaves. To it add little salt and put the lid and let it cook for 3 minutes.

IMG_4088 IMG_4089

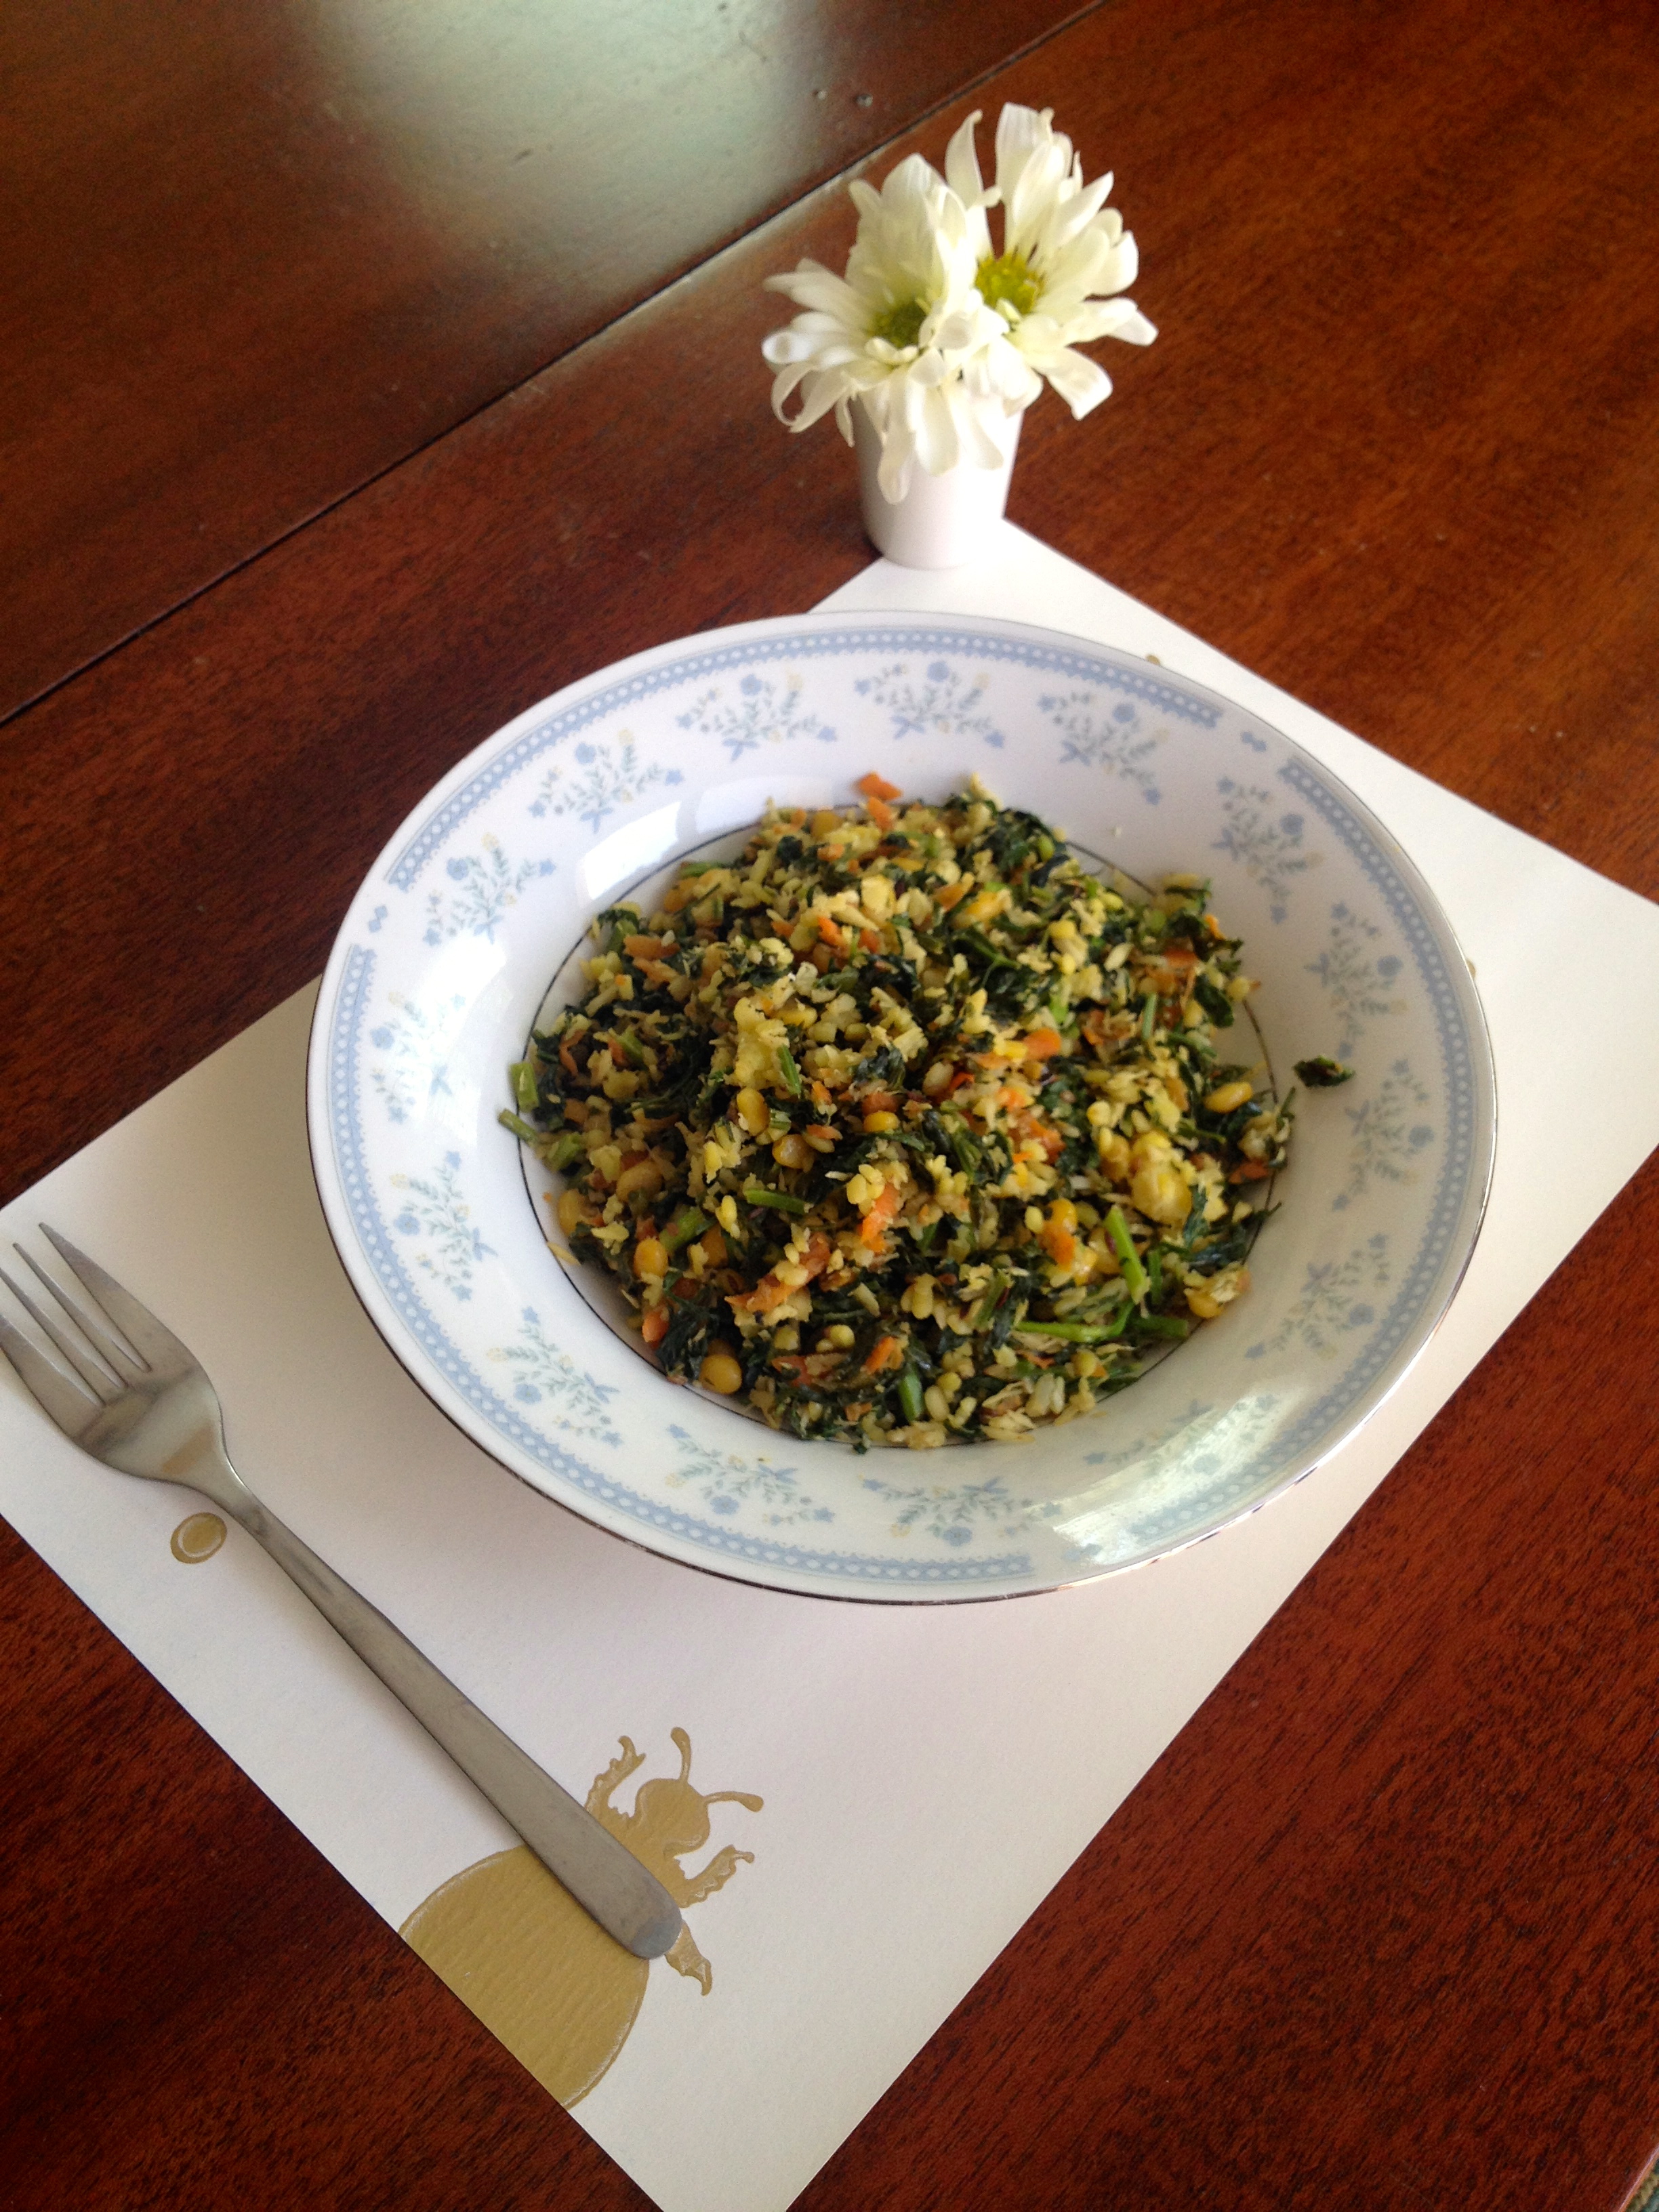
Step 5: Once the greens are tender then add boiled split chickpea and Moong dal (Split Mung Bean) and cover it for 3 more minutes. Add salt if required.

IMG_4091 IMG_4092

And there you have  a delicious meal to dig in 😉

IMG_4098

Please don’t forget to like or share you comments 🙂

Printable Recipe 

Serving – 4                   Prep Time: 10 Mins        Cook time : 12 mins

Split chickpea – 1/4 cup soaked & cooked

Yellow Mung Beans – 1/4 cup soaked & cooked

I ucooked mine in pressure cooker by steaming for 20 minutes, you can also put it in a pan/pot and boil it for 20 minutes like quinoa/rice. The water will not be absorbed completely, but cook until the lentil is tender and drain the excess water.

Salt- 1/2 tsp

Asofetida – A pinch

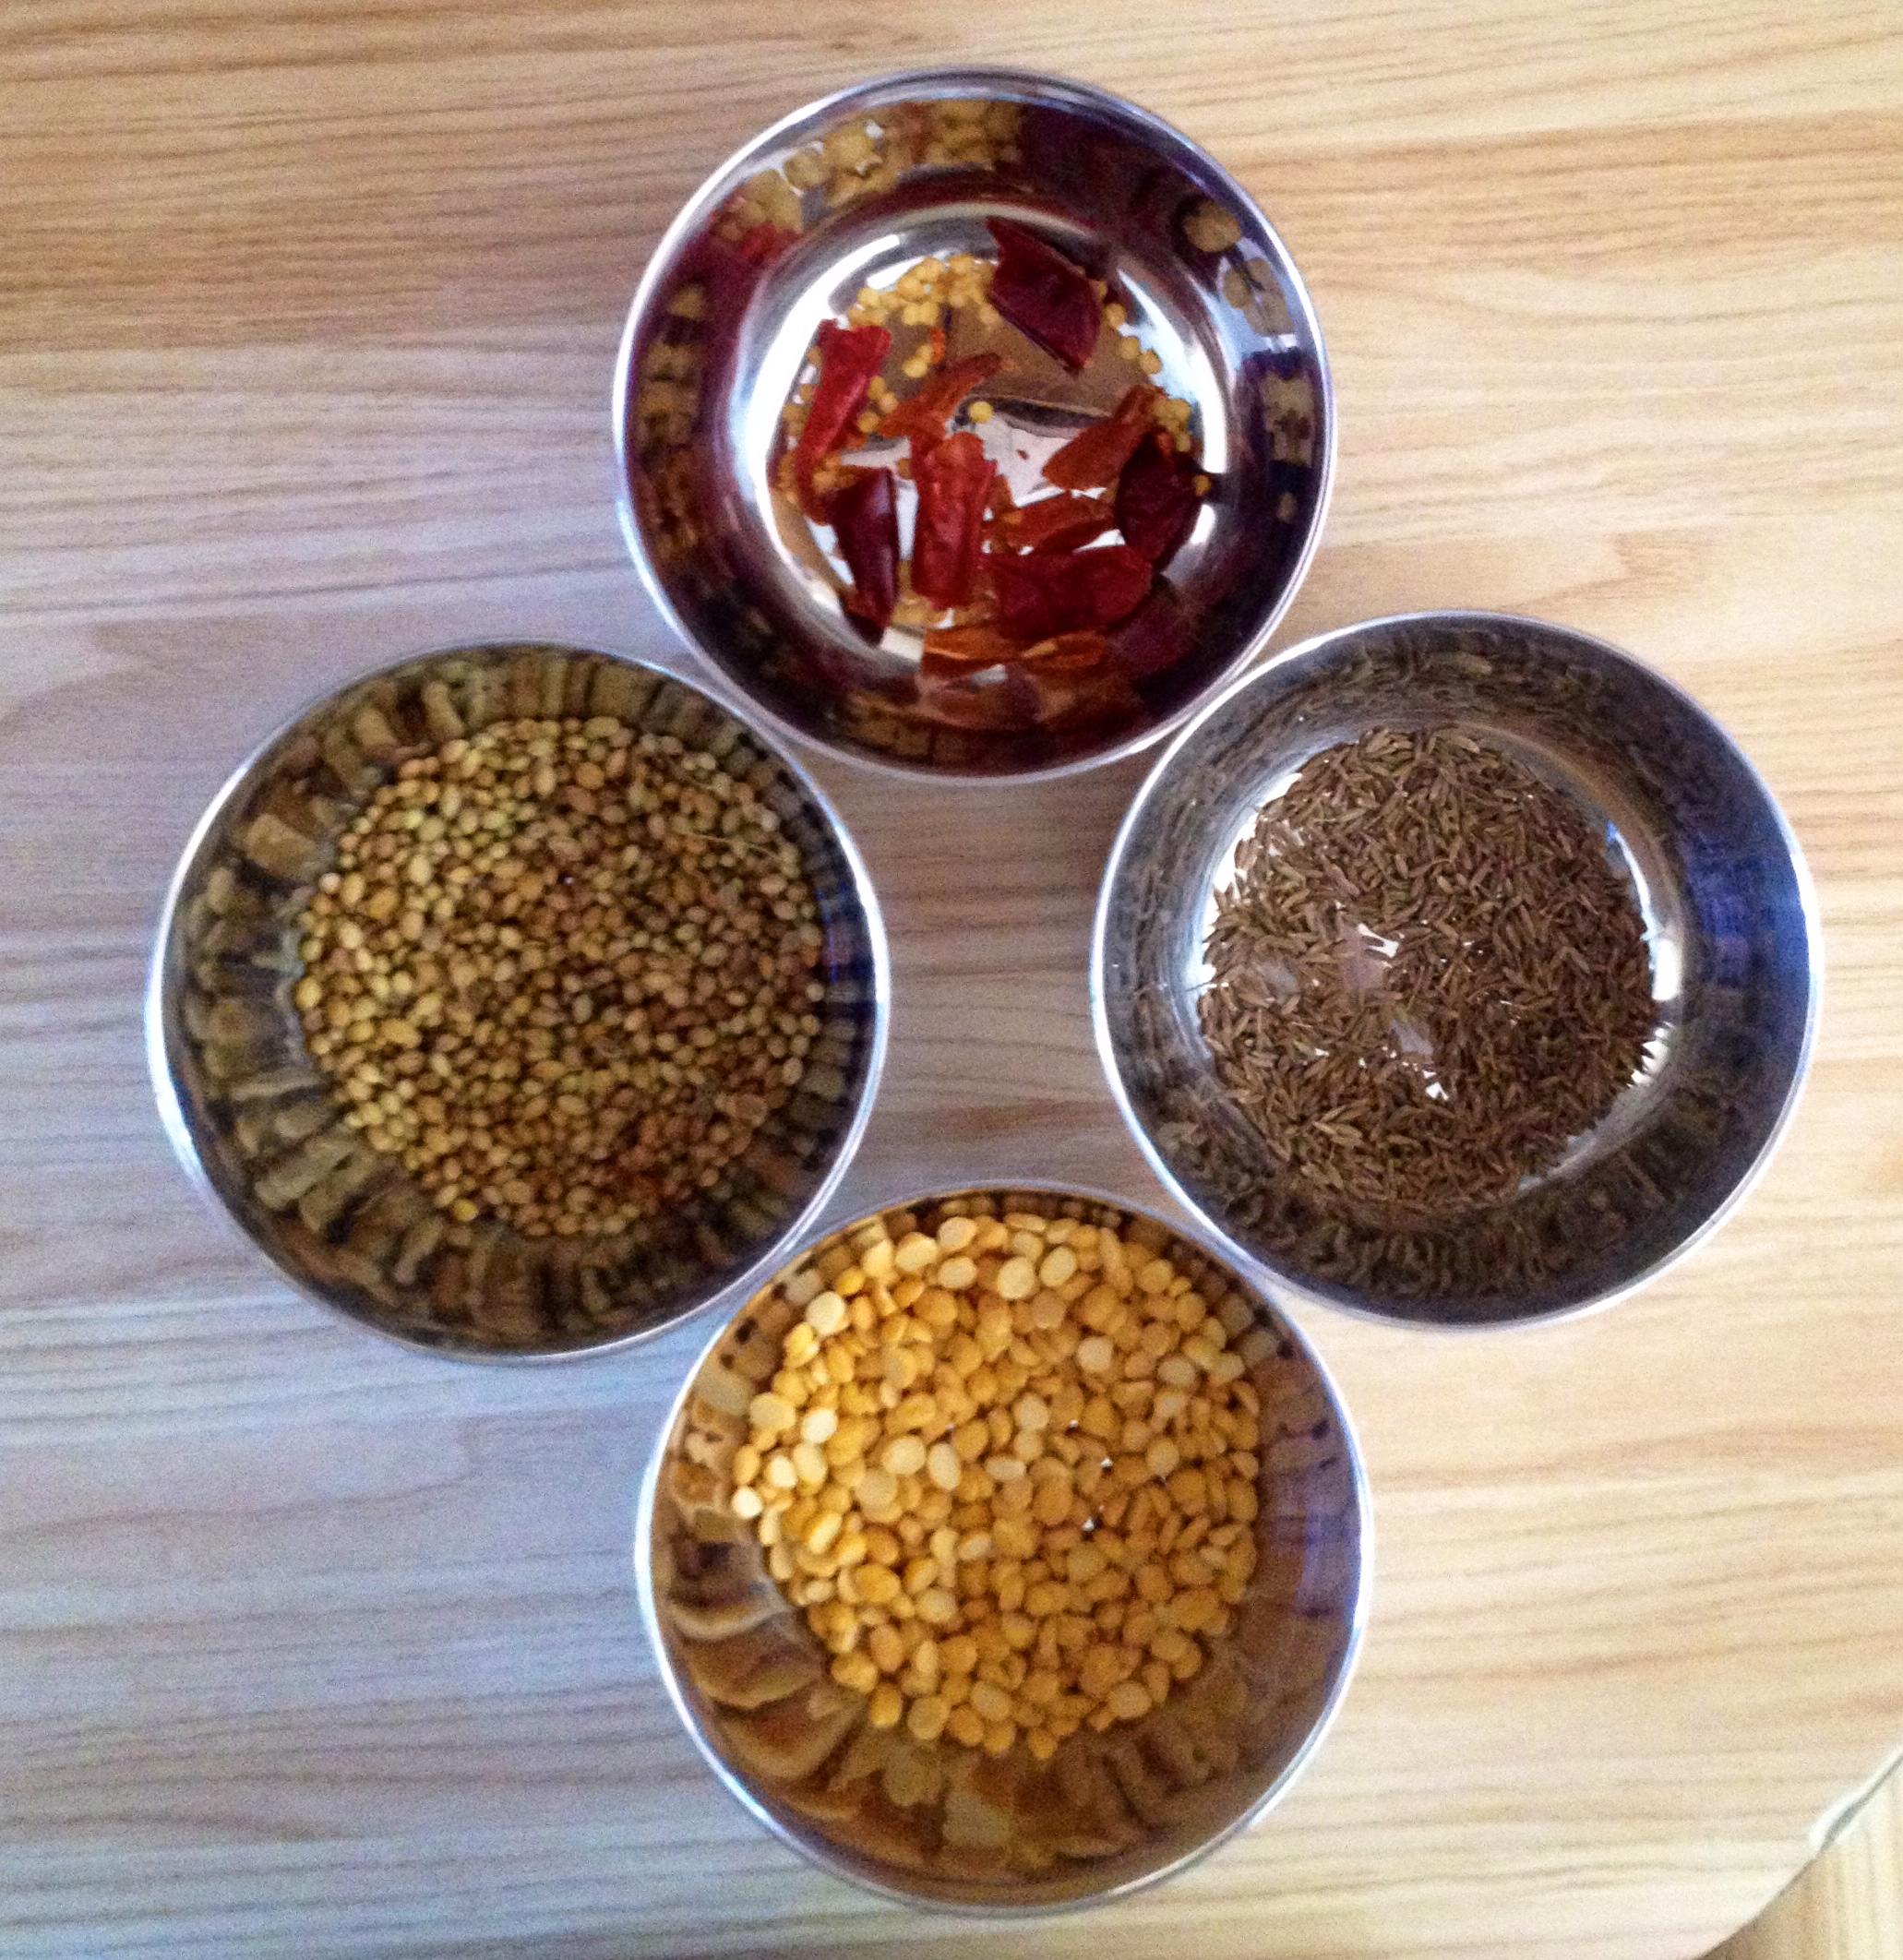
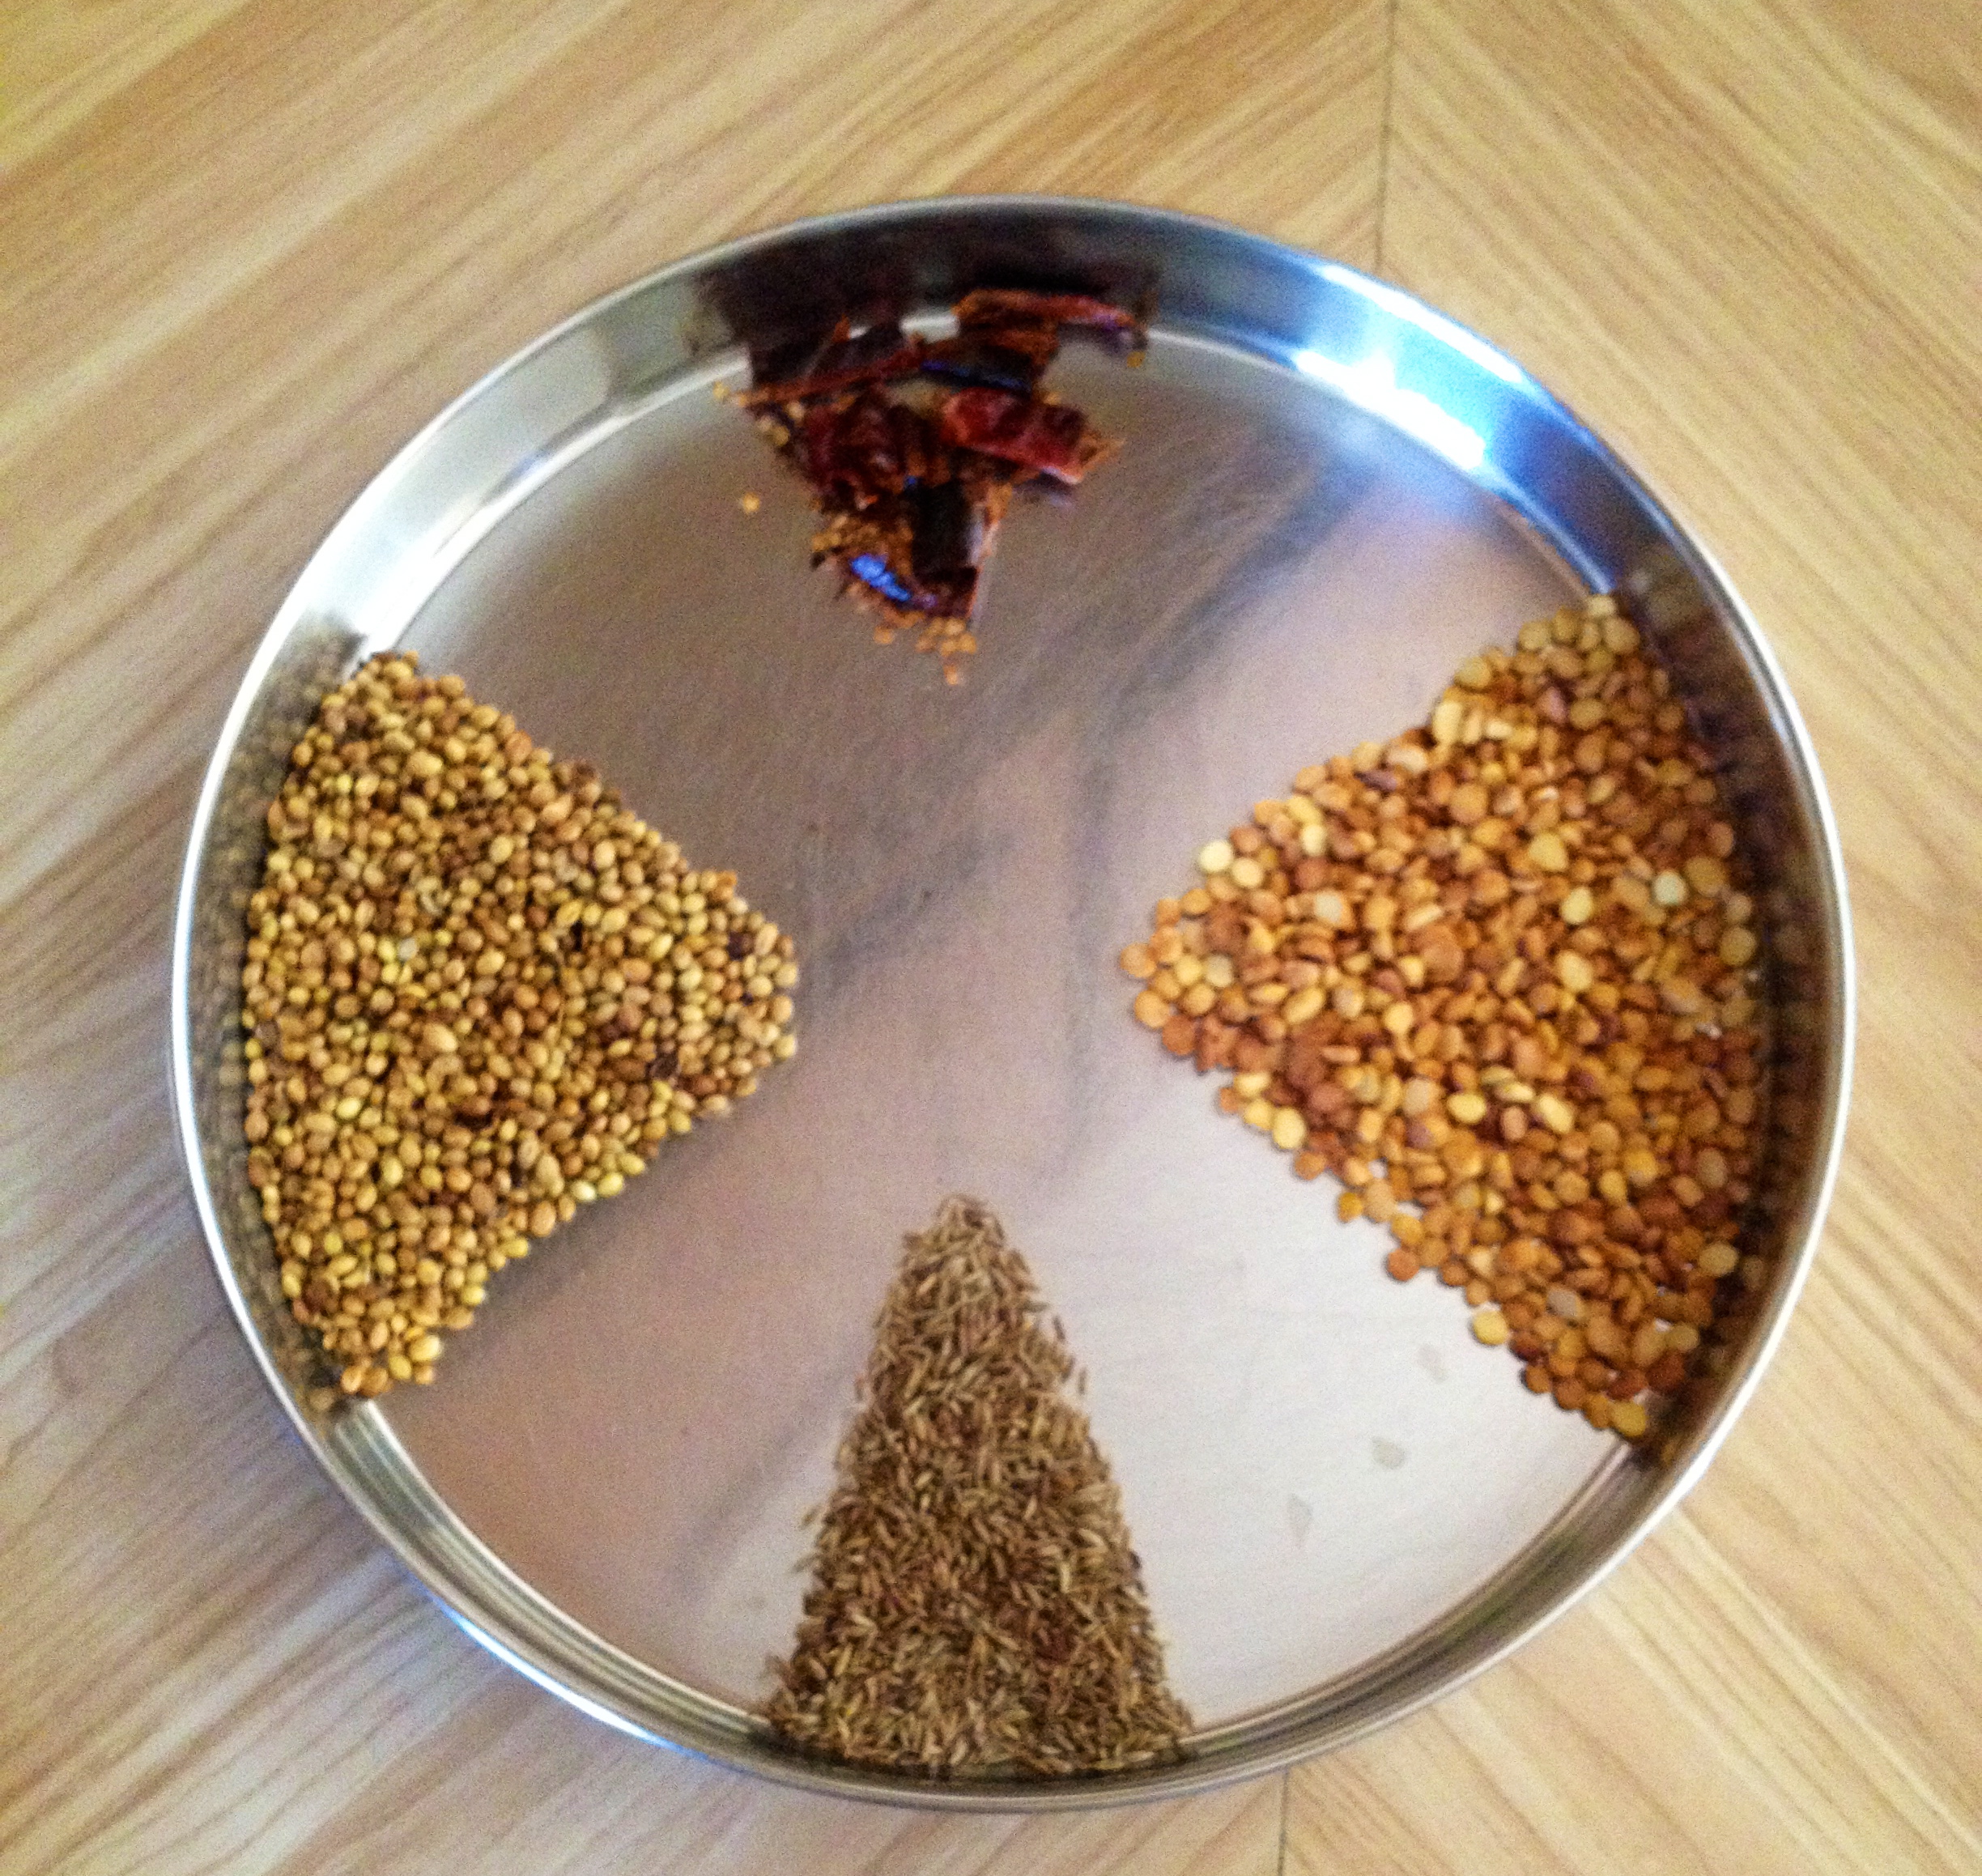
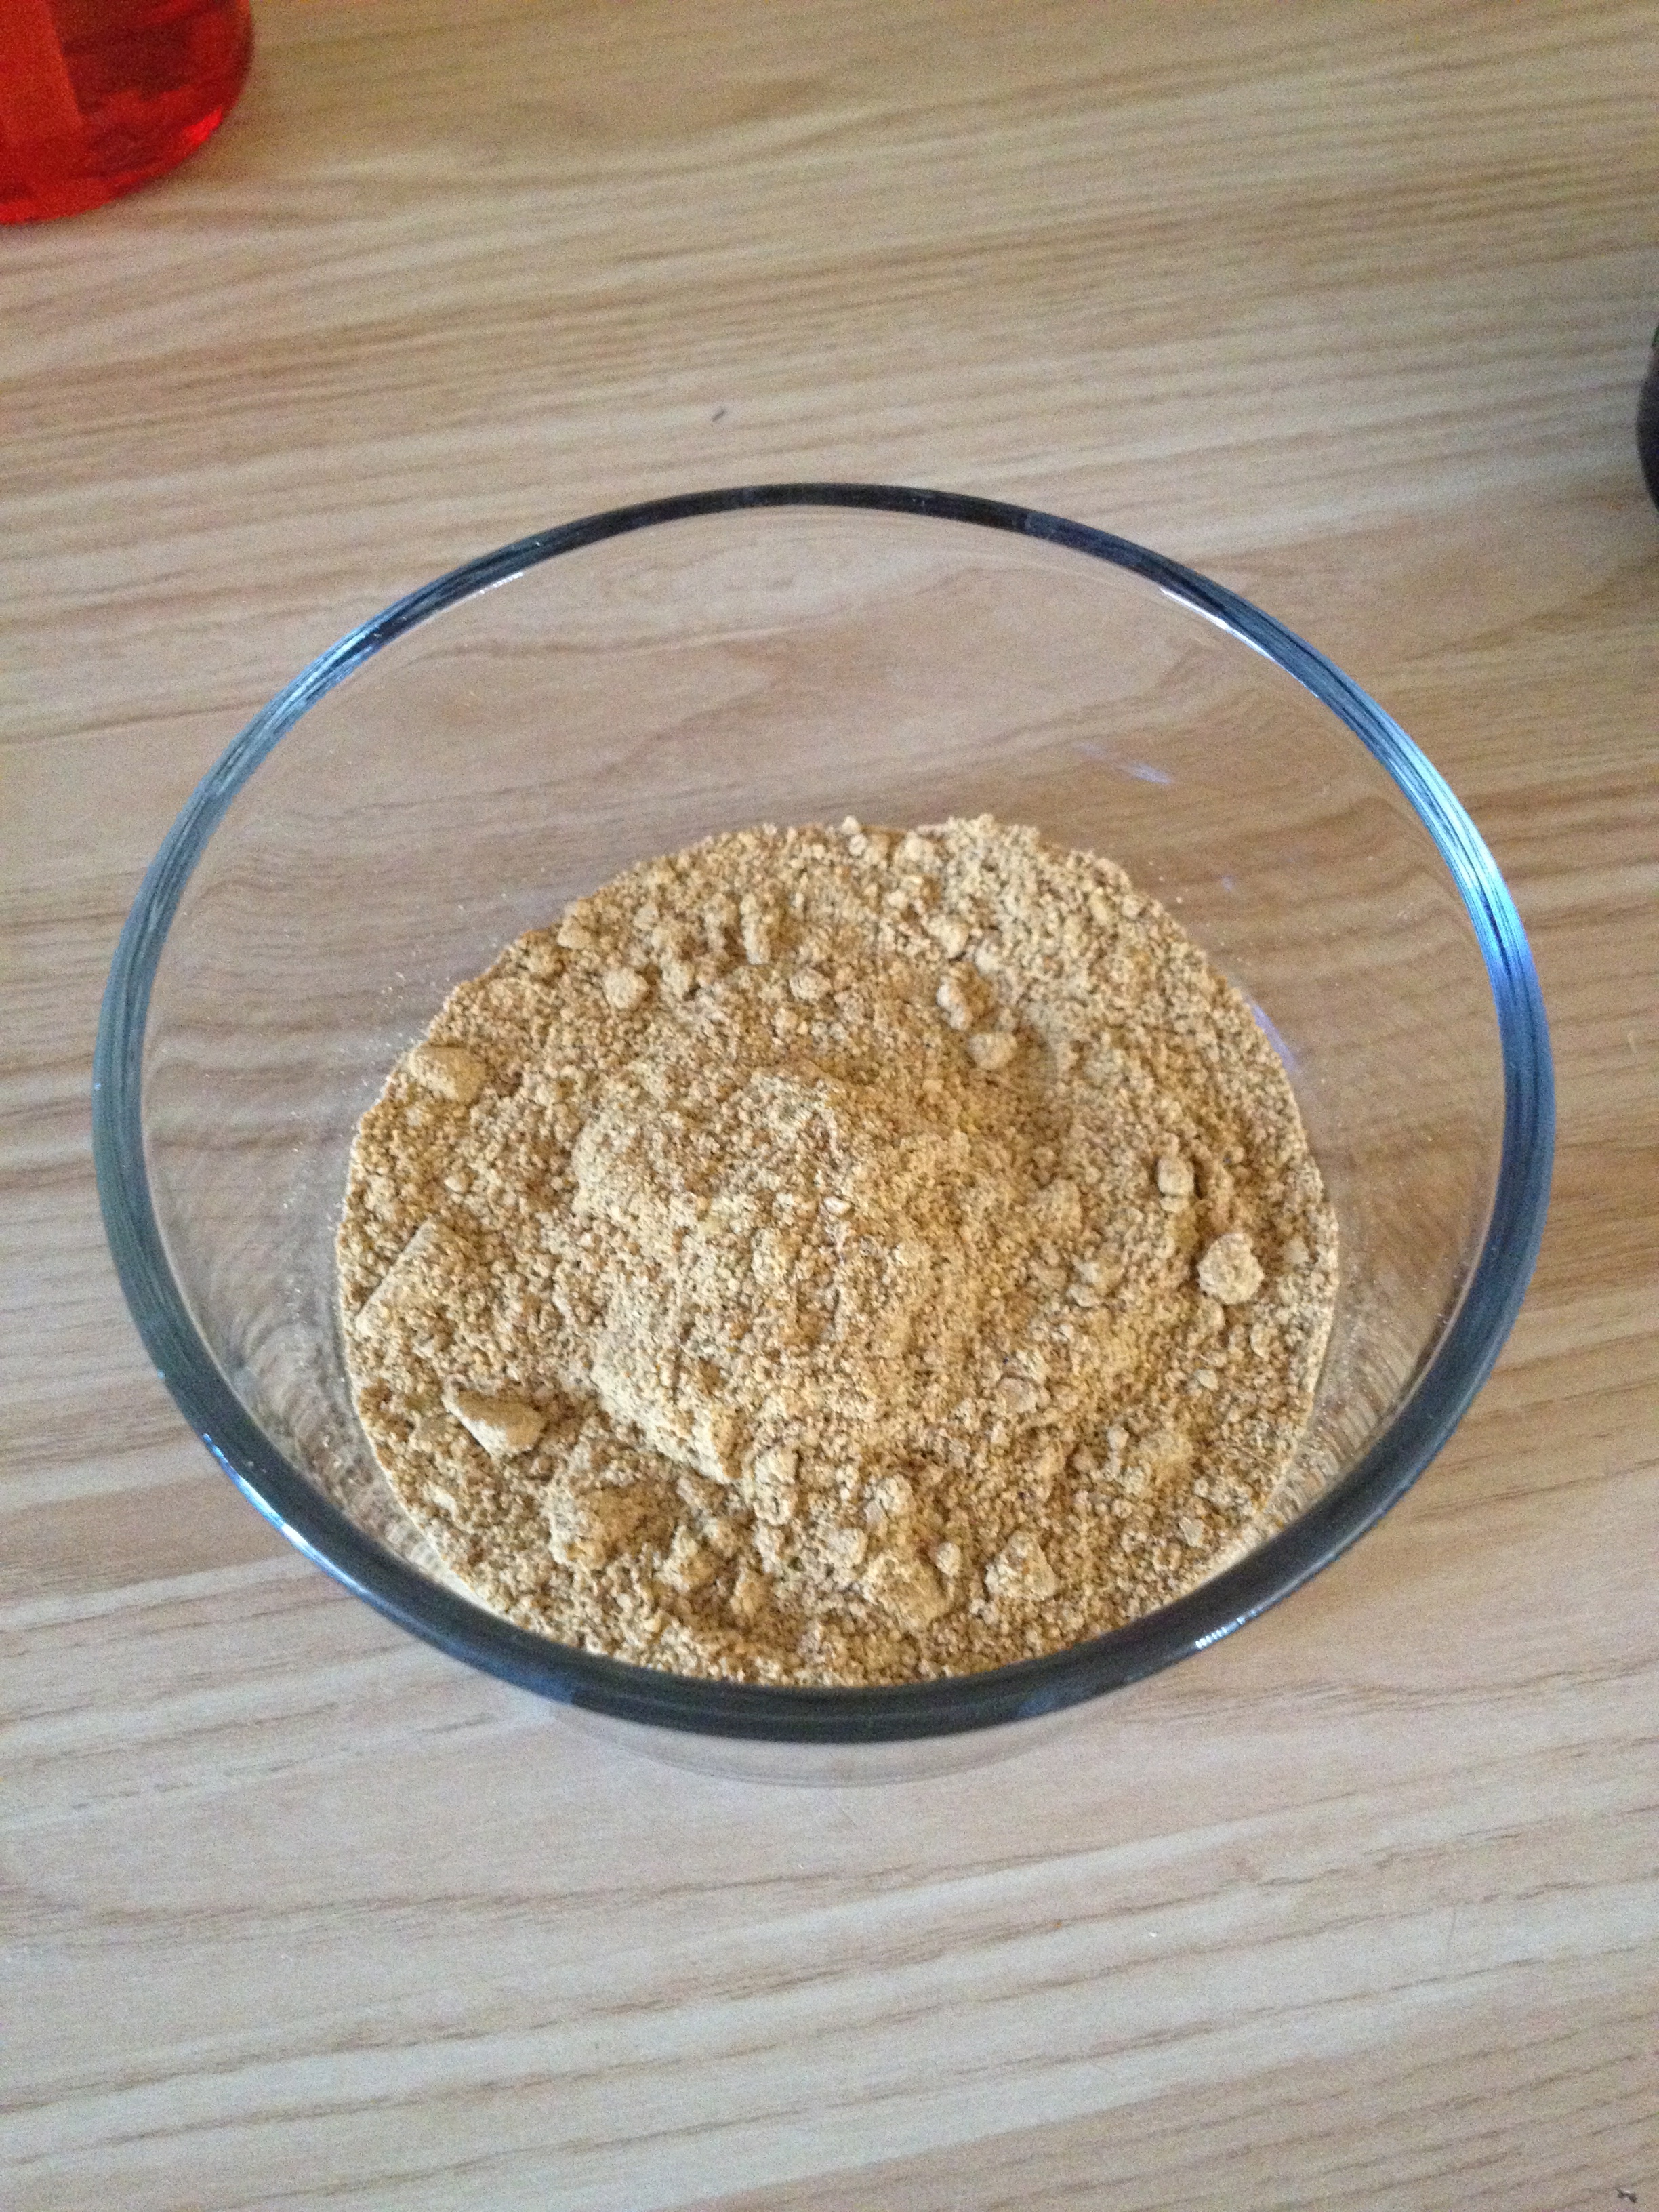
Garam Masala – 1 tsp ( you can also use McCormick curry powder)

Grated Coconut – 1/2 cup  Fresh/ Frozed

Grated Carrot – 1/4 cup

Chopped Fenugreek – 1 cup

Chopped Carrot Greens – 1 Cup

Chopped Gigner & Garlic – 1tsp each or as per your taste

In a pan add 1-1.5 tsp of oil and let it heat on medium heat for few minutes.Add cumin and sesame seeds.

Once they are brown add Asofetida, chopped ginger & Chillies and let them sauté for few seconds.

Add fresh/thawed coconut and carrots and sauté for 2 minutes.

Once the rawness is gone then add chopped fenugreek and carrot leaves. To it add little salt and put the lid and let it cook for 3 minutes.

Once the greens are tender then add boiled split chickpea and Moong dal (Split Mung Bean) and cover it for 3 more minutes. Add salt if required.

TIP: If you feel it is dry in a wrap you can add little plain yogurt and use  as stuffing.

DIY Wall Art!!

As a kid, everyone of us have some memories of doing crafts with Popsicle sticks. Isn’t it fun to create something again and feel nostalgic!! :-)Well, I have seen a ton of amazing stuff on internet that are made of popsicle sticks. But there was one wall art  that caught my eye  and I could’t resist to create.

Here is the link : http://www.pinkstripeysocks.com/2013/10/diy-honeycomb-hexagon-popsicle-stick.html

This is one of the simple, easy, quick and cheap wall art that can fill those big walls for less than 5 bucks..:) You need few popsicle sticks, super glue/hot glue gun & Paint. If the walls are dark colored I am sure the natural color of the sticks would look great.

And this is how mine looks 🙂

IMG_4008

Well, the whole purpose of creating it is to make it as a collage photo frame. When the initial thought came up, I was confident that it is going to be easy, however, when I actually started putting things together  it wasn’t practical. I was very disappointed. It looked okay but not as I expected and here is the picture.

IMG_4035Anyways, there is a learning after this project.

Firstly, since we rent this home,I wasn’t comfortable using any sort of tacky glue and place them well on the wall. So I had to create little room for a push pin 😦 Lastly, I added hexagon border to the  pictures and in that process there was misalignment ..:-(

IMG_4004
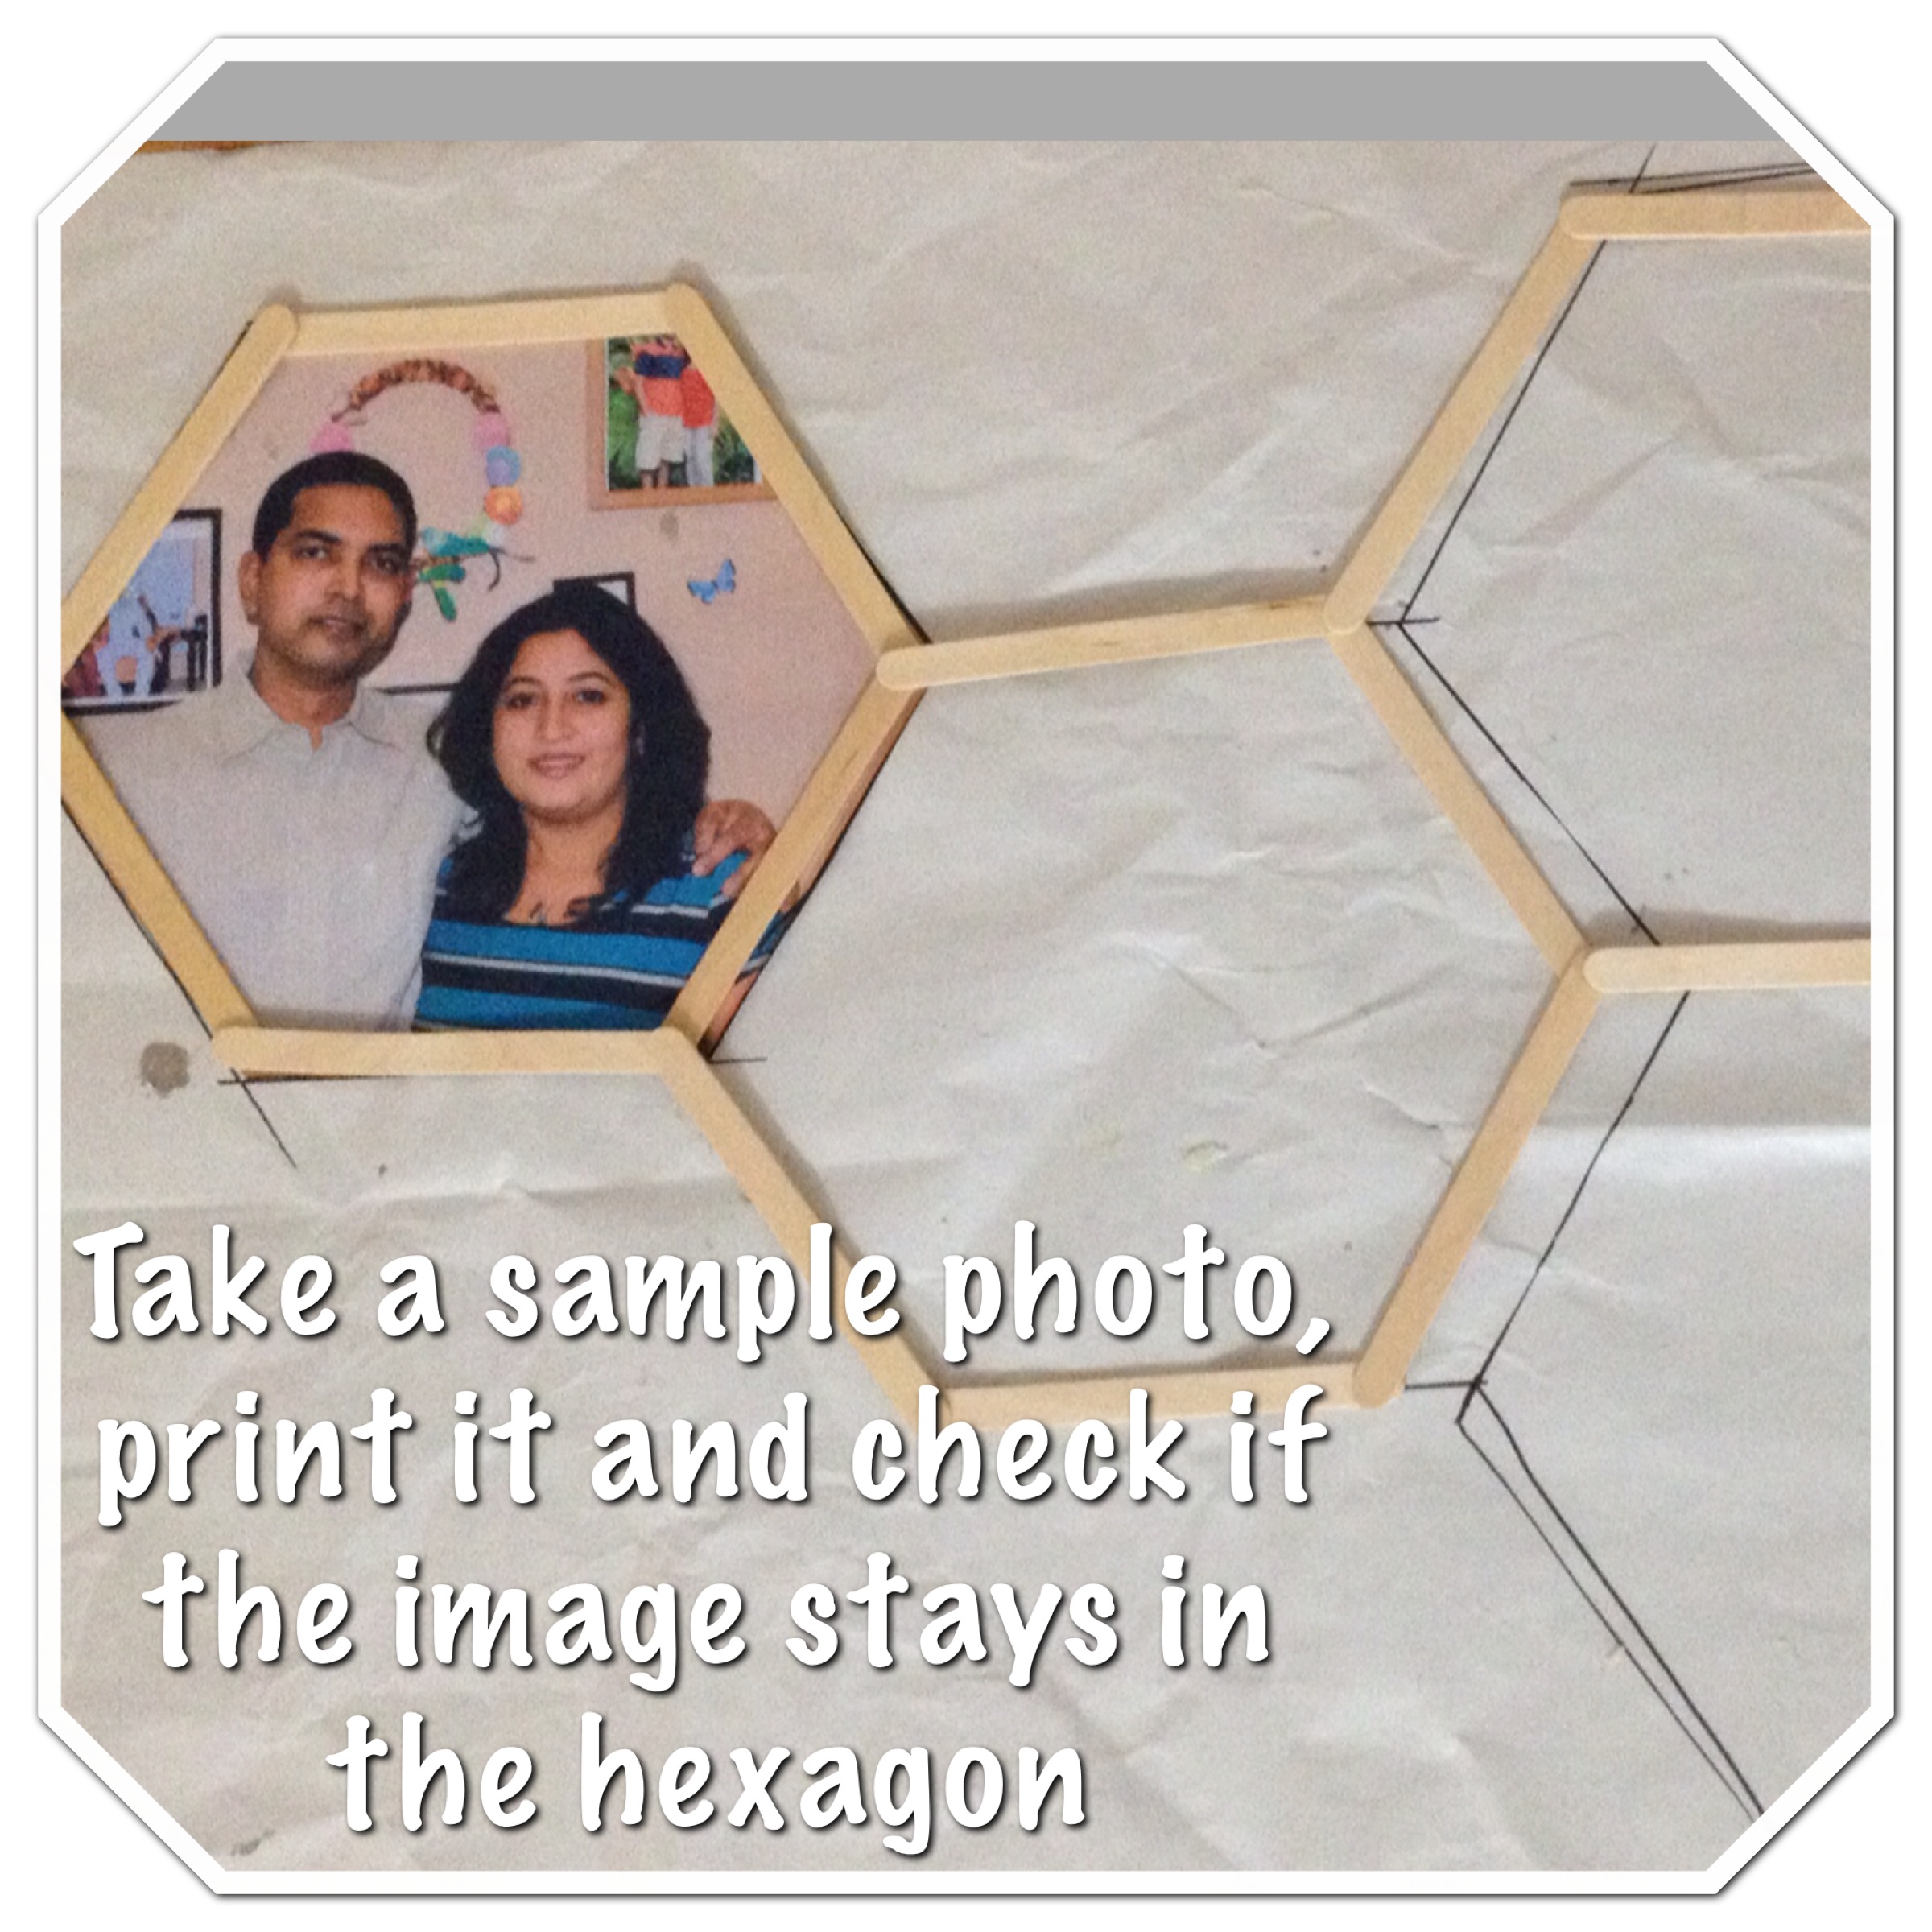
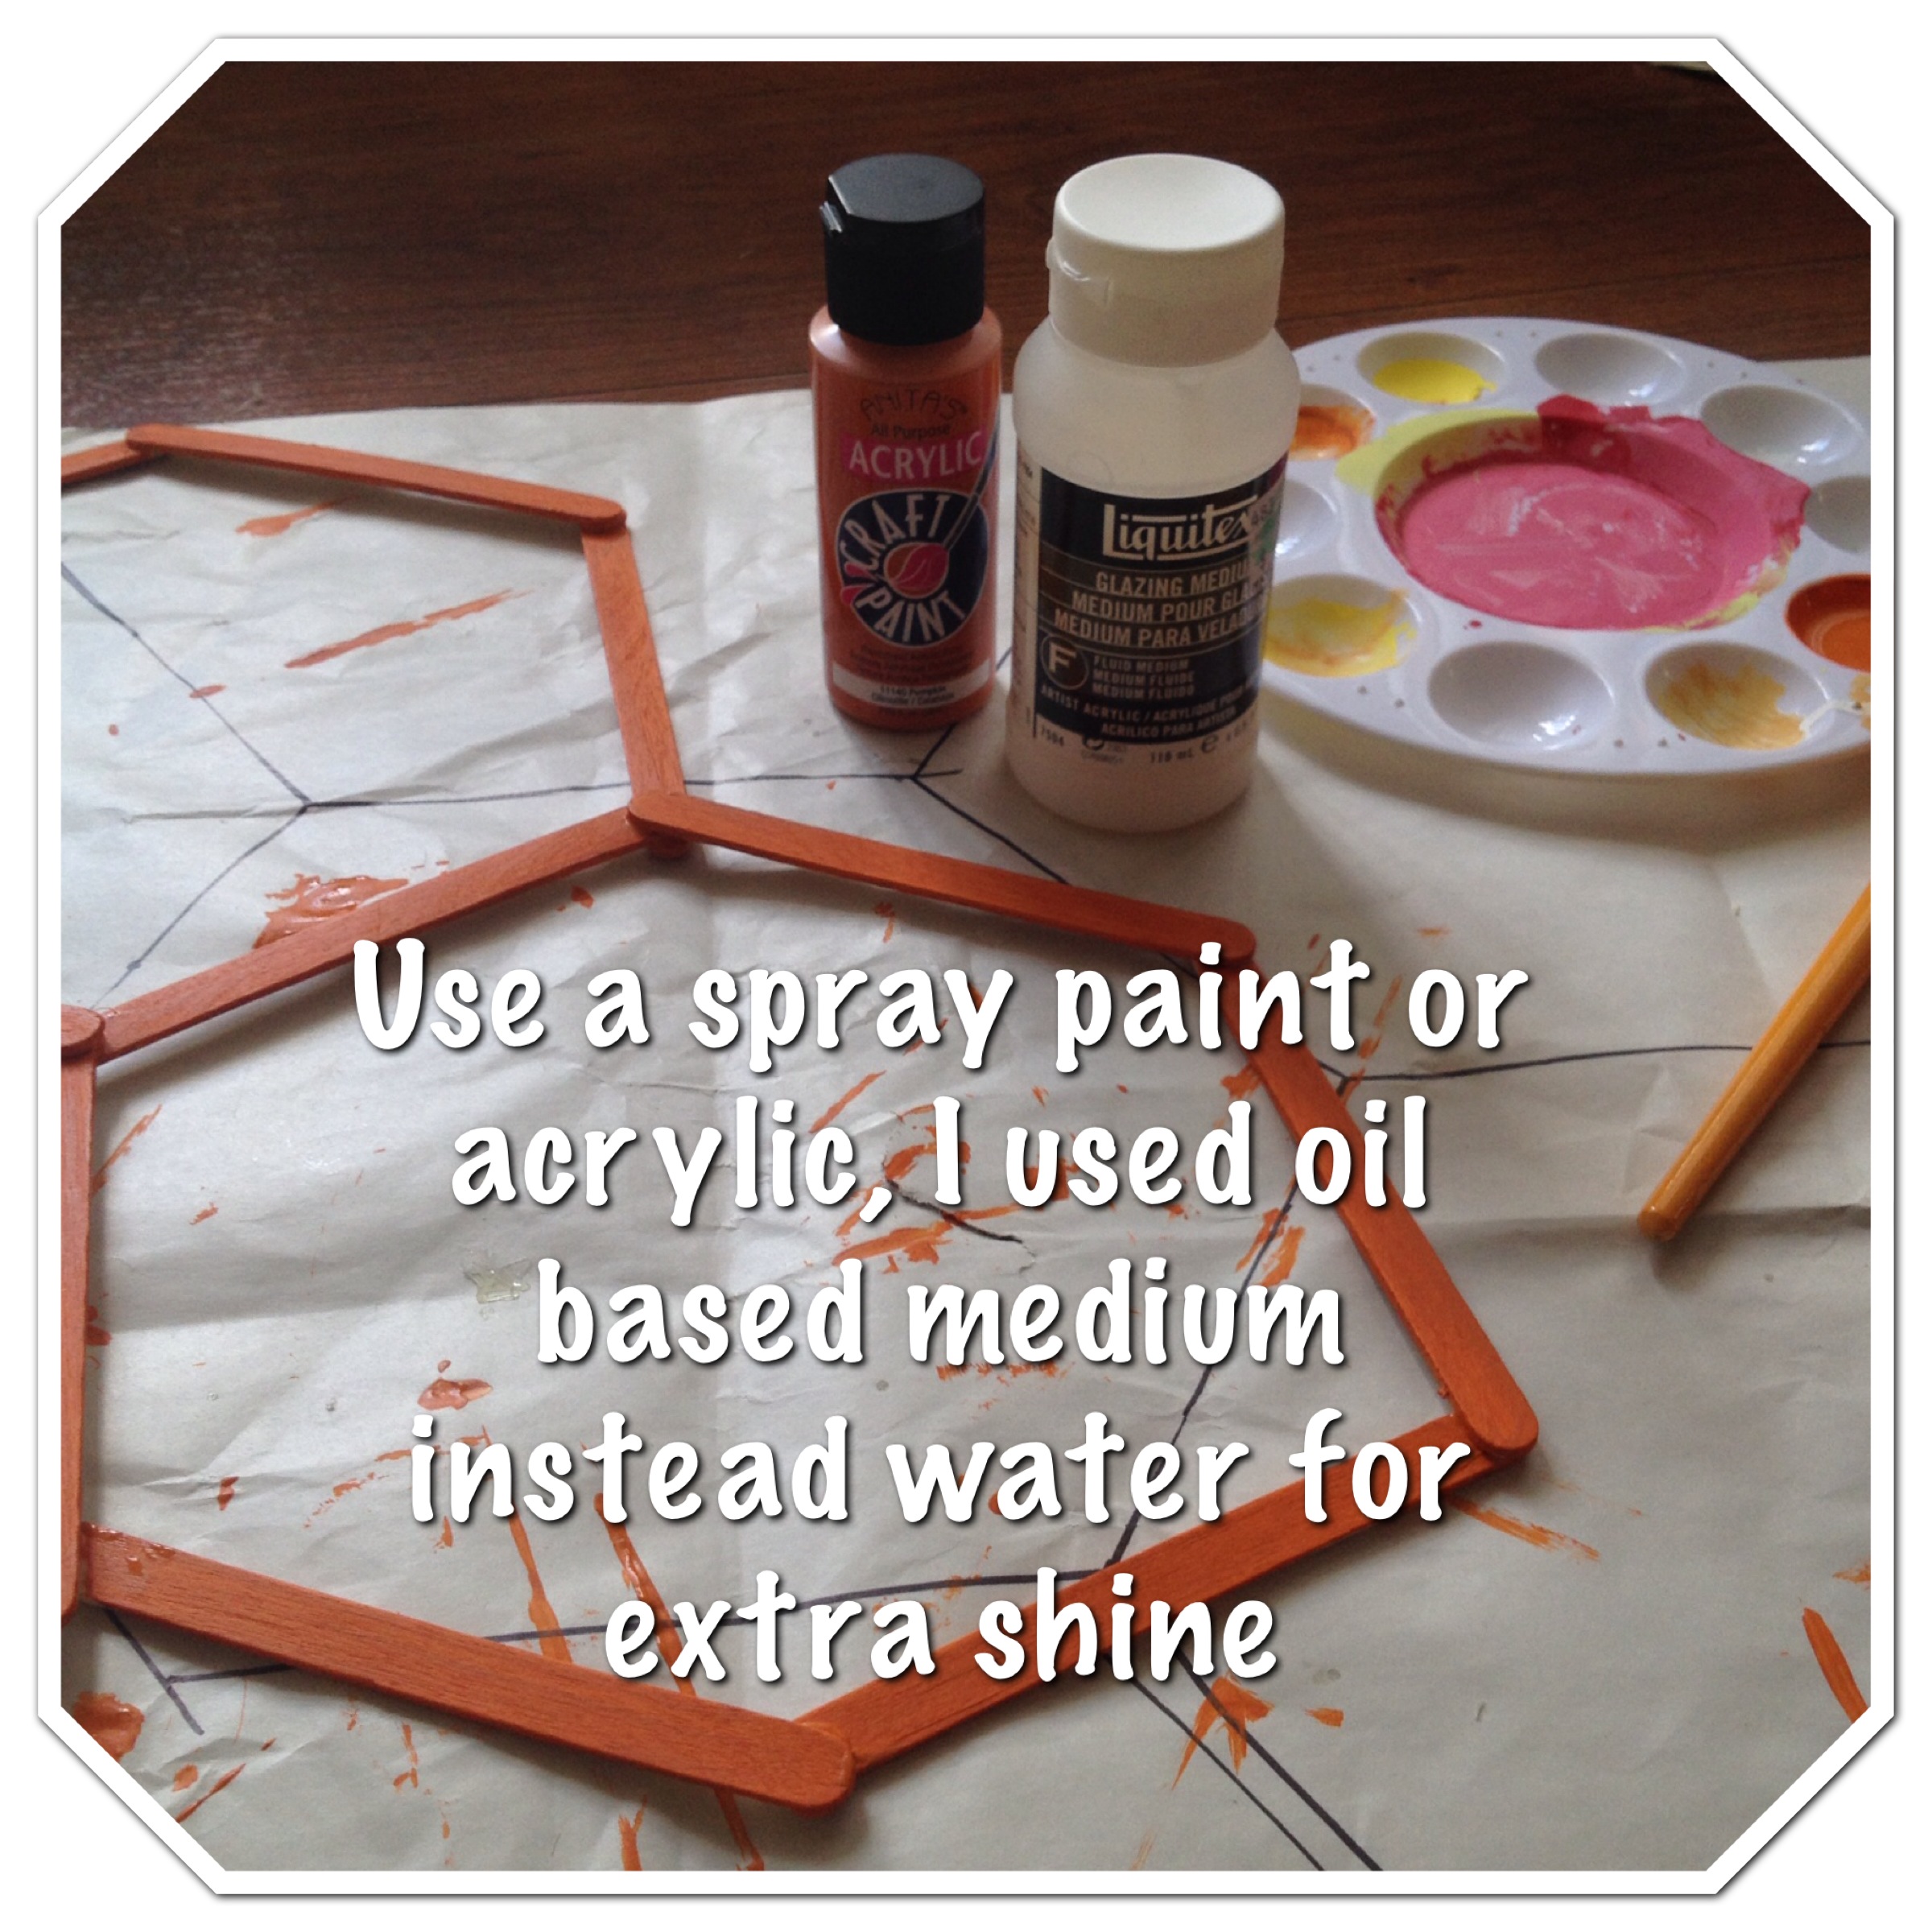
Here are some of the steps to make this popsicle wall art.

IMG_0343 IMG_0344

IMG_0345 IMG_0346

Since, I am unable to decide if I should continue  adding pictures and make it a photo collage, I am open for inputs & suggestions.

Have a great day!!

Tip of the Week!!

I love to save and re-use the store bought jars(Jams/pasta sauce) and don’t mind using them to store pantry goods/crafts. Always saved, but never end up using them because the label glue residue is annoying.

Tried a lot of home tricks that I found from internet search, nothing seemed to work 😦

One trick I didn’t try is using nail polish remover because I wasn’t sure on how long would that take and I didn’t want to inhale the strong chemicals.  Since I had to get the residue off to reuse the saved bottles & jars I gave it a try and surprised that it didn’t take long and the result is pretty neat.

Image

It is worth a try!!

Furniture Makeover!!

Image

I have been desperate to get a wardrobe cabinet for our bedroom. I started looking online and found they are very expensive. I was looking for simple and basic cabinet that has enough room to store few clothes and may be a section for guest bedroom linen and towels. So, I started yard sale search and after couple of visits I found a cabinet for $20.

I was very impressed by the price and it was in good shape, right size and has lock too. My husband wasn’t quite happy with the color as it doesn’t match our bedroom furniture.  I knew I could turn it to the way we want and was glad that I finally have something to experiment wood staining. It didn’t take long for me to realize that it is laminate wood 😦

However, I didn’t want to miss it and we bought it home. I had an idea to use contact paper(self adhesive liner) and change the color of it. But wasn’t sure if it was practical.

Anyways, I started looking everywhere for the contact paper that matches to the rest of the furniture. After 3 months of search I found @ Biglots for $2( perfectly matches my budget) and it took less than 2 rolls ($3-$4).

Image

Apart from the material, you need a lot of patience and interest in getting it right on the furniture. Below are some of the steps that shows the process.

ImageImageImage

ImageImageImage


FUSION!!

Yes, I have a perfect dish for brunch/dinner. An yummy patties that can make burger/sandwich absolutely delicious. A blend of  Indian & Middle East flavors make this unique and every bit of it will be enjoyed 😛

IMG_0301

The recipe might sound similar to Falafel but the happy part is it doesn’t require deep-frying. And also, for someone like me, chickpea is hard on tummy, black eyed beans are a great option to replace and still tastes yummmm 😉

Let’s get started and see what we need :

IMG_0311

Grind all the ingredients coarse

IMG_3887

Place a skillet/pan over medium heat and add liberal amount of oil (I use coconut /seasame) so the pan is well-coated. Pre-heat for few minutes and add the patties. Brown them on each side for 2-4 minutes. If you have thicker patties, put a lid so that the steam helps to cook even.

IMG_0312

Printable Recipe

Yield : 4 servings      Prep time: 10 mins       Cook time :10 mins

1/4 cup Chickpeas  – Soaked overnight and boiled/canned

3/4 cup black eyed beans – Soaked and boiled/canned

Coconut Oil – 2 tsps

Salt – 1/2 tsp

Asafoteida – 1/4 tsp

Pepper powder – 1/4 tsp

Coriander and Jeera Powder – 1/2 tsp each

Garlic – 2 cloves

Whole wheat flour – 1/4 cup

Cilantro – 10-12 fresh sprigs

Onion – Red/white – 1/4 cup chopped

How you make:

Step 1: Add all the ingredients into a miller/food processor and grind coarsely. If you don;t want grains use a potato masher.

Step 2: Place a skillet/pan over medium heat and add liberal amount of coconut oil so the pan is well-coated.

Step 3: Pre-heat for few minutes and add the patties. Brown them on each side for 2-4 minutes. If you have thicker patties, put a lid so that the steam helps to cook even.

And you have yummilicious patties to use for burgers/sandwich with your fav bread and veggies.

You can also cook them as sausages and make healthy veggies wraps.

Flatter your feet!!

I can’t get enough of flip flops 😉IMG_0275

Well, it means i am again with a new DIY flip flop makeover.

Yesterday I picked couple of them from Old Navy and today i have one of them changed to my style. Yes, this is again a very simple project and doesn’t take more than 30 mins.

You don’t need  much- any old t-shirt, scissors, water resistant glue and  of course a pair of flip flops 🙂

So, lets get started.

Image 2

photo 2

Image

Image 1

Image 3

Curry Powder!!

When you sautee vegetables or make a specific vegetable curry(non gravy based) adding a curry masala would definitely give a great flavor.

Today I am here with a very simple and quick traditional curry masala that has an unique and yummy flavor and the best part is it goes well with almost every vegetable. I am sure your guests would surely ask for recipe 😉

Preparation time : 5 mins

Cooking time : 15 mins

Image

What you need :

Coriander Seeds – 1-1.5 tsp

Jeera – 1 tsp

Split Chick pea – 2 tsp

Dry Red Chilles – 2-4 ( mild)

Salt to taste

How you make:

1. Dry roast the above ingredients separately and let them cool for few minutes.

2. In a spice grinder/miller grind them into fine powder.

IMG_3848IMG_3850IMG_3851

Tips :

It is good to make it in small amounts so that it remains fresh.

Adding few cloves would give a great taste to Potato and Kohlrabi stir fry

Adding pepper and cinnamon adds a great flavor to Carrots and Beets curry/stir fry.

If you are not particular of using fresh coconut, you can also add desiccated coconut, dry roast and grind them together.

The curry powder goes well with Okra, Tindora(Ivy Gourd),Bottle Gourd, Potato, Kohlrabi, Carrots, Beets, Eggplant, Green Bell pepper etc.

Are u ready to wear flip flops??

Its Spring, soon going to be Summer and time to wear cool flip flops.

Today, I have a great, quick and easy flip flop makeover project. It hardly takes time to give a new look for some of our comfortable old ones..:-) This DIY is from my sister and I thought it is really fun to share 🙂

I know most of us have old nail polish almost dry but then, in pretty colors.  And if you add some nail polish remover they can be usable too. May not be best on nails but lot of other projects where it gives a nice shine and water resistant 😉

ImageShe had these almost dried nail colors and added few drops of nail polish remover and painted on her flip-flops. For the strap she took an old cotton top cut them into stripes like ribbon and wrapped it around the strap and they are absolutely fresh and new.


Image

I also have a cool idea to instantly match your jewelry. If you have a light color pearl or bead earrings/jewelry it is easy to paint some matching nail polish and match it to your dress or top. And when you want other color jus take a cotton swab/cotton bud, dip it in nail polisher remover and clean it. I have couple of pairs of ear rings that I keep changing and this is how they look 🙂

Image

I hope you enjoy reading my post and make over some of your stuff.

Have a great day!!

Tip of the Week!!

Happy Thursday and here I am with my tip of the week for Happy Gardening 🙂

So, when you sow seeds, isn’t that great to see them sprouting early.

Here is a way to make that happen.

Image1. Soaking in water or milk for 3-5 hours

When the seeds are dried they develop lot of hard layers. Soaking them in milk(lactose) or water( pref. luke warm) helps in softening the layers and the top layer usually breaks and it helps in quick sprouting.

2. Keep the soil warm

Image
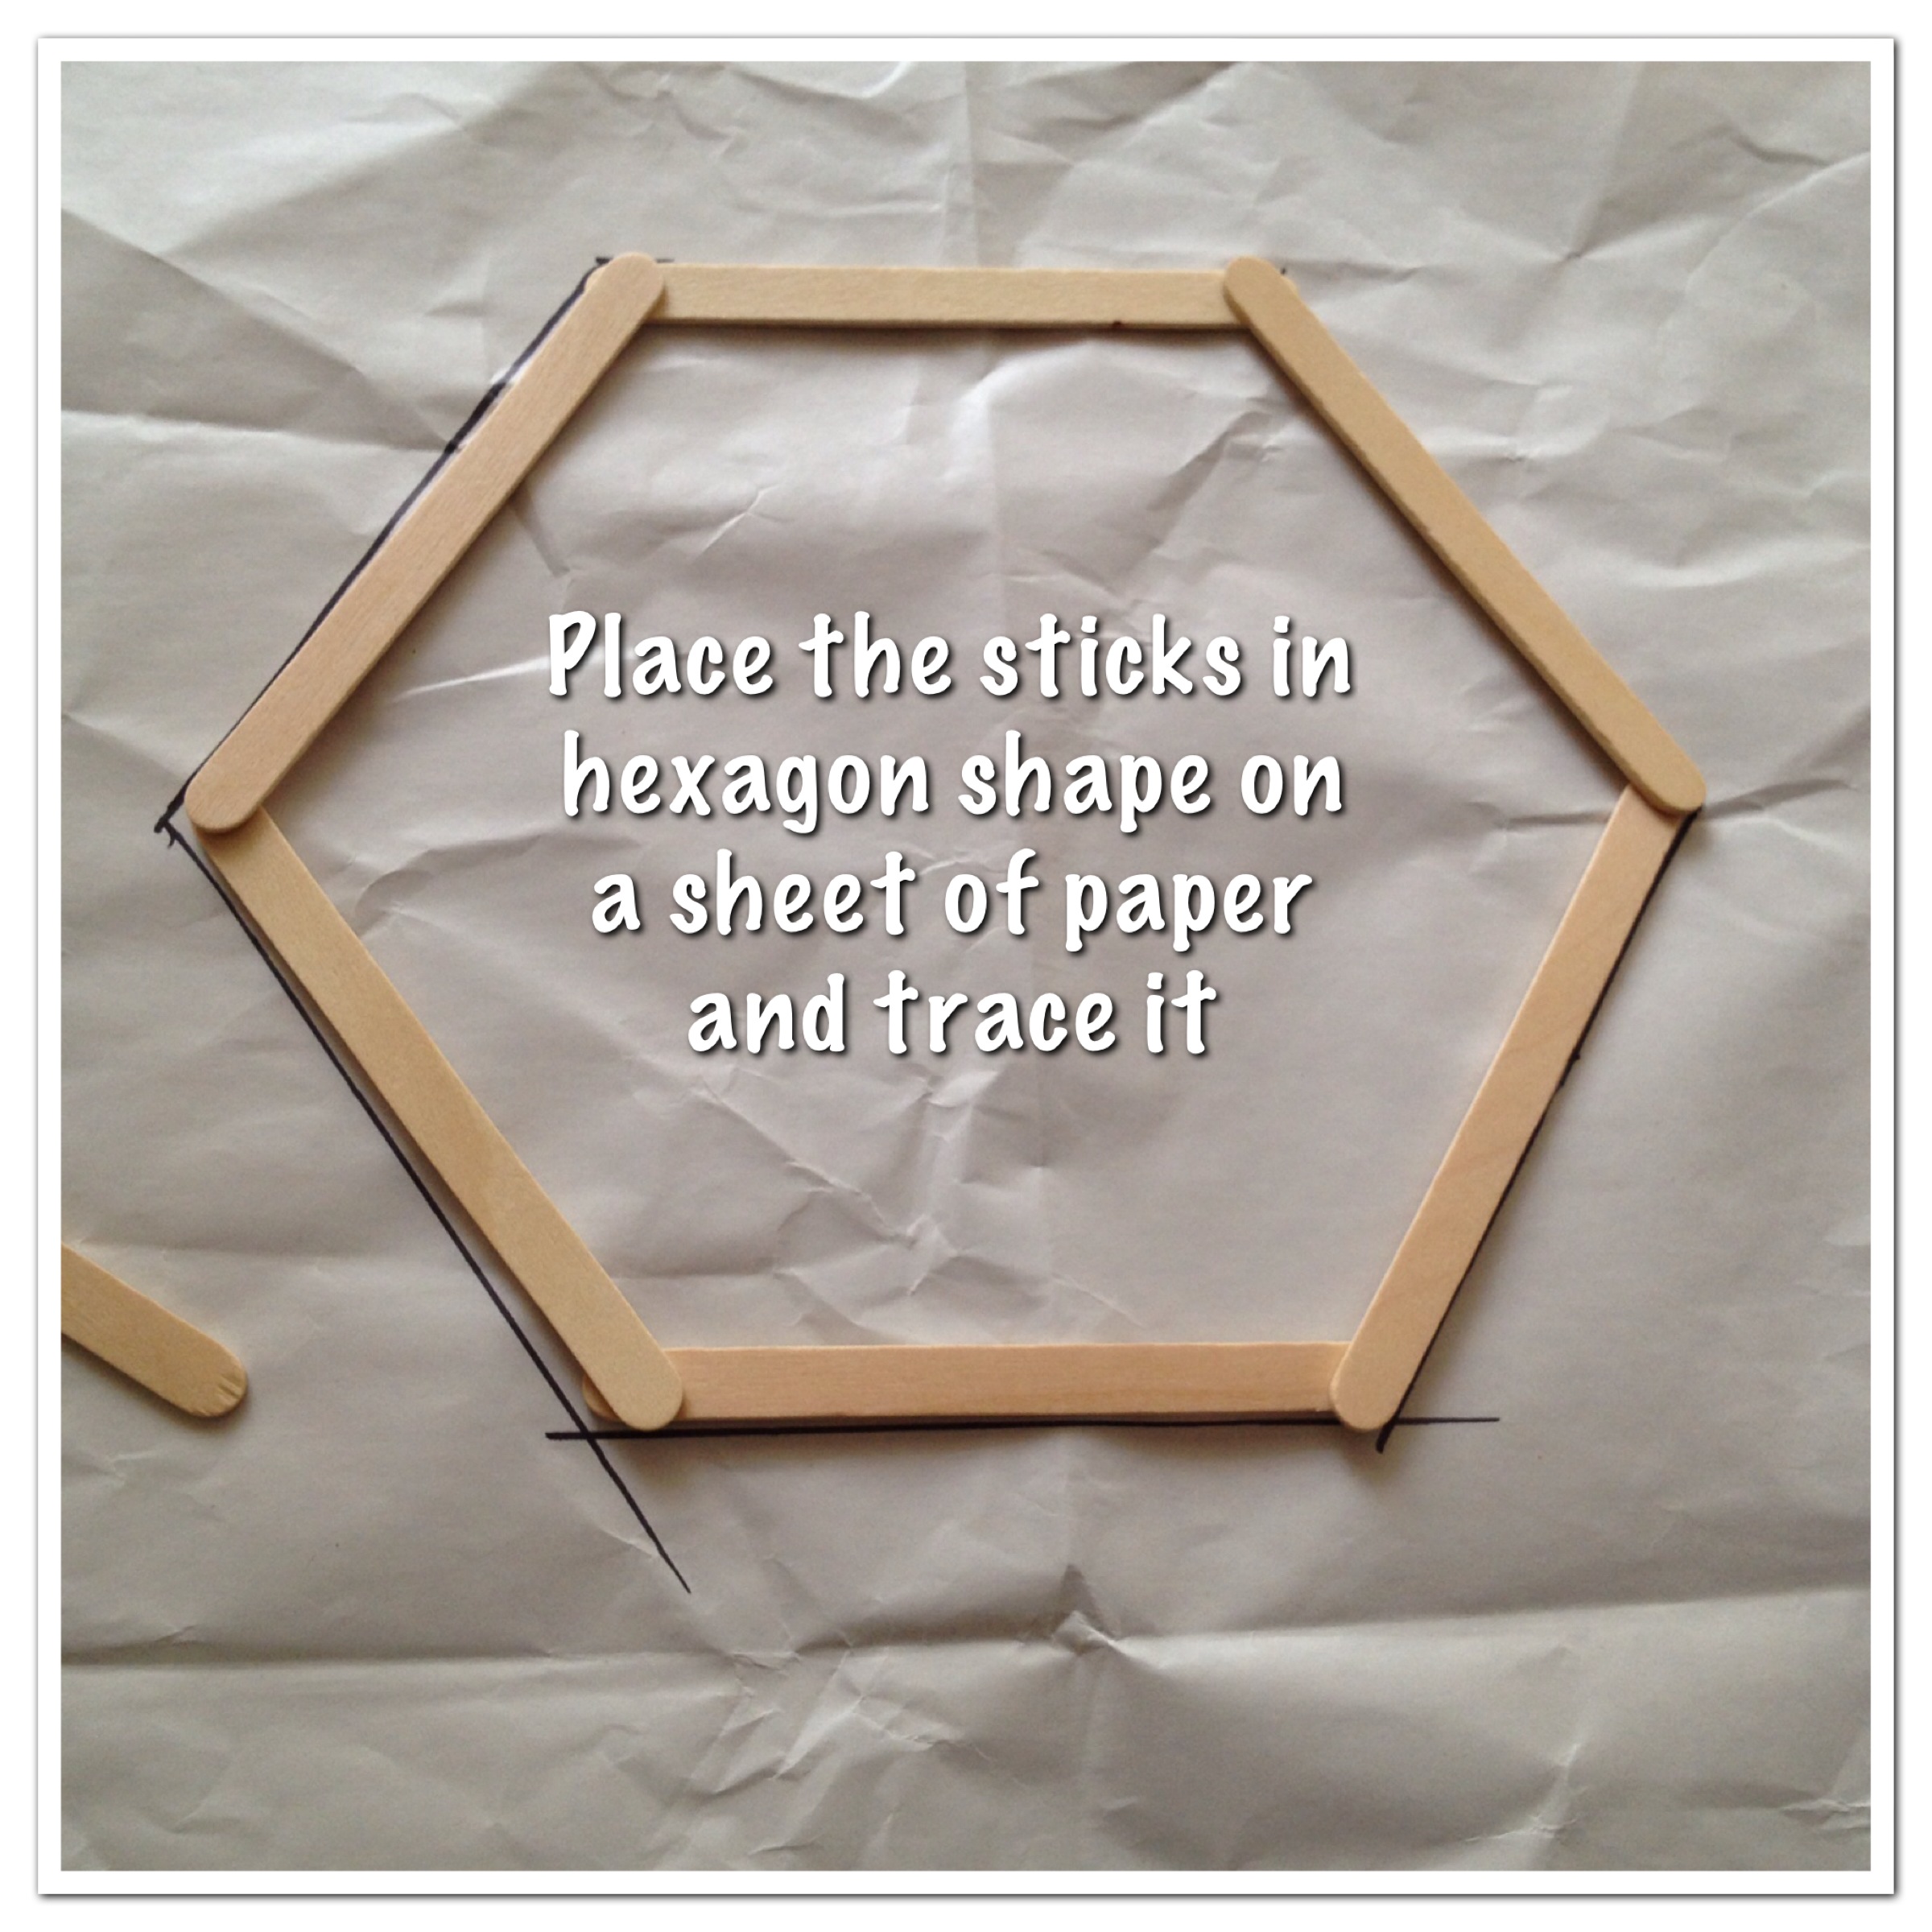
Once you sow the seeds it is important to keep the soil warm and consistent. During days the soil is warm but in the nights when it cools down, it takes lot of time to warm up next morning. So covering the pot with a cling wrap/thin plastic sheet  with tiny roles(to let it breathe) would really help in keeping it warm consistently and quick sprouting.

This really helps for all seeds and I was successful with Fenugreek(Methi), Fennel, Tulasi (Holy Basil), Eggplant & Okra.

Happy Easter & Happy weekend!!

Childhood Memory!!

As a kid “Palanquin Bearers” was always dear to my heart. It is nostalgic to remember my imagination when the poem was narrated by my English Teacher. The poem is most rhythmic and a visual treat.

Palanquin Bearers

Lightly, O lightly we bear her along,
She sways like a flower in the wind of our song;
She skims like a bird on the foam of a stream,
She floats like a laugh from the lips of a dream.
Gaily, O gaily we glide and we sing,
We bear her along like a pearl on a string.

Softly, O softly we bear her along,
She hangs like a star in the dew of our song;
She springs like a beam on the brow of the tide,
She falls like a tear from the eyes of a bride.
Lightly, O lightly we glide and we sing,
We bear her along like a pearl on a string.

It is one of the poems of a great Indian writer Sarojini Naidu, the “Nightingale of India”. She was a child prodigy, a poet and an Indian Independence Activist.The poem is a description of one of the customs of ancient India.

It is a sensitive and great way of expressing pride & joy by the palanquin(palaki) bearers while they were carrying the royal princess. Palanquin is a means of transport commonly used in the olden time to carry the bride to her in-laws home. The bearers say carrying the royal princess was never a burden instead a huge privilege.

So, finally I could create the beautiful expression and made some additions in my own way to make it more memorable..:)

Image

I picked a painting, colored with pencils and quilled( paper art) the palanquin. It took quite a lot of time and patience and it is absolutely worth for this beautiful piece of art 🙂

Image

Hope you like and please don’t forget to leave your thoughts.

Bye


Cooking Without Limits

Food Photography & Recipes

Travelling Krishnaite

Shekhar Srivastava's Blog

Live-😊-Life..

"It has everything in little as a HAPPY package!!"

DesiCrafts

A blog Dedicated to Indian handicrafts, Fabrics and Supplies

Fulgorine

My adventures with art and polymer clay

The Beaded Bazaar

Polymer clay creations

Learn Polymer Clay

Inspiring you to explore your creativity and get down to work! A great collection of Free Polymer Clay tutorials

Wear the Ducky Tie

A Sewing Blog

sewmanju

Make your own style

SEW KATIE DID

because thread is the best glue.

The Crafty Coup

Finally, you're here! Let's make something!

The Daily Post

The Art and Craft of Blogging

WordPress.com News

The latest news on WordPress.com and the WordPress community.