Creative Sisters!!

So, today it is about my 2 younger siblings Radhika (Rads) & Madhavi (Madhu):-) I love my sisters and cannot image life without them. We fight a lottt and at times share, laugh and love to hang out..;)

Since, they don’t “over use” social media unlike me..;) I thought will share some amazing stuff they do. I had to take permissions before putting in blog!! Kidding 😉 they are very sweet.

1010833_336205073180158_1779933848_n
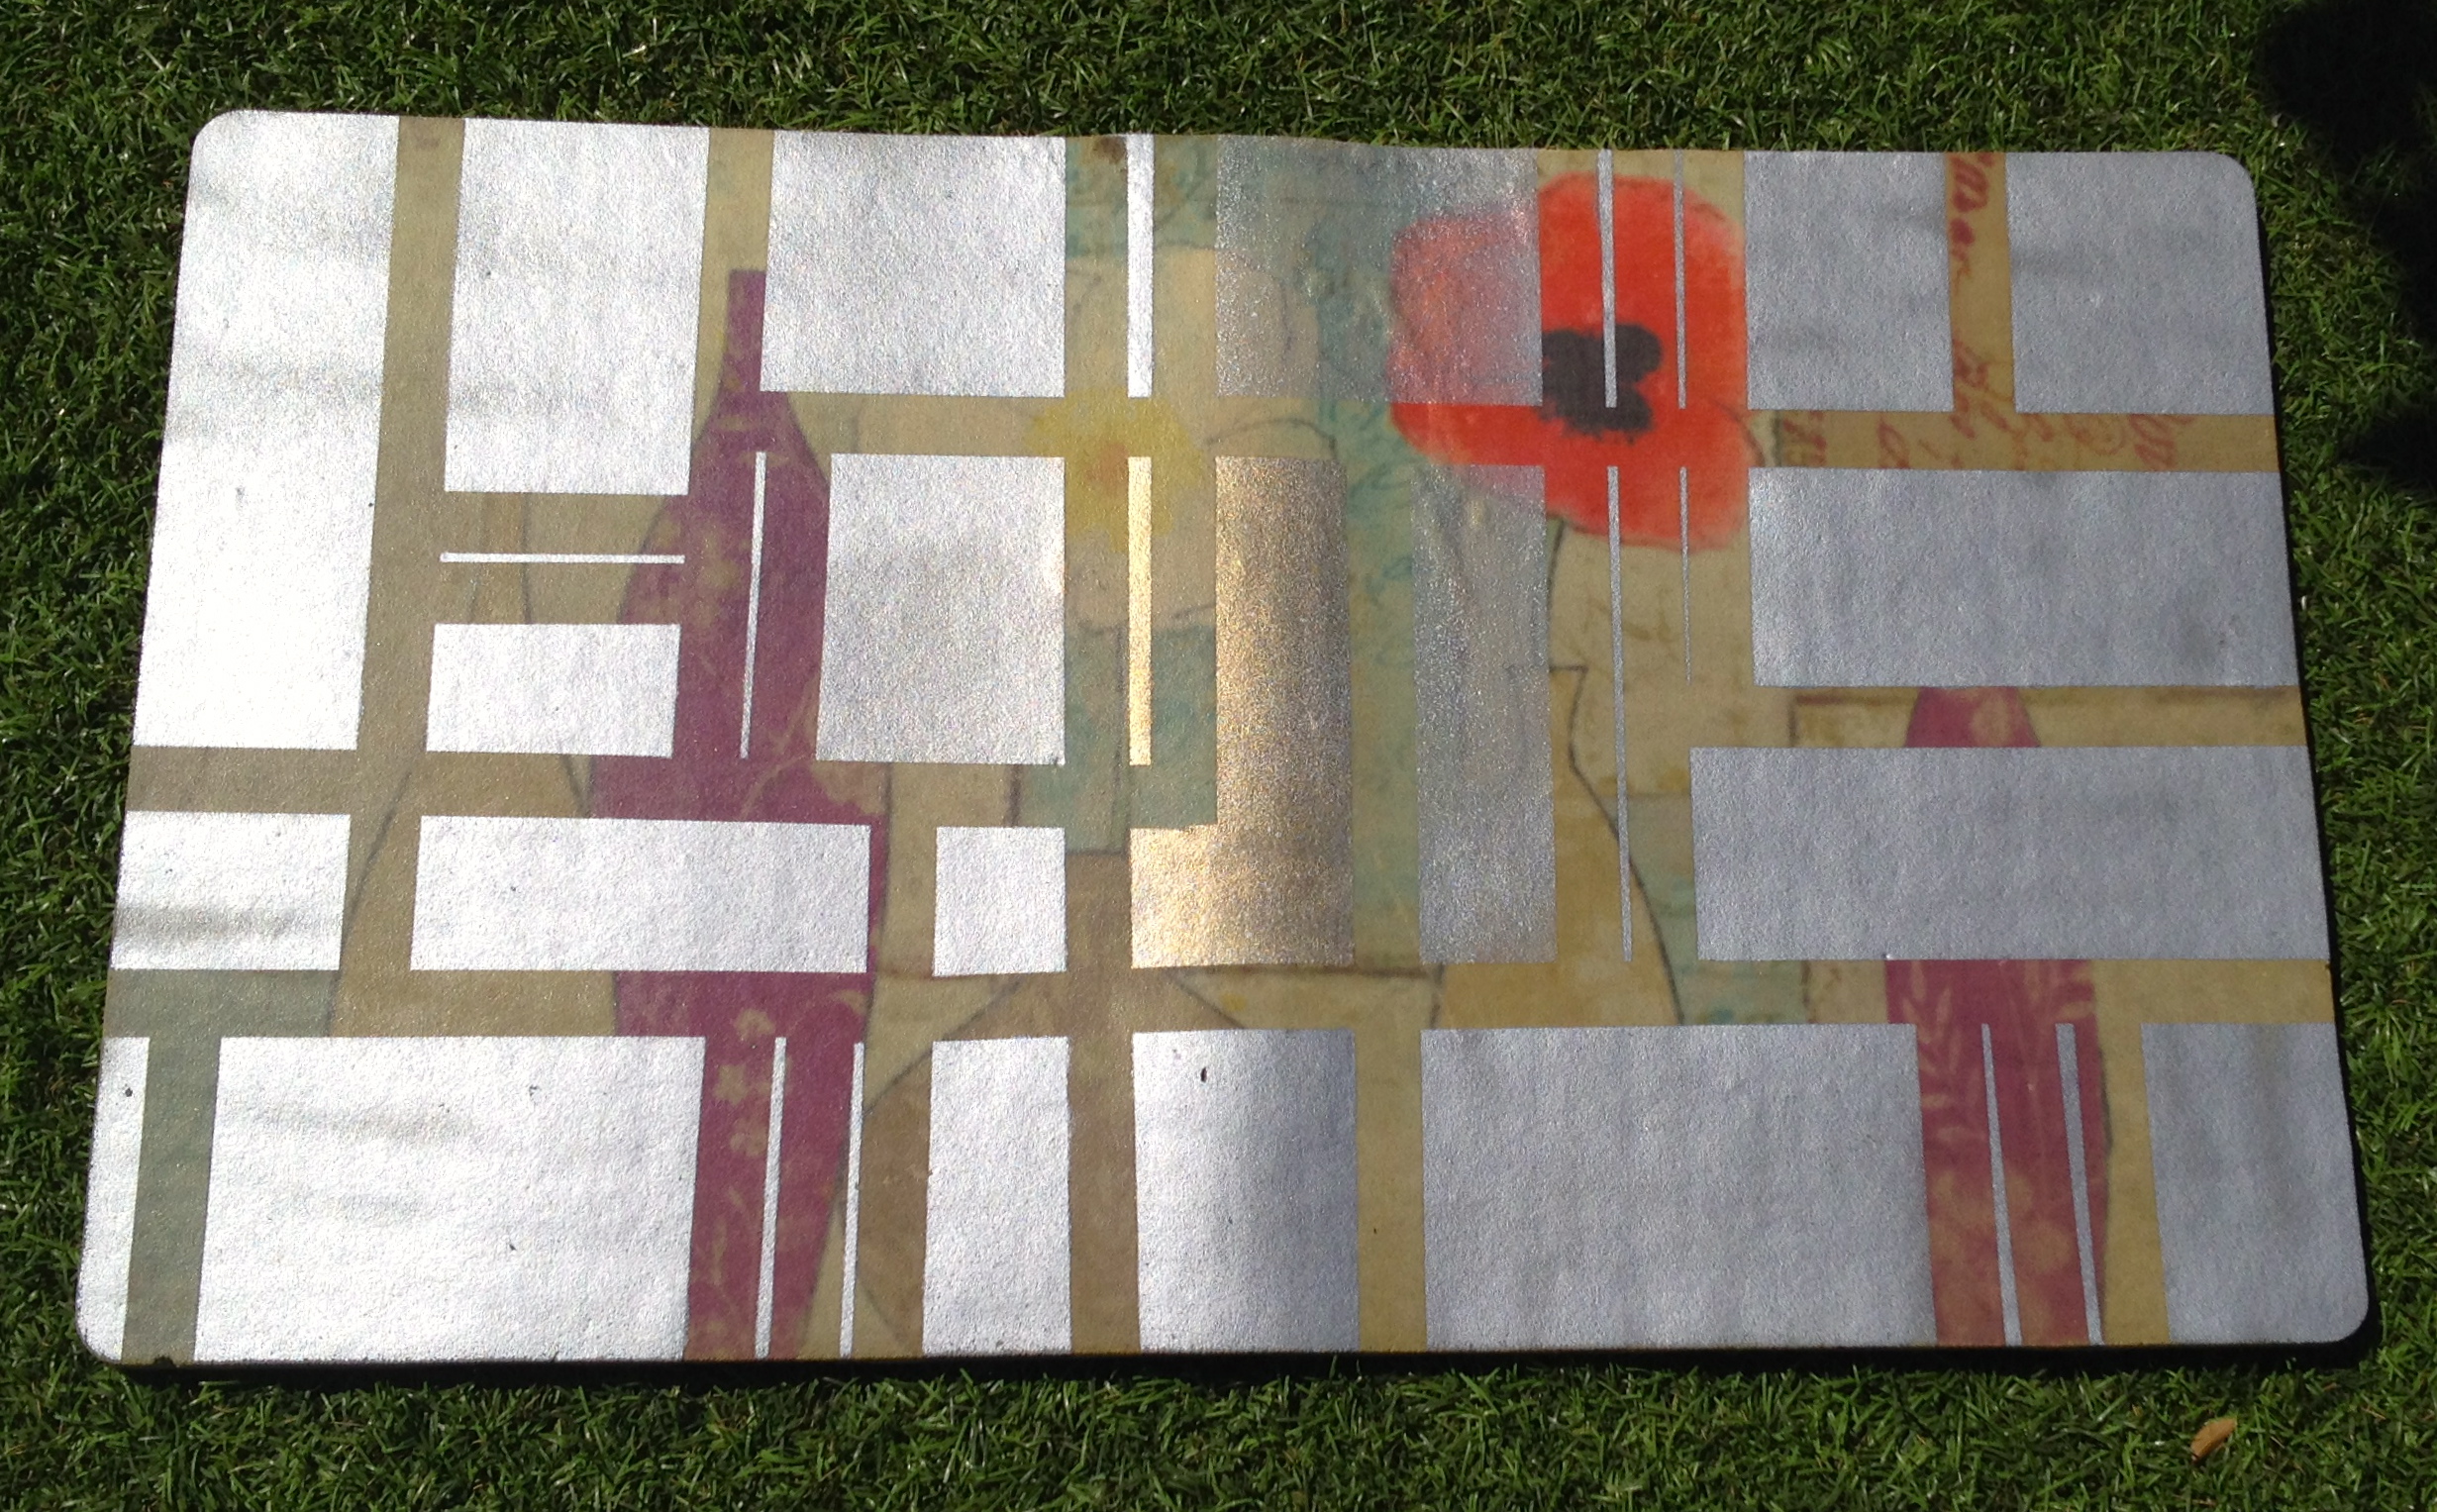
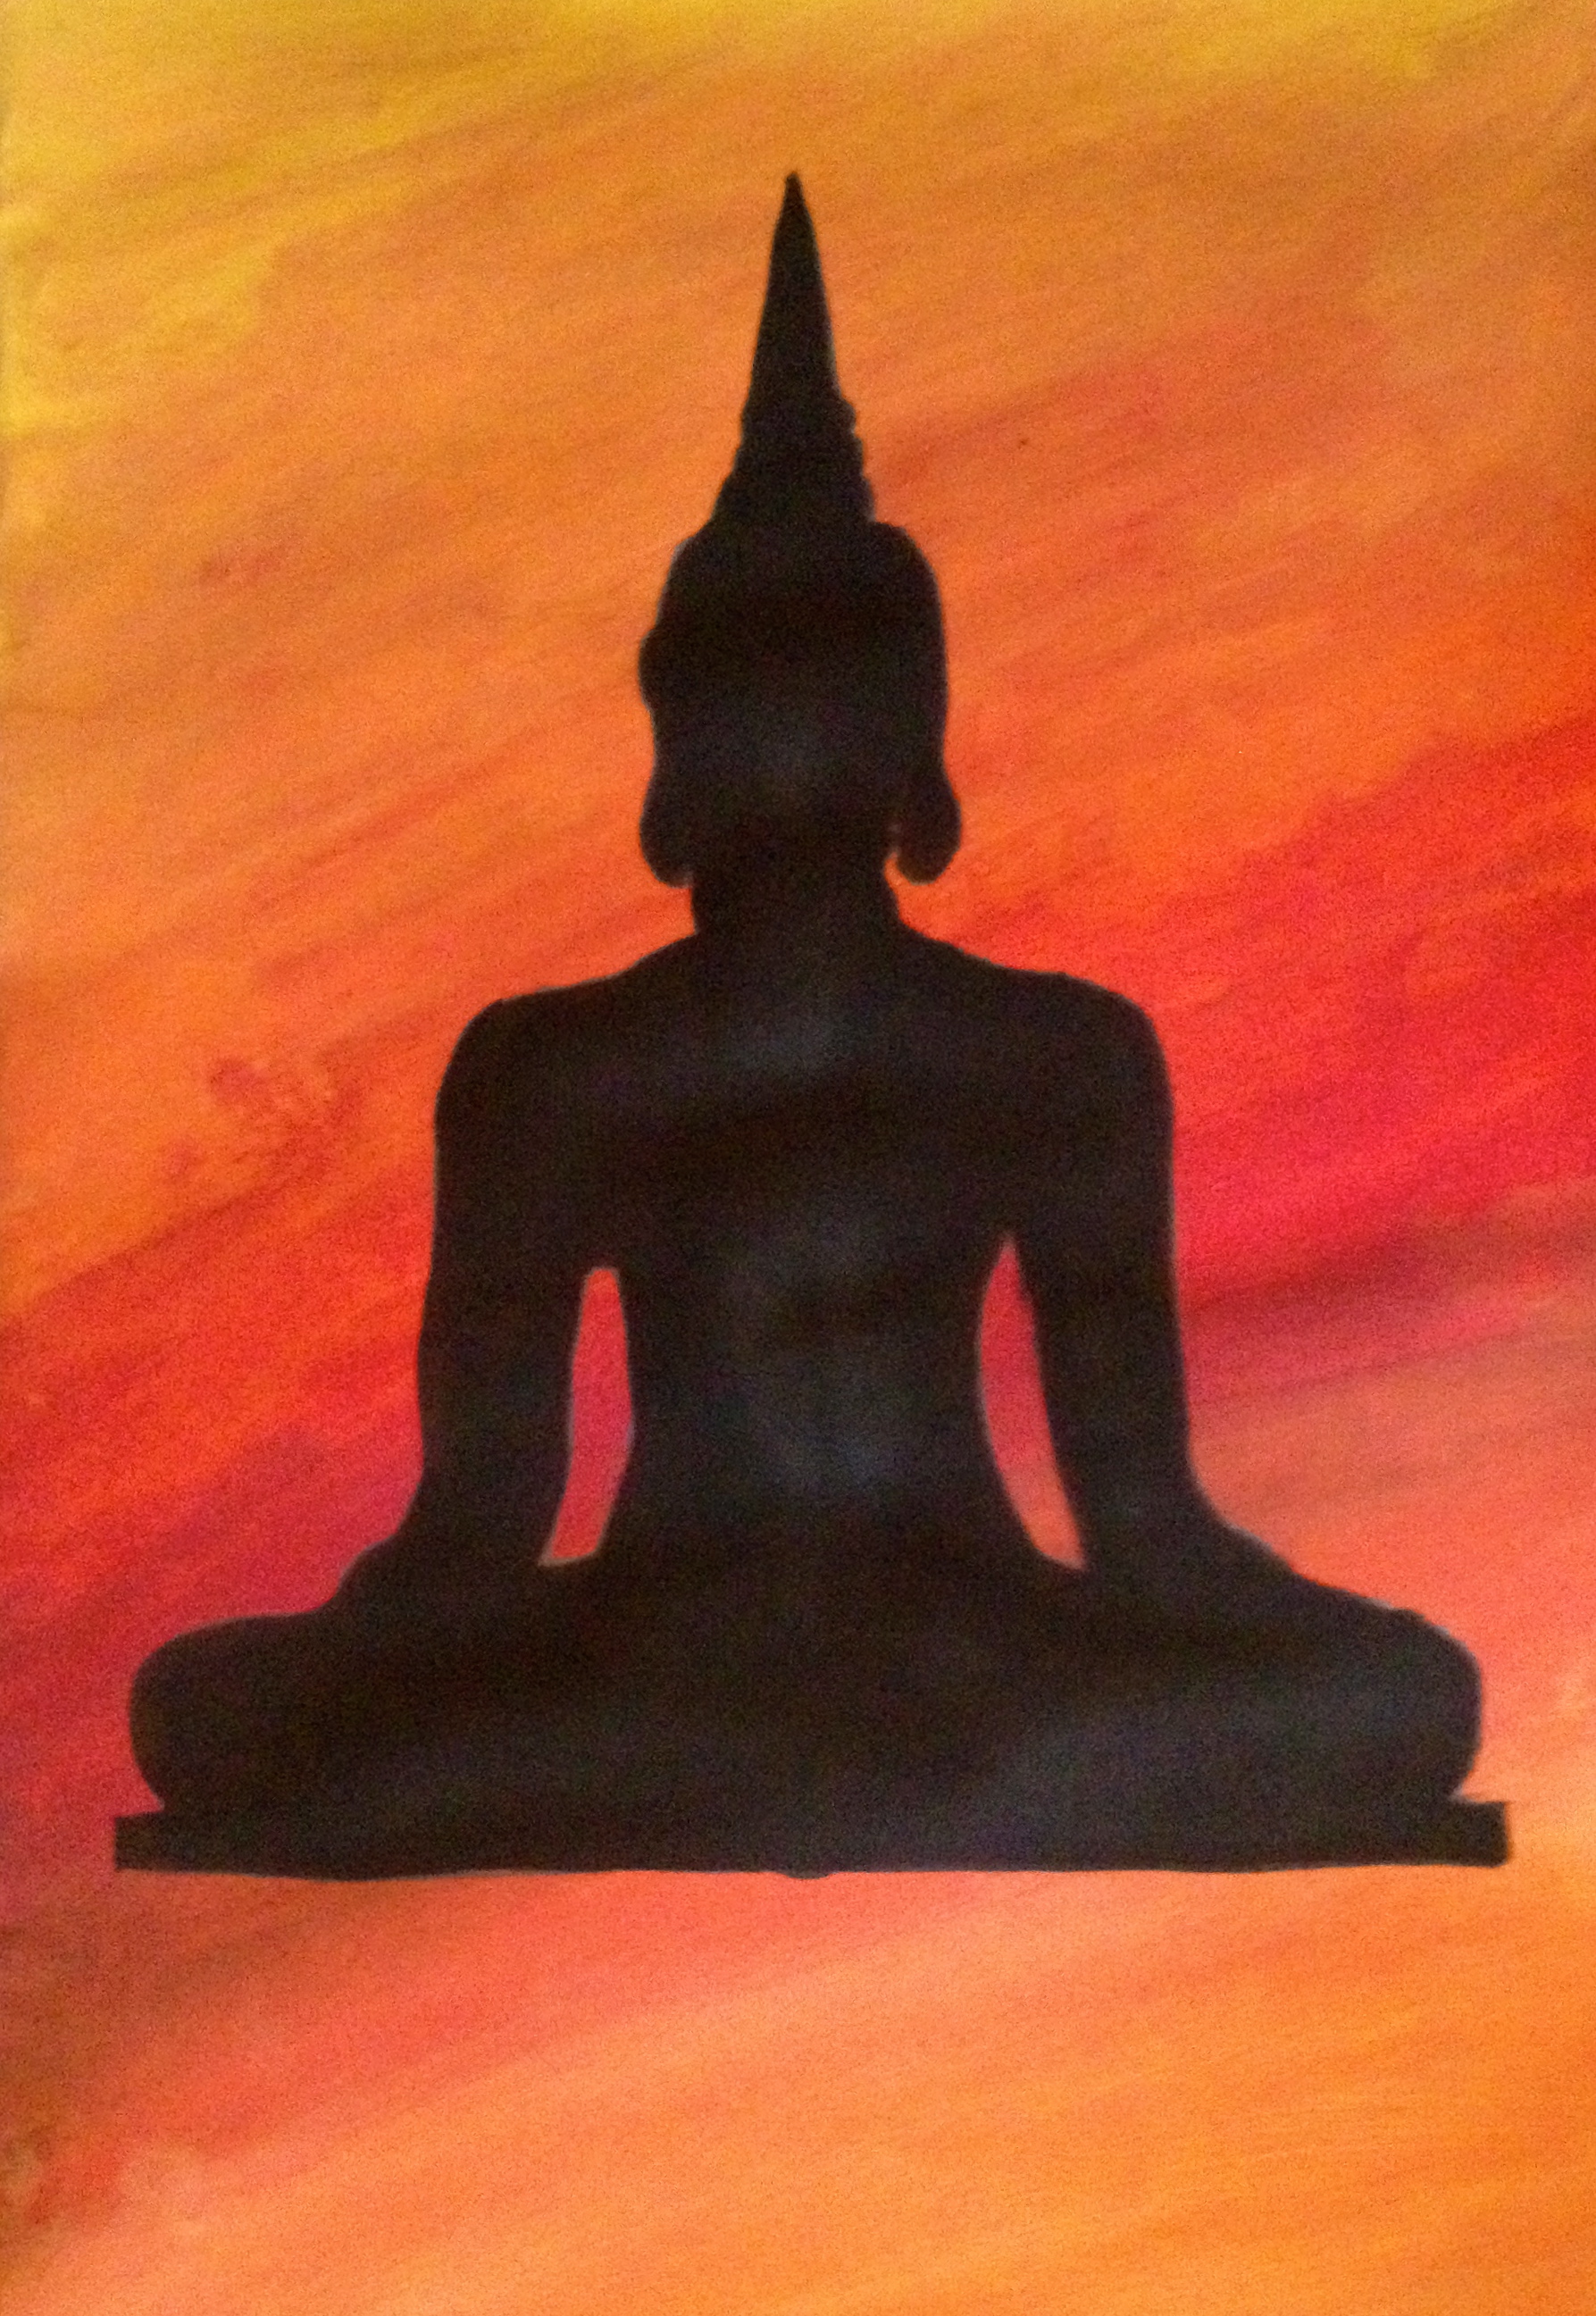
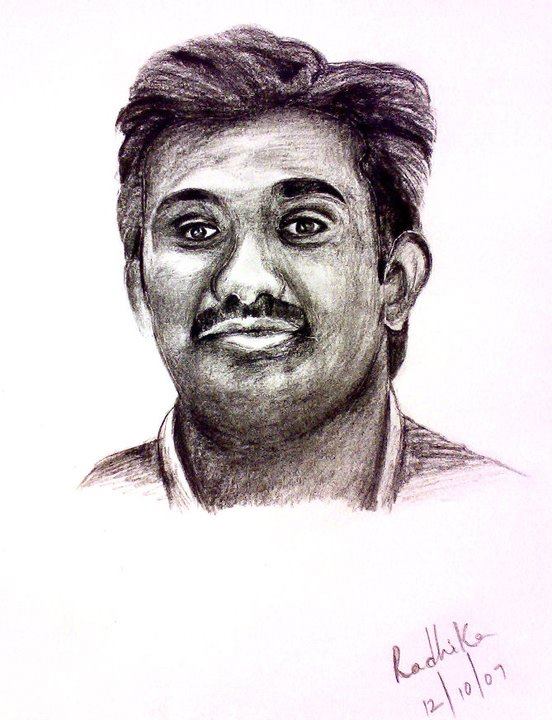
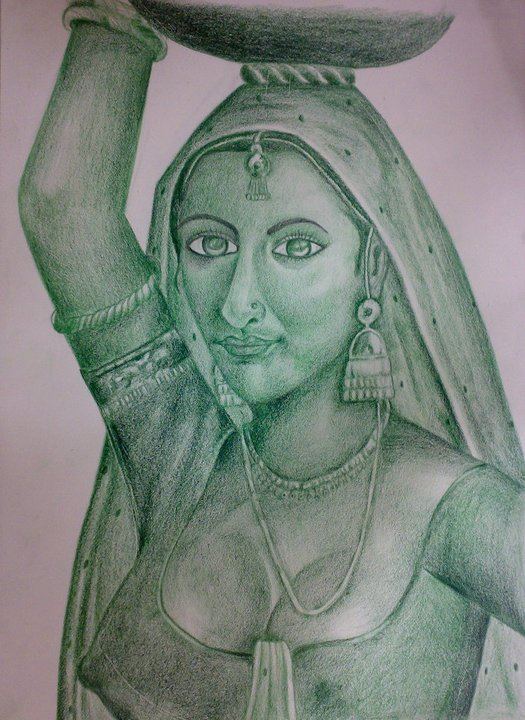
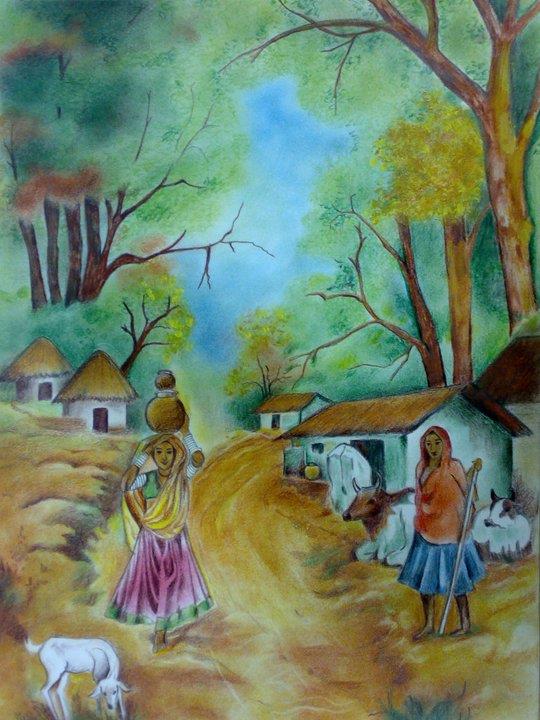
Rads is an amazing artist. She is a test engineer by profession and lives in London, England. If you happen to visit my home ( in India) the walls are filled with her paintings. My dad is amazing too, he makes sure to get it framed and find a place on the wall.. :-)She does so many like sketching, oil painting, abstract, portrait, sand art etc.

Well, I can’t wait to share some of her work 🙂


210795_10150229041652059_778682058_8673591_1017748_o 224131_10150229041787059_778682058_8673593_1903563_n

228710_10150229041562059_778682058_8673590_7365562_n 230449_10150229041907059_778682058_8673594_1717535_n


And then comes my youngest one Madhu.

IMG_2412
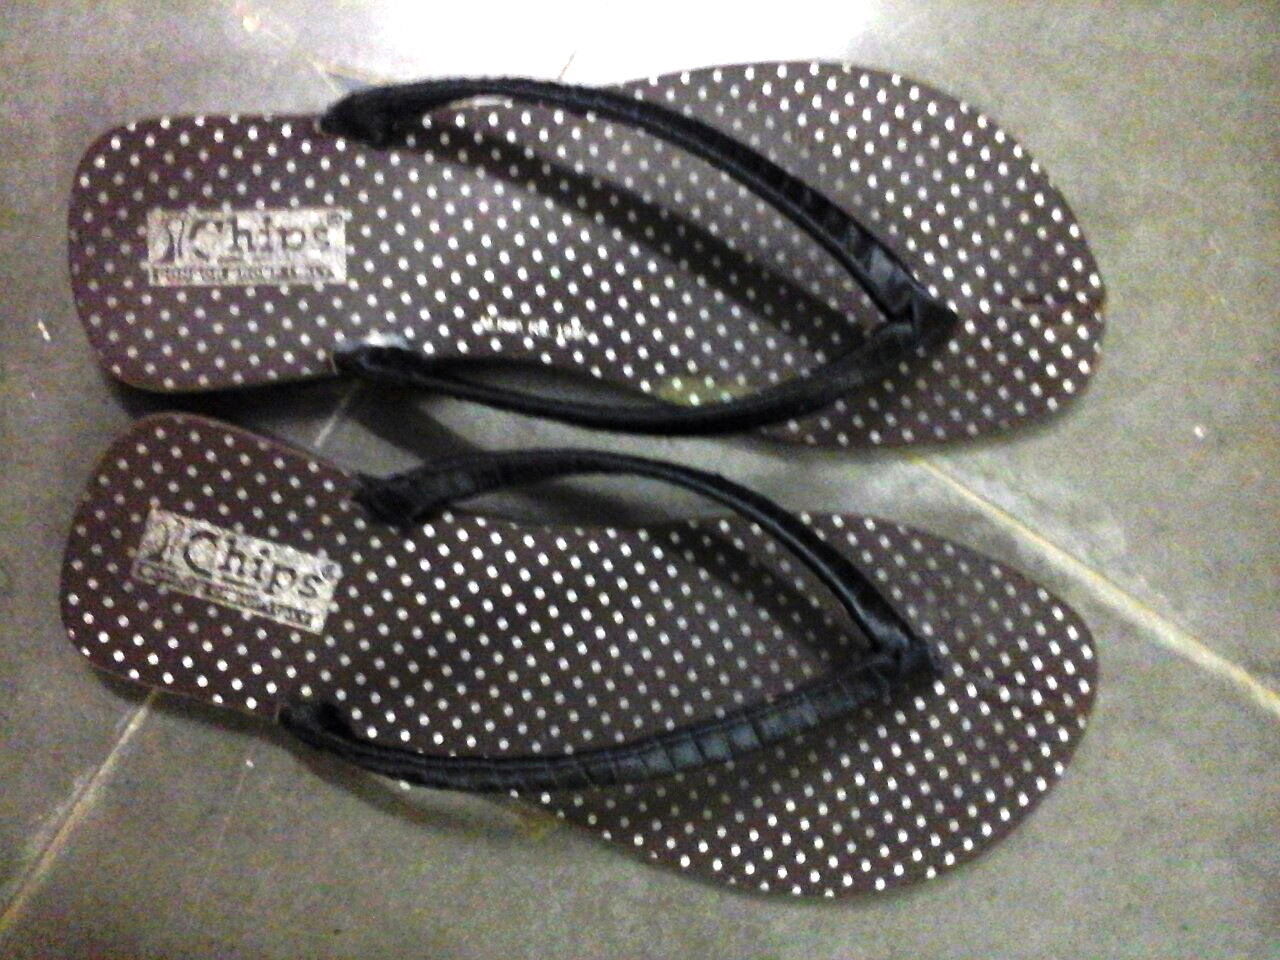
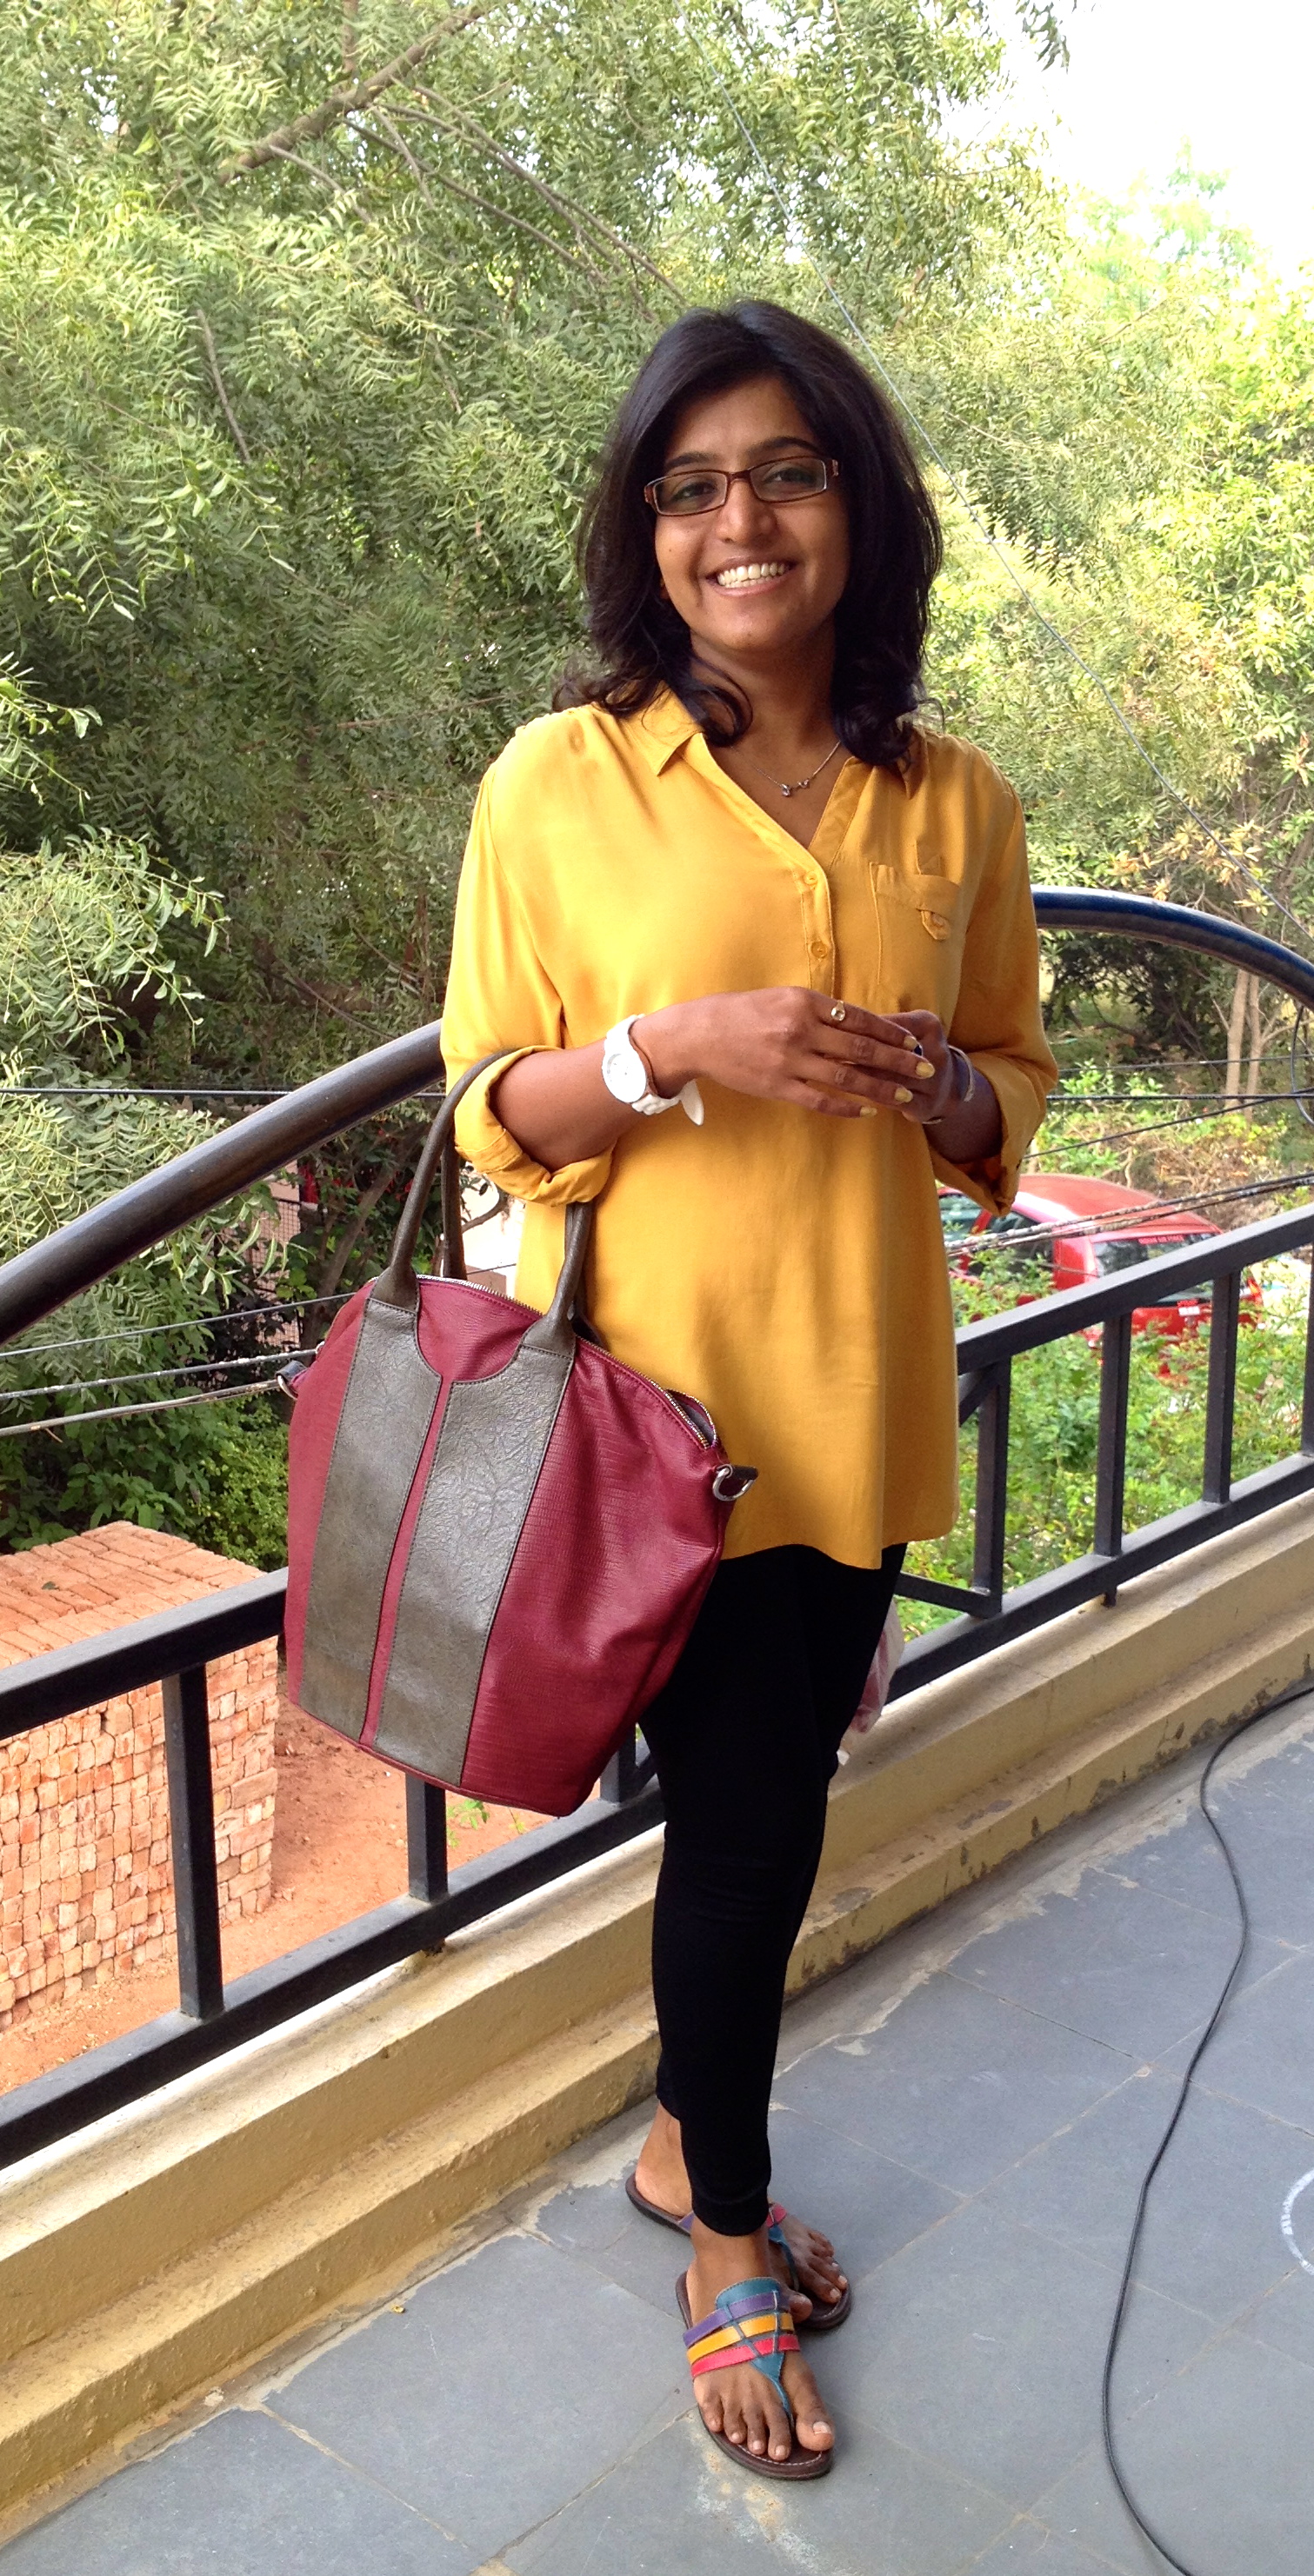
She is flip-flops/sandals freak and has a ton that matches her dresses..;-)A Darling sister with a beautiful smile.

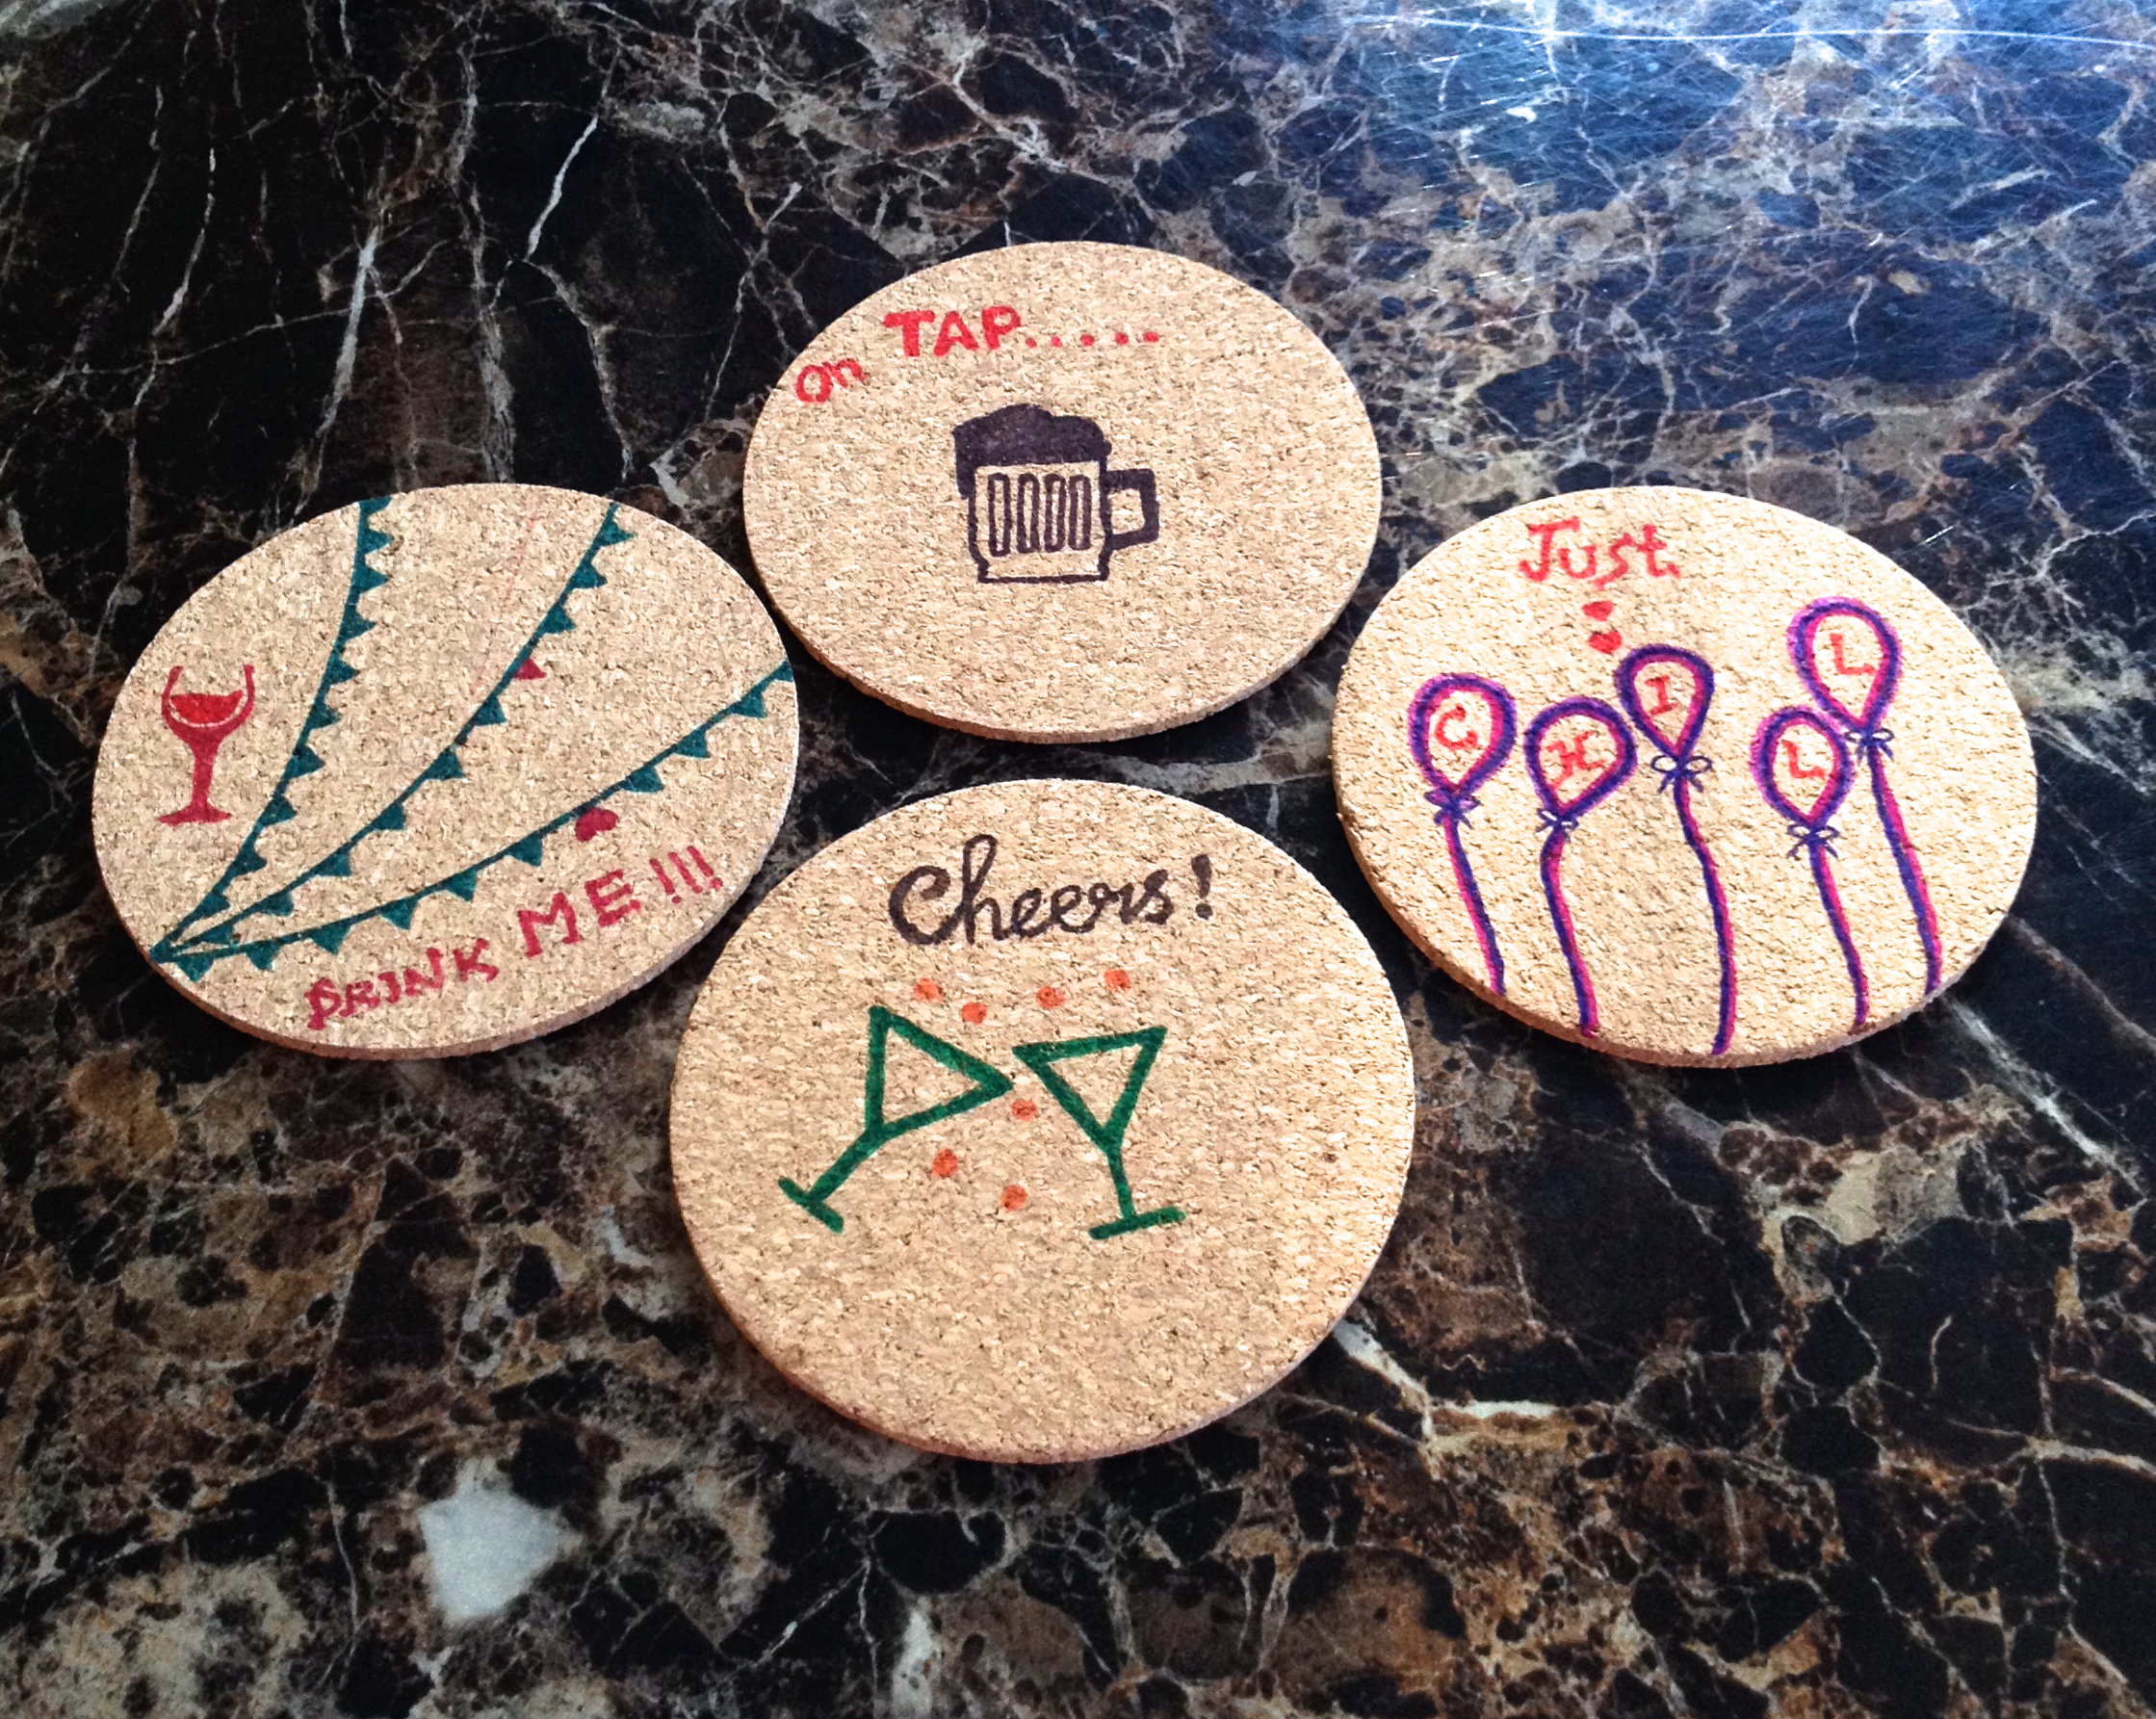
She is a legal advisor by profession and works for Google, India. Offlate, addicted to Pinterest…;-) I thought I will share some of her DIY’s..;)

So, her recent project is flip-flop makeover and I can’t wait to share how quick a piece a ribbon can change the look and match instantly. Unfortunately I don’t have before pics..:(


Image 1 Image

And also, she matches her tops/t-shirts to sarees( replace with blouse)  and they look absolutely fab. Don’t you think that is a great idea.


2007-04-29 00.41.59-2

And lastly, she does no heat curls from socks..;) After she shared the trick I do it always and was never disappointed. All she does is cut the toe part of a nice stretchy sock and roll it to make  a bun.

Here is the tutorial : http://www.youtube.com/watch?v=mI9Qji7Gbvg

From the above pic you know how her hair looks before curls and now after the sock bun..;-)

???????????????????????????????


???????????????????????????????

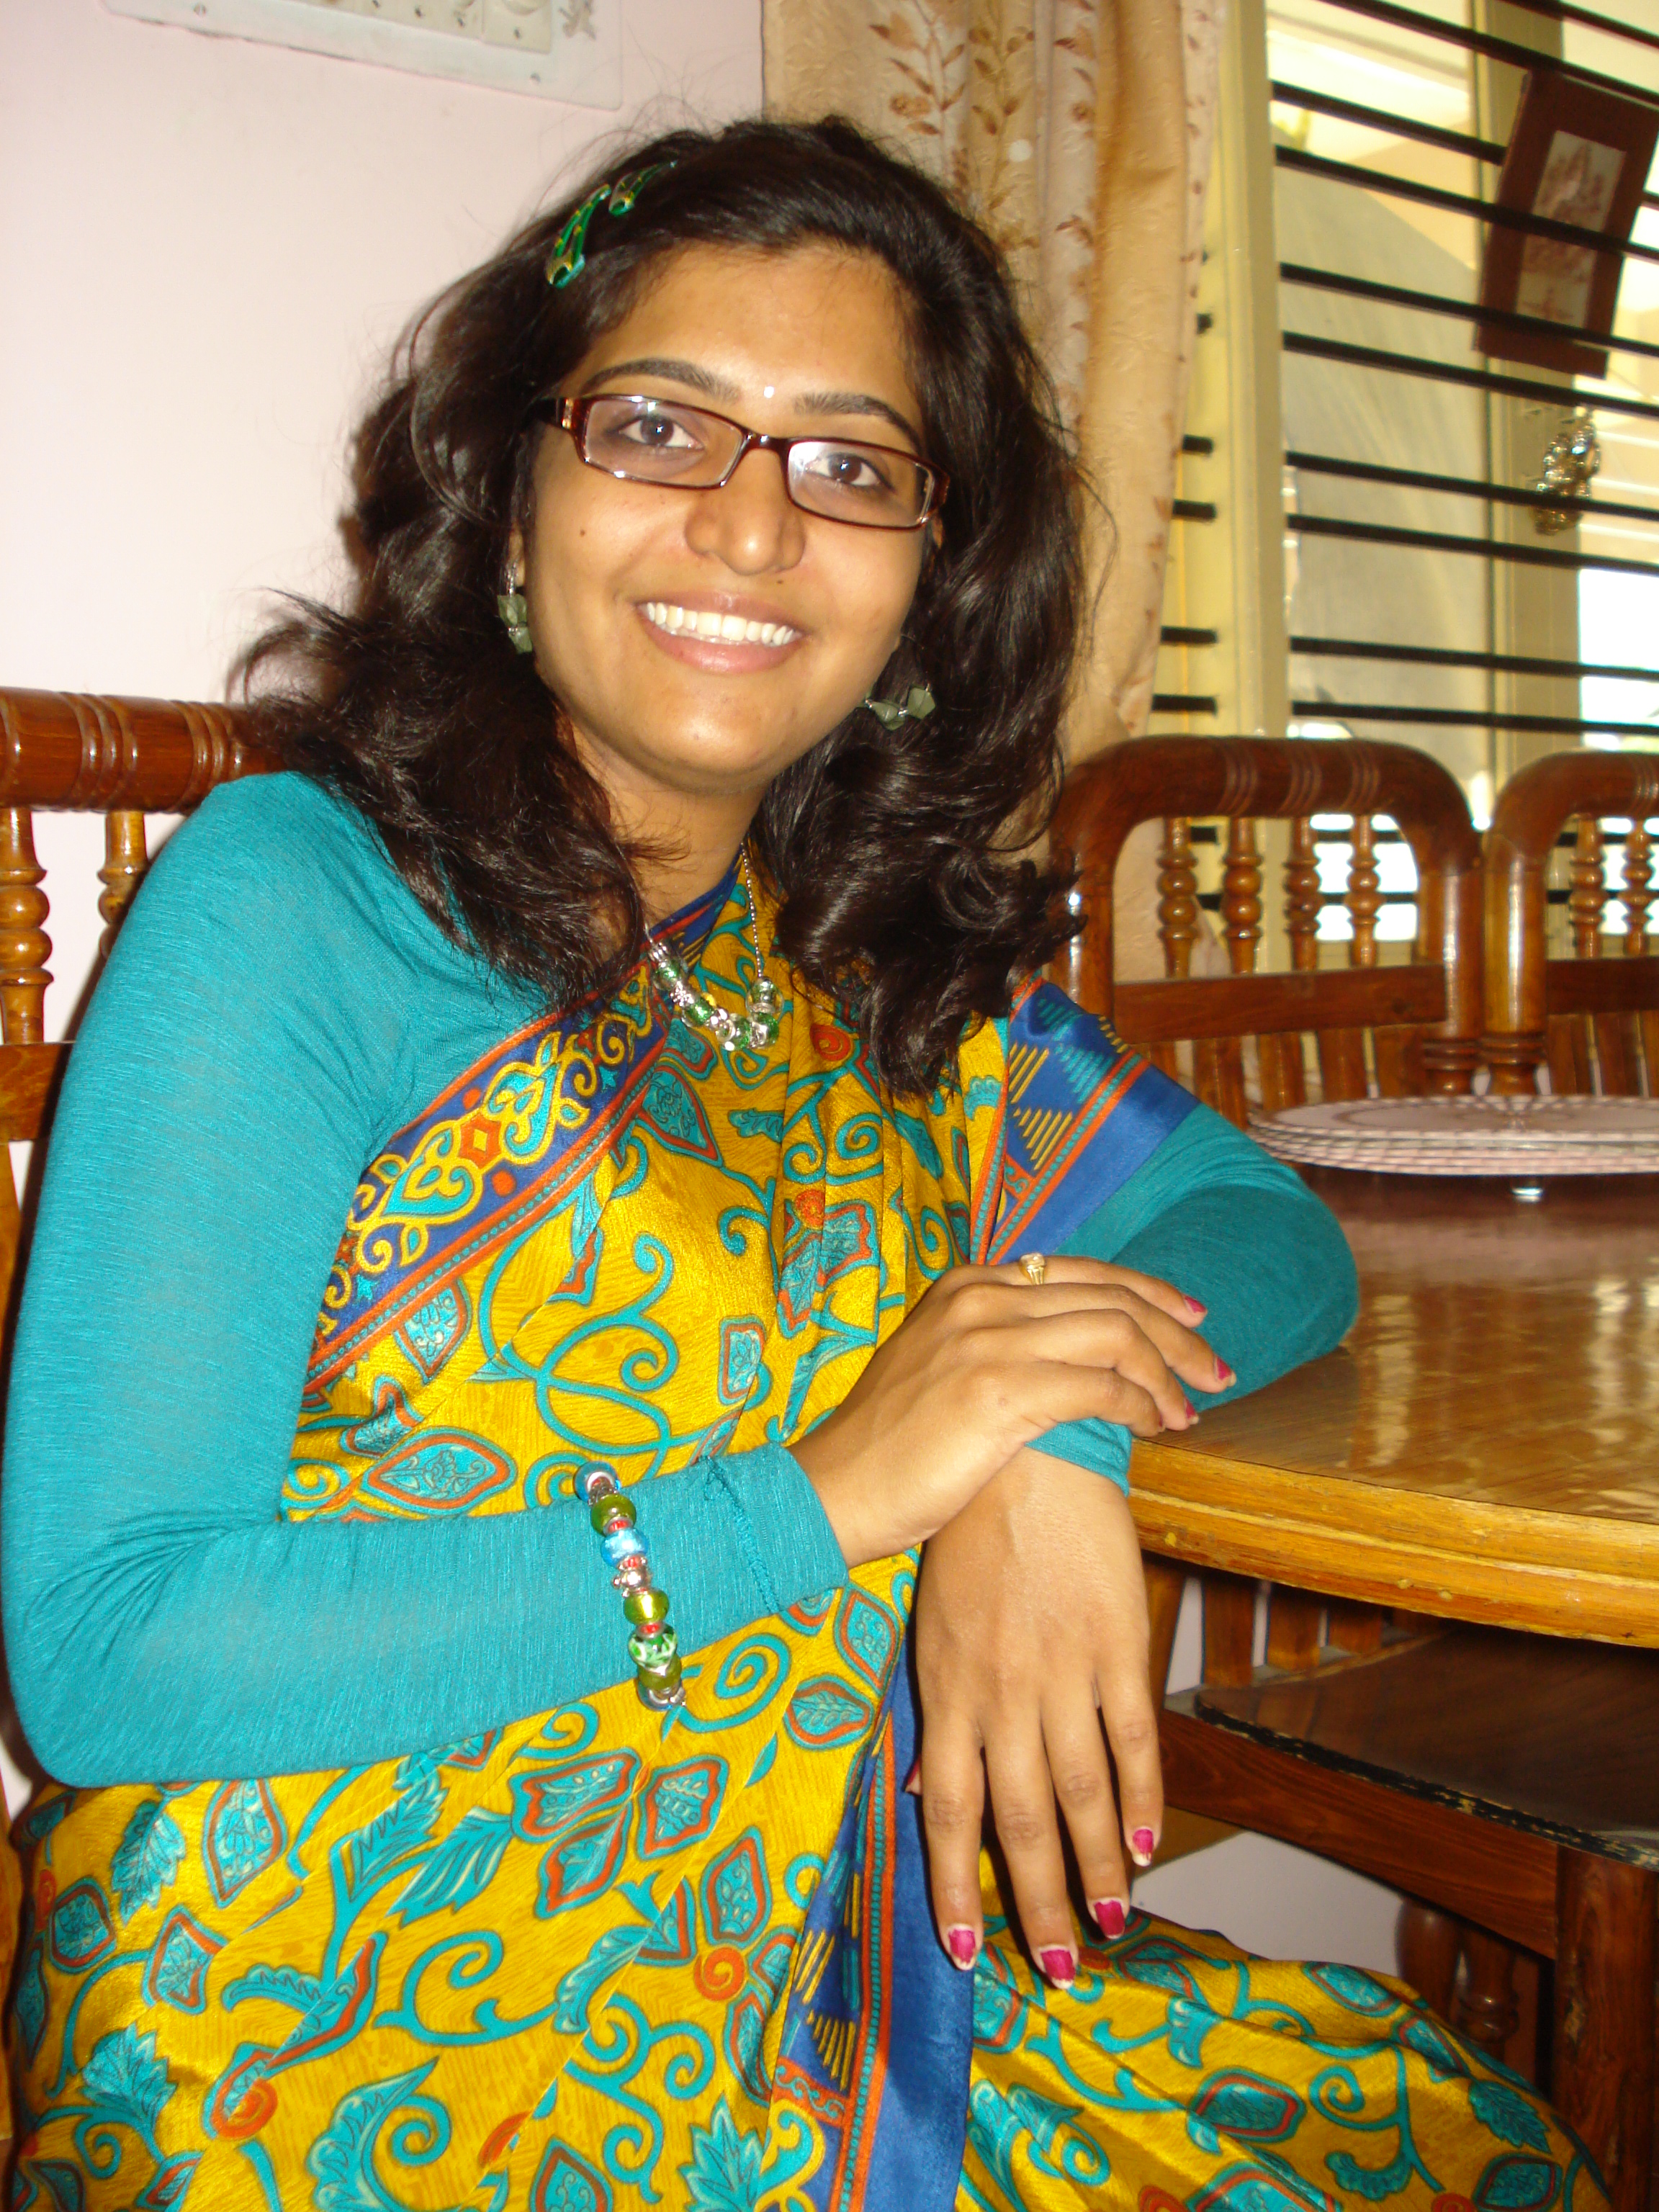
Btw this is one more t-shirt & saree pairing..:P

I hope you love them and will keep sharing more of their work & creations!!

Bird Feeder!!

Back home (India) during spring and early summer my mom used to dry grains/dry fruits and  the birds stealing them was so fun to watch 😉IMG_7798

I miss those carefree days as kid, and now wonder why I don’t see them flaying around our house. So I thought of making a bird feeder and was surprised to see birds all around hopping and picking food..:-)

I am sorry, some of  the photos aren’t great 😦 These birds have amazing senses and I couldn’t step out for better shots.

Bird feeders are fun to make projects, specially with kids. Spring is the best time and even as an adult it is exciting to wait and watch those visitors.

IMG_7819

My bird feeder is made from old straw wreaths(already on hand). I got peanut butter and some bird food from the local dollar store. You can use Honey and maple syrup too. Wish I got some pictures of birds hanging on the feeder, but it was too far to take through windows.

IMG_3443IMG_3446 IMG_3447 IMG_3448

There I have a cute bird feeder hanging in my garden..:)

I also placed some bird food at different places in the garden and was smart to place them right next to the window so that I can take some pictures..:-)

IMG_7785IMG_7818IMG_7829IMG_7813IMG_7718IMG_7717

Hope this season you make some bird feeders and enjoy bird watch!!

Happy weekend!!

Something for your backyard!!

It is still April and the weather here is already summer like 😦 Before I realize spring is gone, I wanted to create something beautiful for my garden, that adds color and mood..:)

So here is what I have to share:

Image Yes, an absolutely stunning wall decor and very happy that it was noticed by my neighbor whom I have seen for the first time in the last 2+ years..;)

Anyways , we use solar path lights for our backyard and they glow really cute. But the sad part is, we cannot recharge the batteries and after a while we have to buy a new set. When our first set ran out of battery and we didn’t know how to dispose them. So, they started piling up in our garage. After a while I realized they have a really nice glass that can be used as candle holder.

This is how you can take out the glass part and use it as candle holder or stick on to something where you can place a candle etc.

ImageImage

There are  so many ways to repurpose the glass part of these lights.

And coming to the frame, summer of 2012 I got an old clock from my very first few garage sale visits. I really liked the price(2 bucks) for the beautiful, sturdy, iron frame. So I ripped off the clock and kept the frame and wasn’t sure on where to hang/place.

Intially, I wanted to cover it with spray gold paint but then, after I was half through I realized the half gold and black was looking fab.

Image

I have let it dry and then sticked on the glass part of the solar light with super glue.

Image

Viola, you have a beautiful patio decor.

Image

Please don’t forget to like or let me know your thoughts.

Have a good day.

DIY Wall Art

IMG_3417

So, after seeing so many pins and tutorials on glass painting one day i decided to paint our Wine glasses and got a sample bottle of paint.

I also got a wine glass from dollar tree and tried to practice. Trust me, I never thought I can be bad at painting basic things 😦 I cannot dare to show my first piece and embarrass myself..;-)

But then, instead of painting random on unevenly shaped glasses,  I took an image and tried. I was surprised to see how well it turned out and here is how it looks.

IMG_3415

As expected, assuming it won’t be great to share I haven’t taken any pics..:-( But I managed to make an easy picture tutorial.

Things you need :

A print out of an image of your choice

Dollar tree  photo frame or any other frame.

Deco Art Glass stain

Painters tape and Scissors.

A left over scrapbook paper or any other decorative sheet/gift wrap  that goes well

How you do:

IMG_3408 IMG_3410 IMG_3411 IMG_3412

Once you choose an image of choice, with painters tape stick the glass part of the photo frame.

Then, with the stain bottle slightly color the area using the  picture as base. Or you can trace it with a marker and fill it with paint. If you happen to choose a detailed design put a drop of paint on the desired area and spread it with a tooth pick. That helps you to reach the corners easily.

Let it dry for at least 6 hours or dry overnight if you are impatient like me 😉

Lastly, pick a piece of decorative paper that goes well with the  image and cut it to the dimensions of the photo frame.

Assemble and you have a beautiful piece of wall art that is cool & unique.

See you all soon with a new project..:-)

Happy Monday!!

Stencil cutter

My recent obsession has been stencil making and i pulled up a ton of images that can be turned into beautiful stencils. So, the very first piece I made is Ganesha( An Indian God) and stenciled on our prayer room table and here is how it looks :

 IMG_3268

Initially, I traced the image on plastic folder and tried to cut with a craft knife, but  the sheet of plastic was too thick . So I ended up doing it on a paper. But using a paper stencil was very tough to avoid it soaking in the paint. After all, I want to re-use them for different projects.

Then, after reading couple of blogs I found the stencil cutter is an easy way to DIY Stencils. Basically, it is a heating tool with sharp tip that burns the plastic. I found it at Walmart for 12 bucks and totally worth it.

http://www.walmart.com/ip/Stencil-Cutter/24458723 

And I followed a simple and easy tutorial on  youtube(http://www.youtube.com/watch?v=Qfbfn_n6iZc)  on how to use this tool. Finally, here I am with the designs. They may not be perfect but I am happy with the results..:-)

IMG_3369 IMG_3374

So, if you want to DIY stencils please do acquire the tool. It  is so much fun to use and I am sure you will enjoy.Also if you are looking for some designs you can get them from my PINTEREST page and link is

http://www.pinterest.com/purisonti/stencil-patterns/

Happy Weekend!!!

Tip of the Week!!

I am happy to introduce a new segment to my blog “Tip of the week” on Thursdays..:)

So, the tip I am coming up with is “Dry Roast Quinoa”.

Image

To know a little about this spectacular grain – Quinoa ( pronounced as “keenwa”) is getting popular and called as super food. Nutritional evaluations of quinoa indicate that it is a source of complete protein. It is also gluten free and makes a great substitute for rice.

In their natural state, quinoa seeds have a coating of bitter-tasting because of chemical compounds in abundance. The process of dry roast helps in removing the bitter coating. Isn’t that great to know!!

How to do:

Take a pan and heat it on medium flame for few mins. The whole idea is to have the pan hot before you start roasting these tiny grains.

Dry roast, sometimes might be time consuming because you need to have all the attention on them. But then, the trick is, you leave those grains on the hot pan until you hear tiny crackle noise. Once you start hearing it every second that’s when you keep moving so that it gets roasted evenly. The crackle noise is nothing but the bitter coating on the grain is coming off.

Once, they are done they should look like the pic on left and the pic on right is before roasting. Image

Trust me, the roasted grains tastes so much better than the regular ones and my husband and I eat almost 3 times a week 😉 and the best part of this is, it is a One-Dish Meal, means less cooking time and less dishes to wash..;-)

In this context, I wanted to share a delicious recipe that I found on youtube and here is the link :

https://www.youtube.com/watch?v=kL8O6Y9GbMQ – Spanish style Quinoa

This is such a great recipe and I cook with different vegetables, different beans and different herbs.

Beans – In the original recipe it is Red beans and I use, chickpea, pinto beans and Edamame.

Herbs – Since we use Cilantro in every Indian dish to make it different I use Basil, Rosemary and Mint ( My fav is Basil)

Please do try this recipe with roasted quinoa and I am sure you will never get bored of this super healthy food 🙂

And don’t forget to let me know your thoughts.

Have a great day!!

Upcycled Kitchen Mat!!

Friends,

Firstly, thank you for all the support and I have loved and appreciate the likes and comments :-).

Secondly, this is my first upcycled project and  can’t wait to share with you all. When it started I wasn’t positive and didn’t want to take pictures. But then, what if it turns out good!!!  I am glad I did take the pictures. Image So, I have this not so pretty looking kitchen mat that is lying around and unattended from very long time.You must be wondering why do I have to spray paint or do anything to make it look pretty!! IMG_3314 Trust me, it’s not as bright and colorful as it looks in the picture 😛

Since I appreciate my readers time 😛 I am putting the how-to steps in pictures and i m sure it makes it easy to understand. But if you have any questions, please do let me know and I would be more than happy to help. Image ImageImage It doesn’t take long to dry and once it is done, take off the tape and VIOLA!!!

Image

The Acrylic sealer is optional. Mine looked very glossy after the spray paint and with the Matte finish sealer it looks perfect.

Well, this is what I did to move it from garage and find a place at home..:)

Lastly, please keep liking & post your thoughts on my posts.  It means a lot to me 🙂

Have a great week!!

Silhouette!!

Many a times we have a desire to do something, but there is no drive or motivation to complete…….

Don’t worry you are not alone!!

Isn’t this a powerful line??  At least to me, when I hear my guilt is gone miles awayyy 😉

Anyways, after I moved to Arizona I wanted to paint something particular to the place I live.

I have been thinking for almost 2 years and yayyyy!!!! I am proud to say I completed and this is how it looks.

ARIZONA SUNSET – Cactus n Coyote

IMG_3299

The other Silhouette painting I did last year is BUDDHA. I painted on a card stock but very soon going to make one on Canvas.

IMG_1725

I am painting more stuff and can’t wait to share with you all 🙂

DIY – Do It Yourself!!

Well, when you do it yourself, you can make it for way lesser price and the attachment towards the piece your create is way more than you own it. 🙂

Anyways, I wanted to buy coasters from pretty long time. Personally, I wasn’t never keen nor wasn’t sure on how often I use. So, to start with I got a set from IKEA. Since I want to go organic I got plain round cork coasters. It comes in a set of 4 and are quite decent to resist heat from a coffee/tea cup.

Surprisingly, I started using them often( cold/hot drinks) but then they were too plain and boring.  Since I stack them up on my coffee table, thought I will make them look fancy and took a set of markers and made some designs and I can’t believe how cute they turned out. 🙂

Image

It is such an easy and quick project and the time took was not more than 30 mins. I did a search on google for “Party Signs” and “Doodle” and found some really cute ones. Taking those images as base I made these cute signs on mine…:-)

On the other side of the coasters I made signs for hot drinks..:) I have only 3 because I wanted to draw Starbucks Logo but it didn’t come out as expected…:( I am going to cover it with green acrylic paint… :-P. The rest looks like this:

Image

I used a clear acrylic sealer and it is water resistant spray. It doesn’t let the coasters soak when you place a cold drink. Make sure you don’t use until the sealer is dry which might take a day or two.

The supplies for this project are:

ImageImage

I hope you enjoy today’s project and see you soon..:-)

Happy Weekend!!

Great idea from Pinterest !!

I never get bored browsing Pinterest..:) Everday I see a new thing and it amazes me how creative one can be.  Those pins do help me to tickle my creativity…;) Most of those, I take the idea and  twist it a bit to make it my way..:)

Well, today I am going to share one of such pins that saved my life..:)

It is Mortan salt/any salt box and Mason Jars…:)

Keep thinking on what it can be..;)

Before I give you the details, I have a story to share..:P

My 2013 New year resolution was “No Plastic” and I was determined to re-organize the kitchen pantry. I was very excited and got 2 dozens of Mason Jars(Glass jars)  and thought  it is going to be fun. It didn’t take me long to realize how difficult they are to use..:(( I placed a wrong order, I got wide mouth jars and the stuff was spilling over and messing up my countertops..:(

I kept one set of  jars aside and almost made up my mind to return.

That’s when I saw the pin and used it for all my jars and I can’t say how neat my pantry looks..:)

My friends helped me in sharing their empty salt boxes and I owe a big thank you..:) It took me close to 10 months to get them all sorted..:)

A snapshot of how the jars are placed. Image

The whole idea is to use the top part of the salt box on to the mason jar lid.

ImageImage

Image

I hope you like today’s post, please don’t forget to like/comment..:)

Have a great day..:)

Cooking Without Limits

Food Photography & Recipes

Travelling Krishnaite

Shekhar Srivastava's Blog

Live-😊-Life..

"It has everything in little as a HAPPY package!!"

DesiCrafts

A blog Dedicated to Indian handicrafts, Fabrics and Supplies

Fulgorine

My adventures with art and polymer clay

The Beaded Bazaar

Polymer clay creations

Learn Polymer Clay

Inspiring you to explore your creativity and get down to work! A great collection of Free Polymer Clay tutorials

Wear the Ducky Tie

A Sewing Blog

sewmanju

Make your own style

SEW KATIE DID

because thread is the best glue.

The Crafty Coup

Finally, you're here! Let's make something!

The Daily Post

The Art and Craft of Blogging

WordPress.com News

The latest news on WordPress.com and the WordPress community.