Room Divider Wall Art!!

Home decorating is sometimes tough and most of us prioritize the easy ones 😉 For me too, rest of the rooms were on priority list but “Entryway/foyer” decoration was ignored for a while.

After I placed the name plate @ Foyer niche wall, it was really tough to decide, what goes on to the wall(12 foot high) that has a huge mirror adjacent to it. The paintings that I have were tiny that they would be lost. And, I was sure it would take real good time to shop the right piece of art.

Well, my struggle did not end there! I had a room divider gifted by a very good friend of ours and was lying around under utilized. I wasn’t very happy and trying hard to find a room for it.

IMG_0334

While these 2 thoughts were constantly running in my mind, I happened to place the room divider on to the wall and walked away. I came back, disappointed (after couple of hours of search on internet for inspiration) and the room divider looked perfect at that spot.

You must be wondering, Room Divider?? Perfect on a wall?? Yes!!

I couldn’t wait and took off the hinges, added small nail less saw tooth hangers(already on  hand) on to the wooden frame of canvas and the 3-Panel Canvas Wall art was ready to hang 🙂

IMG_0336IMG_0338

I absolutely loved the way the colors are reflected on the mirror and the first impression we get from people when they enter our home is “Wow” 🙂

IMG_0364

If you ever come across a beautiful room divider don’t ignore 😉

Happy Monday!

Peel..Stick..Peel..Stick….

Before I start, let me say, I loveee this stuff !

IMG_0286I so much love that I don’t mind applying it on all the cabinets…Hehe, I wouldn’t 😉

These self adhesive tiles are so easy to apply and the tutorial from DIY Network is a great source to get started. It is just a 3-step process of cleaning the area, measure and plan layout, peel and stick the tiles and the cost of the project is less than $15 (few supplies already on hand).

I am so pleased with the results and it matches the tile in our bathroom and laundry!

IMG_0279So, when I first saw these for under the sink organization, it was my first to-do project and finished right after we moved in 🙂  The storage under the sink/bathroom vanities/laundry is very handy that we stuff and create clutter in no time 🙂 These tiles protect the base of the cabinet and makes cleaning up spills easy. Also, forever tiles with less care and maintenance.

IMG_0285Isn’t this awesome?  And they are getting popular, you will find a wide range of colors/textures @ Home Depot/Lowes.

I hope to succed in convincing my husband to go for peel and stick kitchen back-splash like here !

Happy Friday!

Eating light !

Spinach and Potato….Our new favorite Side dish!

This side dish is super easy and fast to make, and a great addition to any light meal. The best part is the portion size of potatoes and the combination of spinach with sesame seeds makes it yummmm 🙂

IMG_0262

They definitely have a great flavor and the recipe just calls for simple ingredients…potato, spinach, sesame seeds, cumin(optional), salt. If you want them spicy toss some pepper flakes/garam masala/curry powder.

IMG_0252

You will need  – Serves 2

Potato – 1 peeled and sliced

Spinach – 1 Cup

Seasame Seeds – 1 Tbs

Cumin (optional) – 1/2 tsp

Salt – 1/2 tsp

Pepper flakes/Curry Powder/Garam Masala – As per taste

How to make:

Step 1 : Boil potato slices in salted hot water and cook till fork tender. Drain and keep aside.

IMG_0254

Step 2: In a pan, heat 1tsp of oil and add cumin and sesame seeds. Once fried add the cooked potato pieces and sauté for few mins on medium-high flame.

IMG_0255IMG_0256IMG_0258

Step 3: In the same pan, switch off the flame and steam spinach with some water while it is hot. If you are using regular spinach chop it accordingly.

IMG_0259 IMG_0260

Step 4:, Lastly, add spinach to the sautéed potato and season it.

Tadahh….!! A healthy, delicious dish is ready and cooking doesn’t take long too:-)

IMG_0266

Thanks for stopping by!

Have a great week!!

Bring in Spring!!

My favorite post is here and such a cool coincidence that the first day of spring and International Day of Happiness happened to fall on the same day this year.

If you remember my last year post, I so much enjoyed writing how Spring makes me happy and cheerful. This time of the year we feel spring, finally 😉 (with right temps), and mother nature wonders have changed everything – new life, bright, beautiful and colorful!

IMG_0798Welcome this beautiful season with some spring flower Porch Planters, Humming bird Feeders, Wind Chimes and feed for birds 🙂

IMG_0795Awesome Blossom of flowering pear trees is something I am enjoying most 🙂

IMG_0791And the most happiest moment is Tulasi (Holy Basil) Blossom which took one whole year!

IMG_0008

And lastly give some color to your backyard/patio and decorate your garden, so that you can spend more time outdoors enjoying the sunshine and birds chirp!

IMG_0797

While you enjoy Spring, don’t forget to prepare for fierce summer 😉

Cheers and thanks for stopping by!

It’s my Blog’s Birthday!

WOW!! I cannot believe to survive blogging for one year and I am super excited to celebrate my 1st Blog Anniversary! Officially, it is Jan, but my first post was in March 🙂

I remember around January of last year, I started something kind of random. It is my blog “CREATIVE ME”. I did that couple of times before too, but this time I didn’t want to end up creating an account, publish 1-2 posts and forget. I started it thinking somehow it fits my interest towards crafting, decorating, DIY etc. and had a target to publish 100 posts and I think 88 is not bad 😉

I still remember reviewing my 1st blog post more than 20 times before I hit “Publish” button. It wasn’t easy and blogging has been a lot of work – planning, sorting, editing and so on.

I cannot thank enough my husband and friends for all the support and a Big Thank you to everyone who has ever visited my blog, posted comments, tried my DIY projects, recipes and forwarded to friends and family.

Some of the hits are –

Oh! I loveee Spring

Something for your Backyard

Childhood Memory

Fridge Coasters

Happiness is Handmade

Do-it-yourself Bangles

Silverware Holder

Clay Ganesh Idol

Reuse or Recycle

Flatter your feet

Diwali Series

Dramatic Dahlia

DIY Return Gifts

Hoot Owl Hoot

Doll Display Stand

Sugar Cast Goodies

Naming the House

Don’t forget to let me know your favorite !

Year 1 is Done

Cheers to Many More…..

Thanks you again for all the support 🙂

TIP of the week!

Hello Friends,

Happy Thursday and this week’s tip is very handy. Yes, template for curtain rods. You must be wondering a “template”. Oh yes, you don’t want to have wonky curtains.

So, it is Miss Mustard Seed‘s solution that helped me to hang beautiful curtains for our arched bathroom entryway.

All you do for the template is cut the cardboard into a L-shape one end depending on how much high you want the curtain rods to be from your window or door.

Make holes with a pushpin/nail and mark it on the wall.

Drill holes both the sides and you can never go wrong in hanging perfect curtains 🙂

IMG_0771

Read More: Hanging a Curtain Rod (Made Simple) @ Miss Mustard Seed

See you next in my Blog Anniversary Post!

Naming the House!!

Naming ones House is an old British Tradition but the custom gradually spread and people started naming their homes.

In India too, naming the House is considered very important as it stays with the house address for a lifetime. The belief is an auspicious house name will surely bring a lot of luck and fortune to the home owners.The common names used by Indians are Hindu Gods/Family God, Holy cities etc. The name will have a prefix such as Nilaya/Nivas/Bhavan meaning dwelling place.

We have been seeing this custom in our family and our parents named our home back in India as “Surabhi Sadan” – meaning Wish Yielding cow.

So, when we bought our first home I wanted to have a name too, associated to one of the Hindu Gods that I believe most and named “GURU SAHAVAS” – meaning God(Sai Baba) is our companion.

After choosing the name, to create a name plate was tough as I wasn’t sure to go with Quilling, Wood and polymer clay or a stenciled nameplate. Well, after some thought, I was clear to use an art that I have never tired before 😉

So, during this process in one of my visits to HobbyLobby while searching for something I bumped into wood crafts aisle and saw a wood burning kit. I bought the heating tool, searched for some tutorials on Youtube and after 3 hours the below piece was ready!

IMG_0777

So, this art of decorating wood with burn marks using a heated tool is called “Pyrography”. It means writing with fire.  All you need for this project is wood plaque, a carbon transfer paper, printout of the matter and little practice 😀

On our housewarming day we performed some rituals and placed it on the Foyer wall Niche. Rest of the place is filled with  DIY Paper Dahlia as wreath, peacock and butterfly wall decals from Dollartree and Paper Mache Elephant wall hangings from World Market 🙂

IMG_0776

If you have made any interesting family name/House name plates, I would love to see!!

Thanks for stopping by 🙂

Breakfast Bites!!

Friends, I  know its been long I came up with a recipe and finally I have one. I cannot claim it is mine as I modified a friends recipe and sharing it with you all!

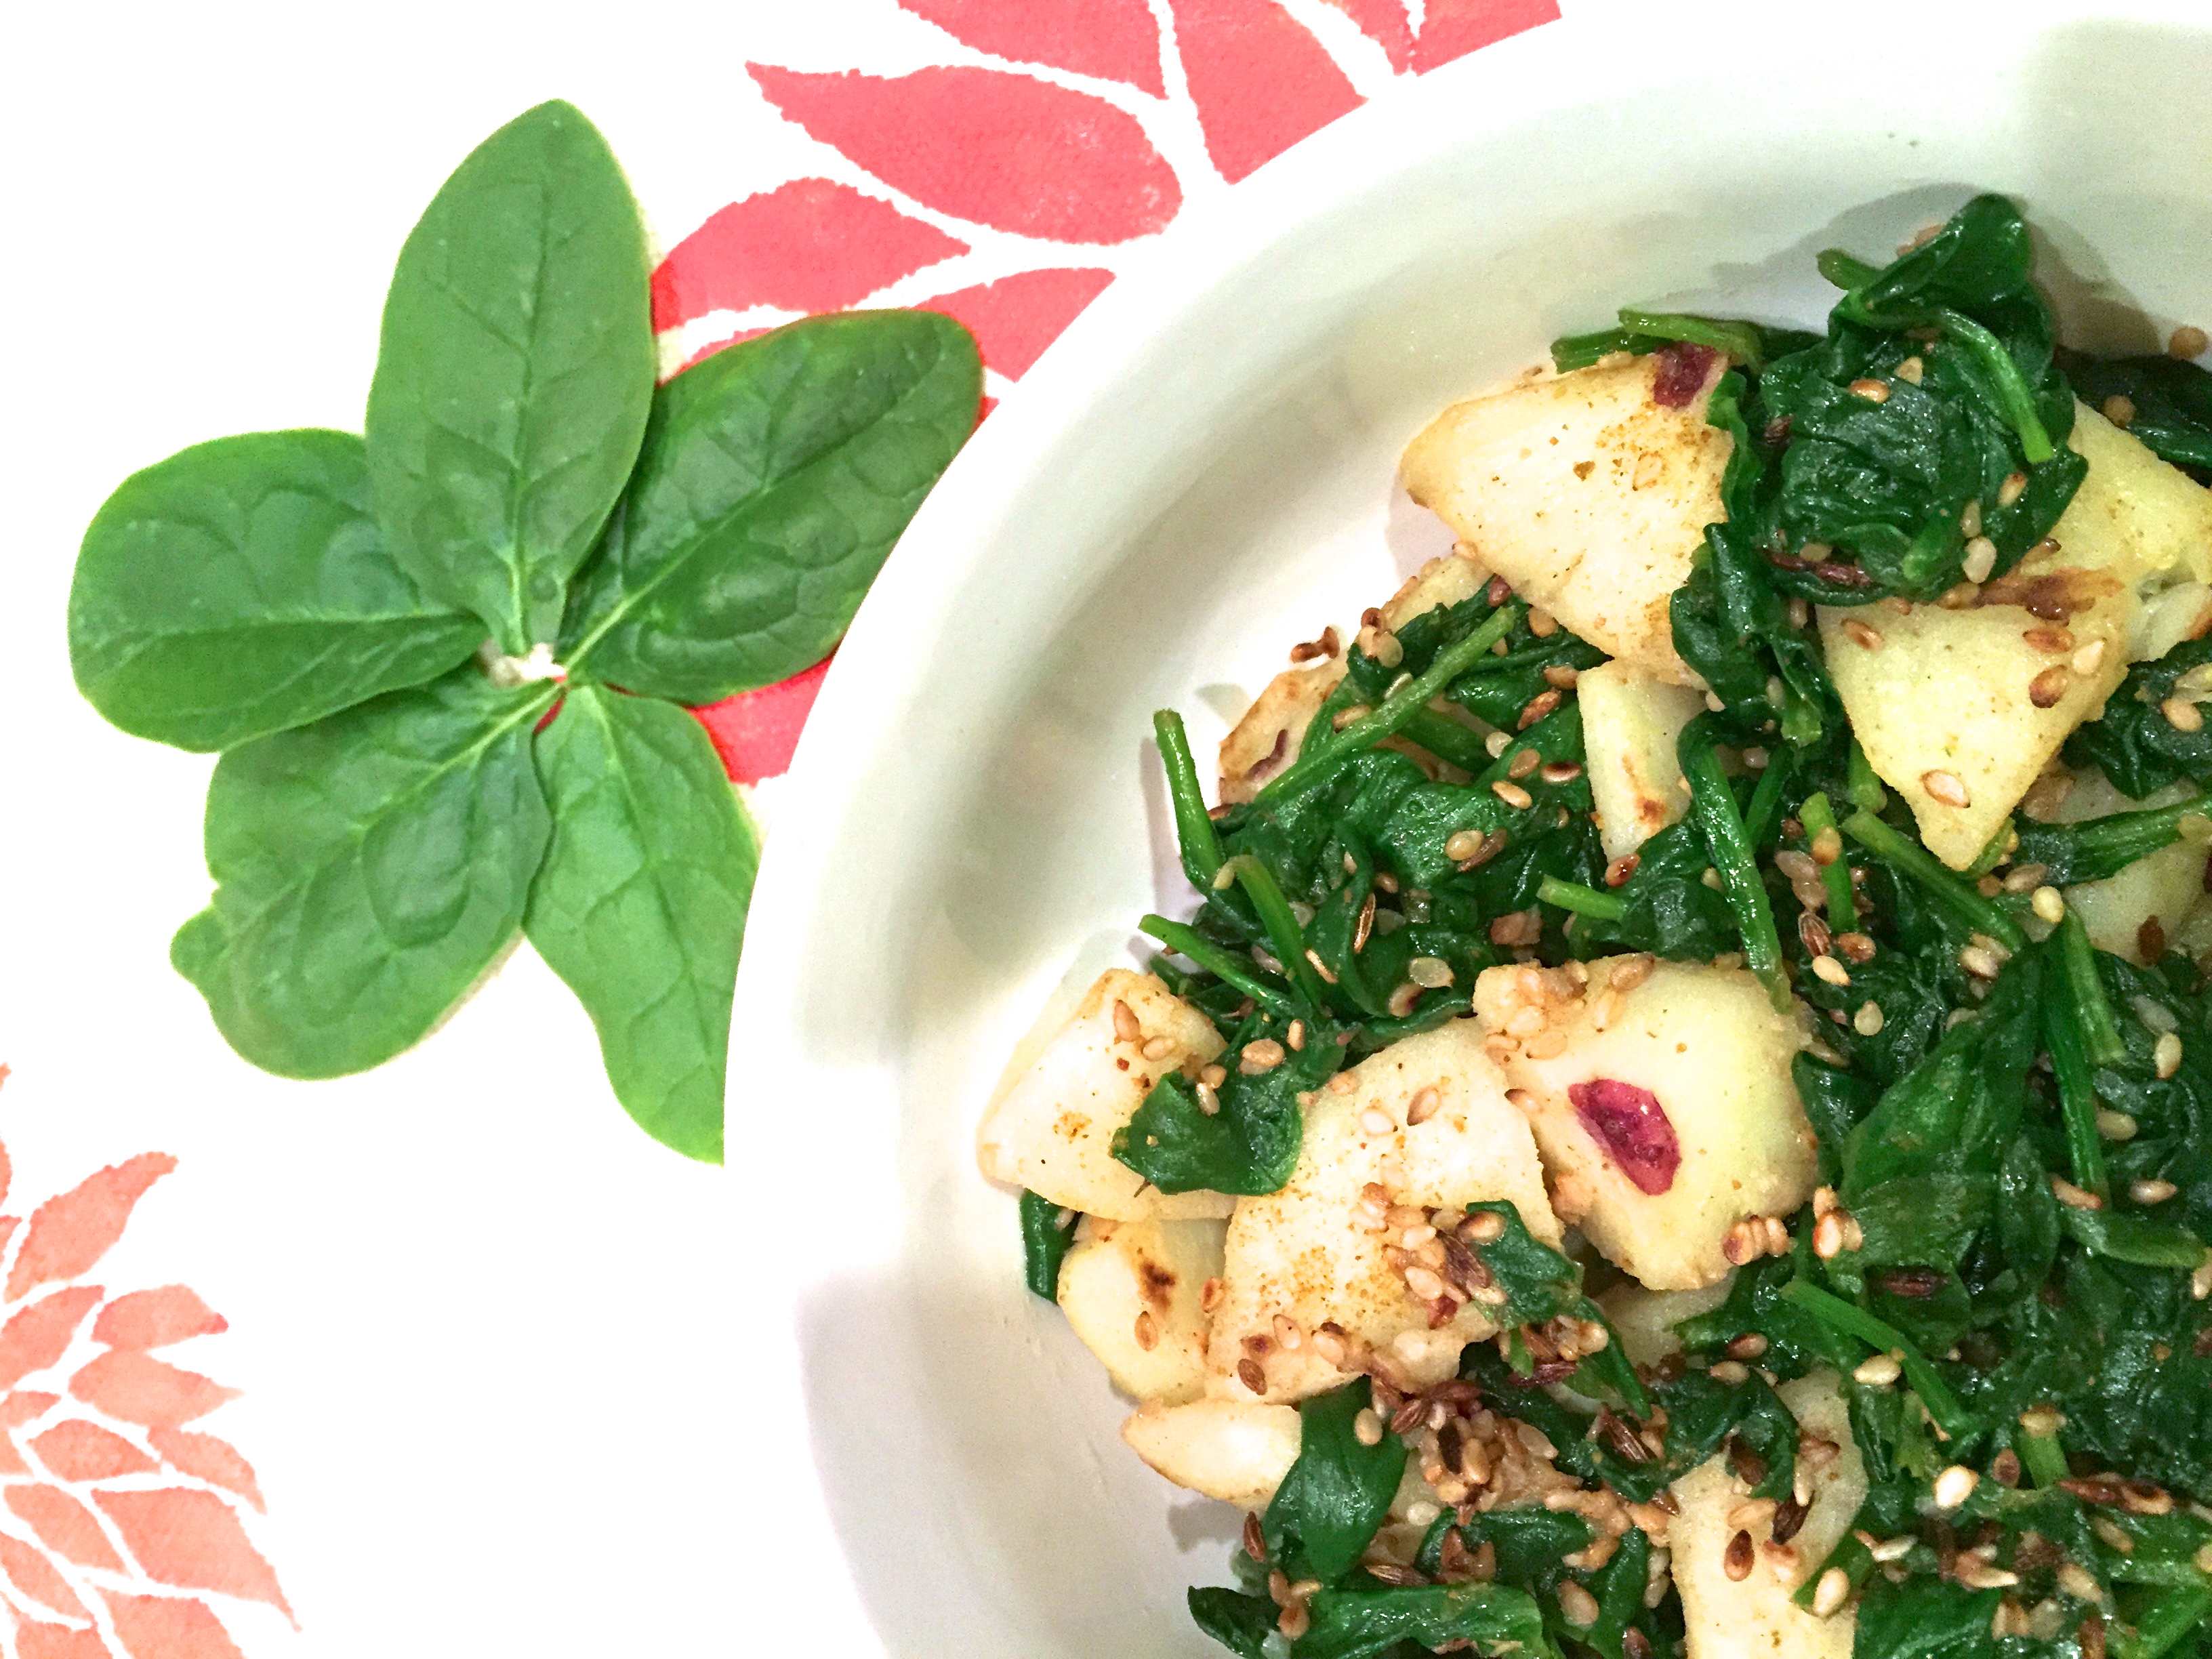
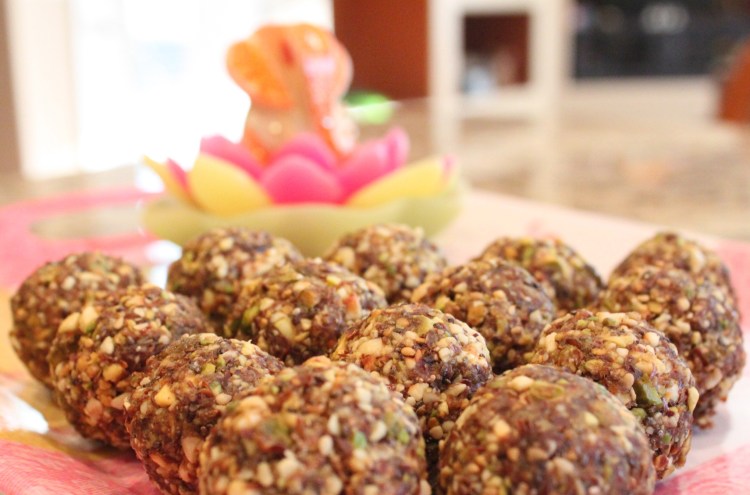
Breafast Bites! Oh, I must tell you, these are delightful and a healthy addiction 😉

IMG_8071So, last week @ my friends baby shower party, her aunt got mixed nut(almond, cashews, pistachios,dates, little butter) sweet bites and they were absolutely delicious. Myself and couple of other friends didn’t hesitate to pack the left overs 😉

I got the recipe from her and sounded very simple. However, I wanted to have a low calorie and little less sweet. I followed the same process but changed the ingredients. It still tastes great!

These are less-moderate sweet and you can add more dates/raisins or honey for extra sweetness.

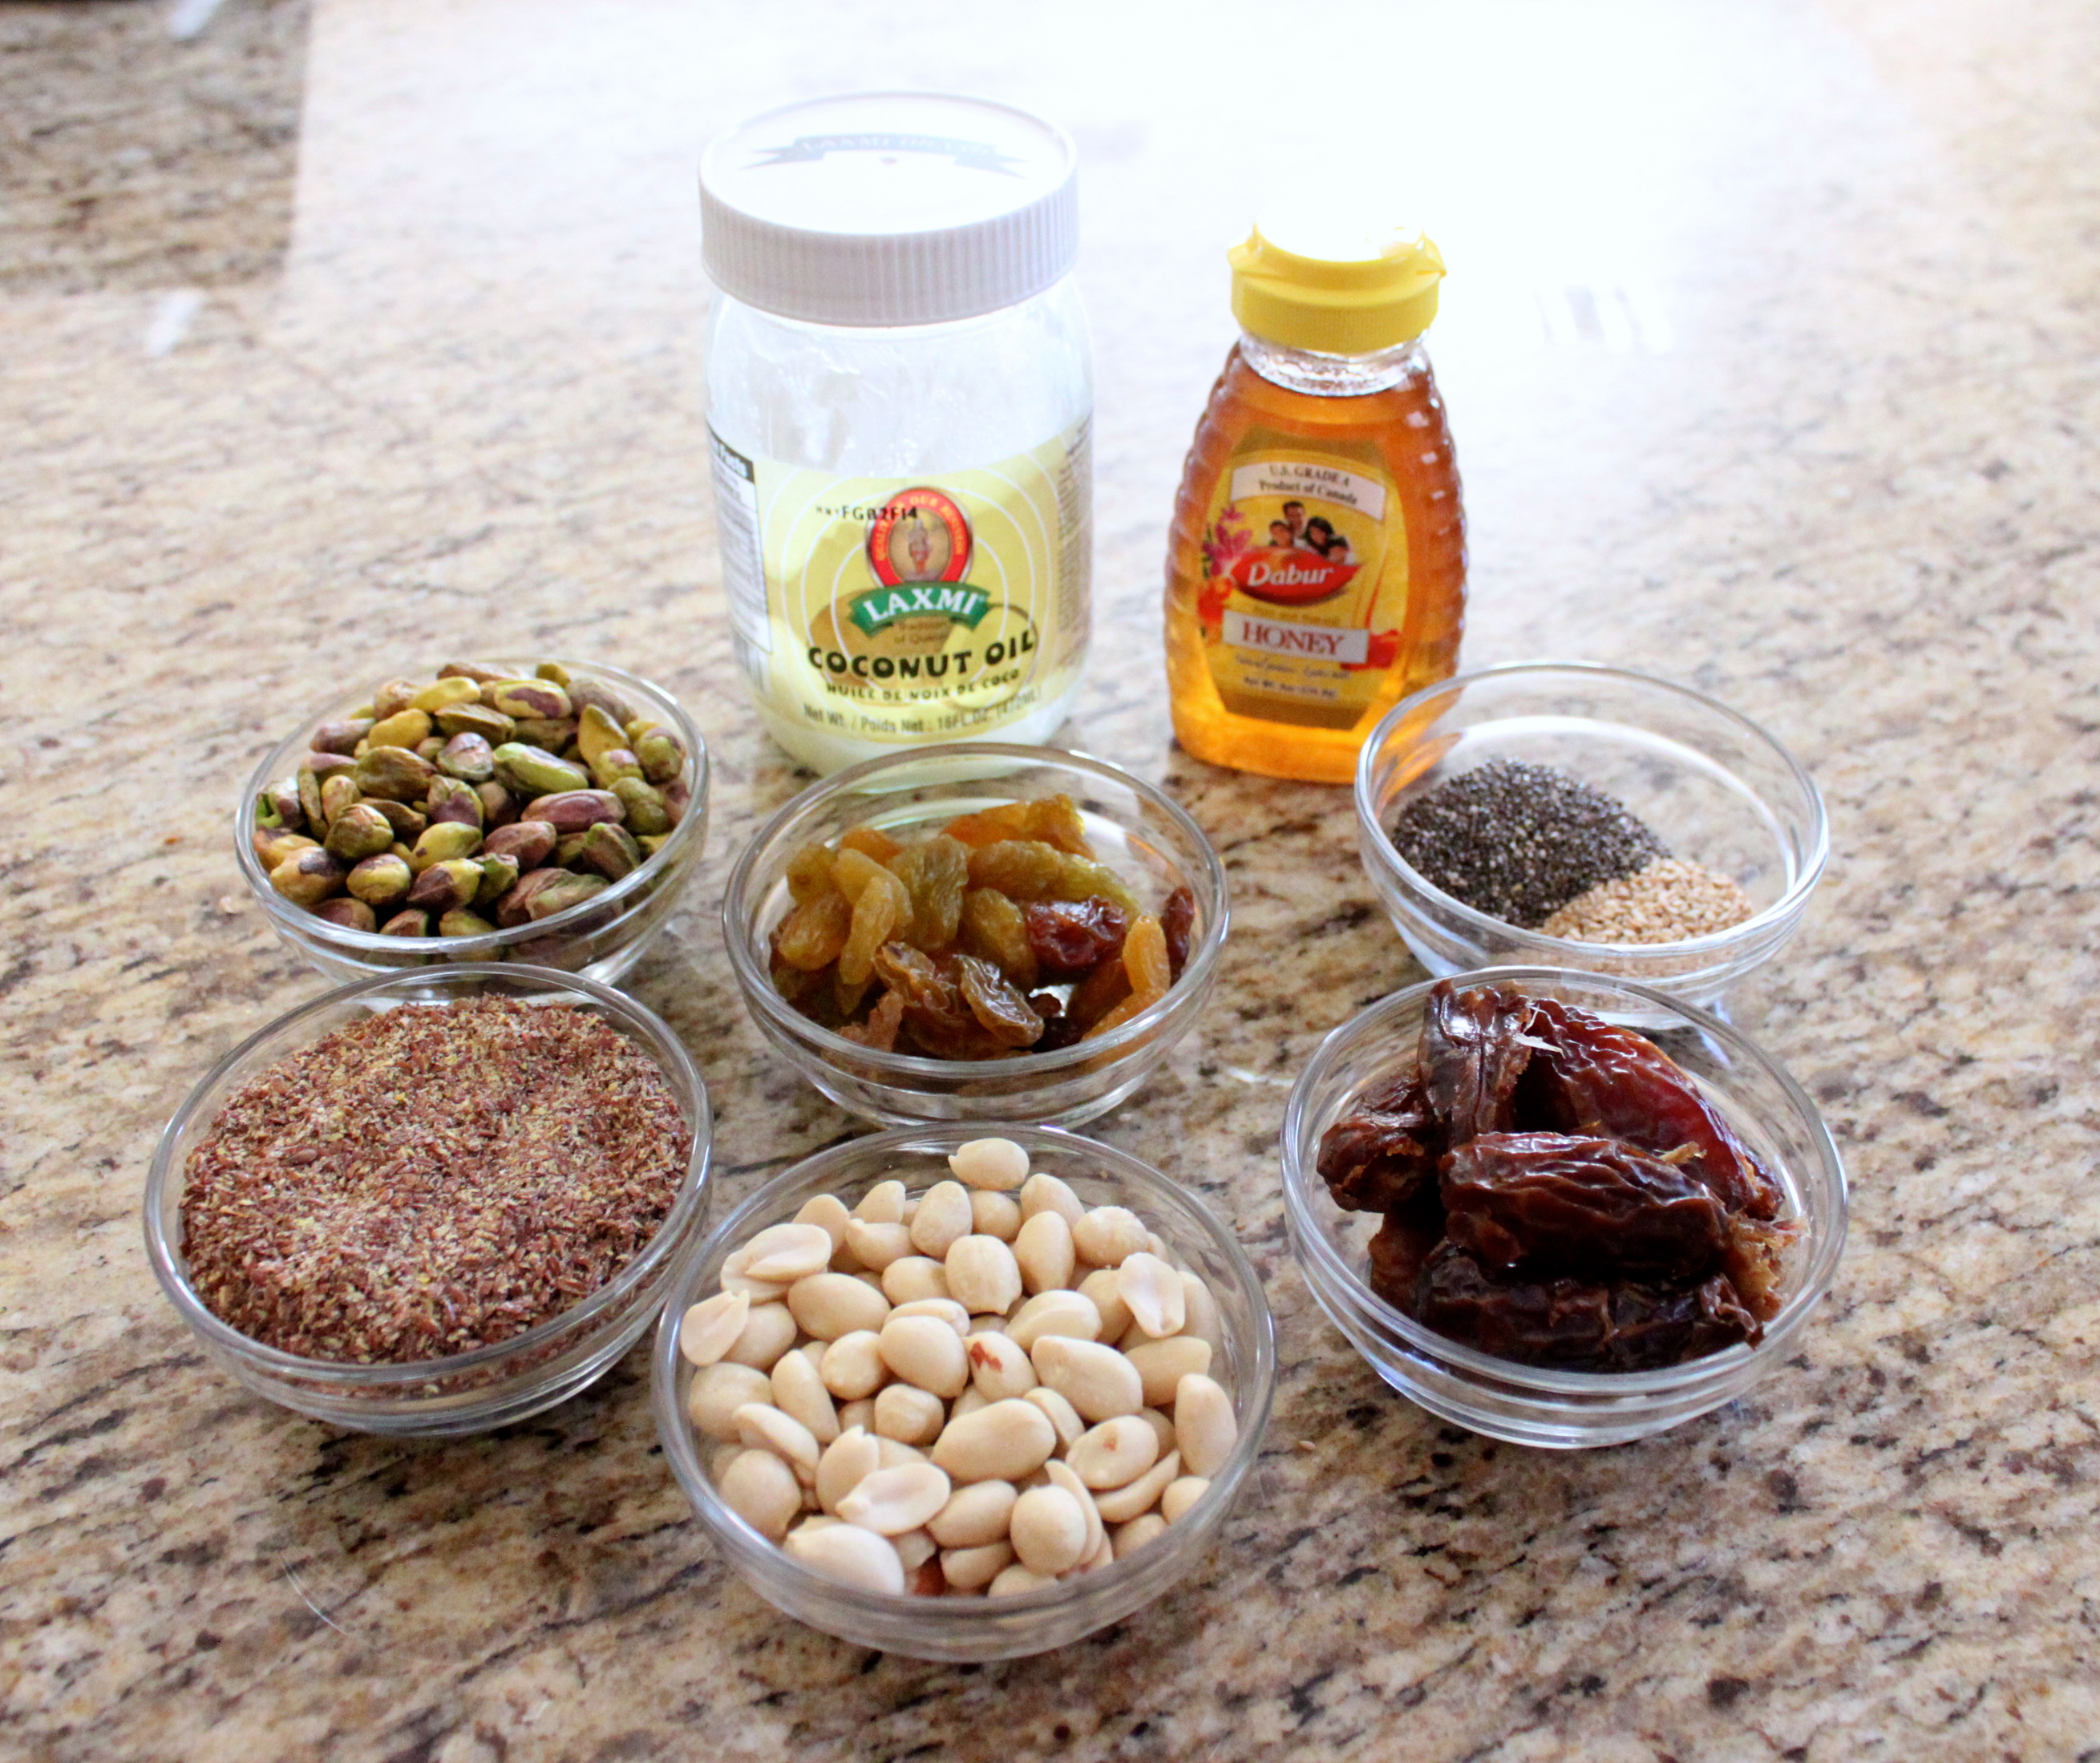
So, let’s gets started and see what you need. You might have all of them ready in your pantry 😉

IMG_0908

How you make –

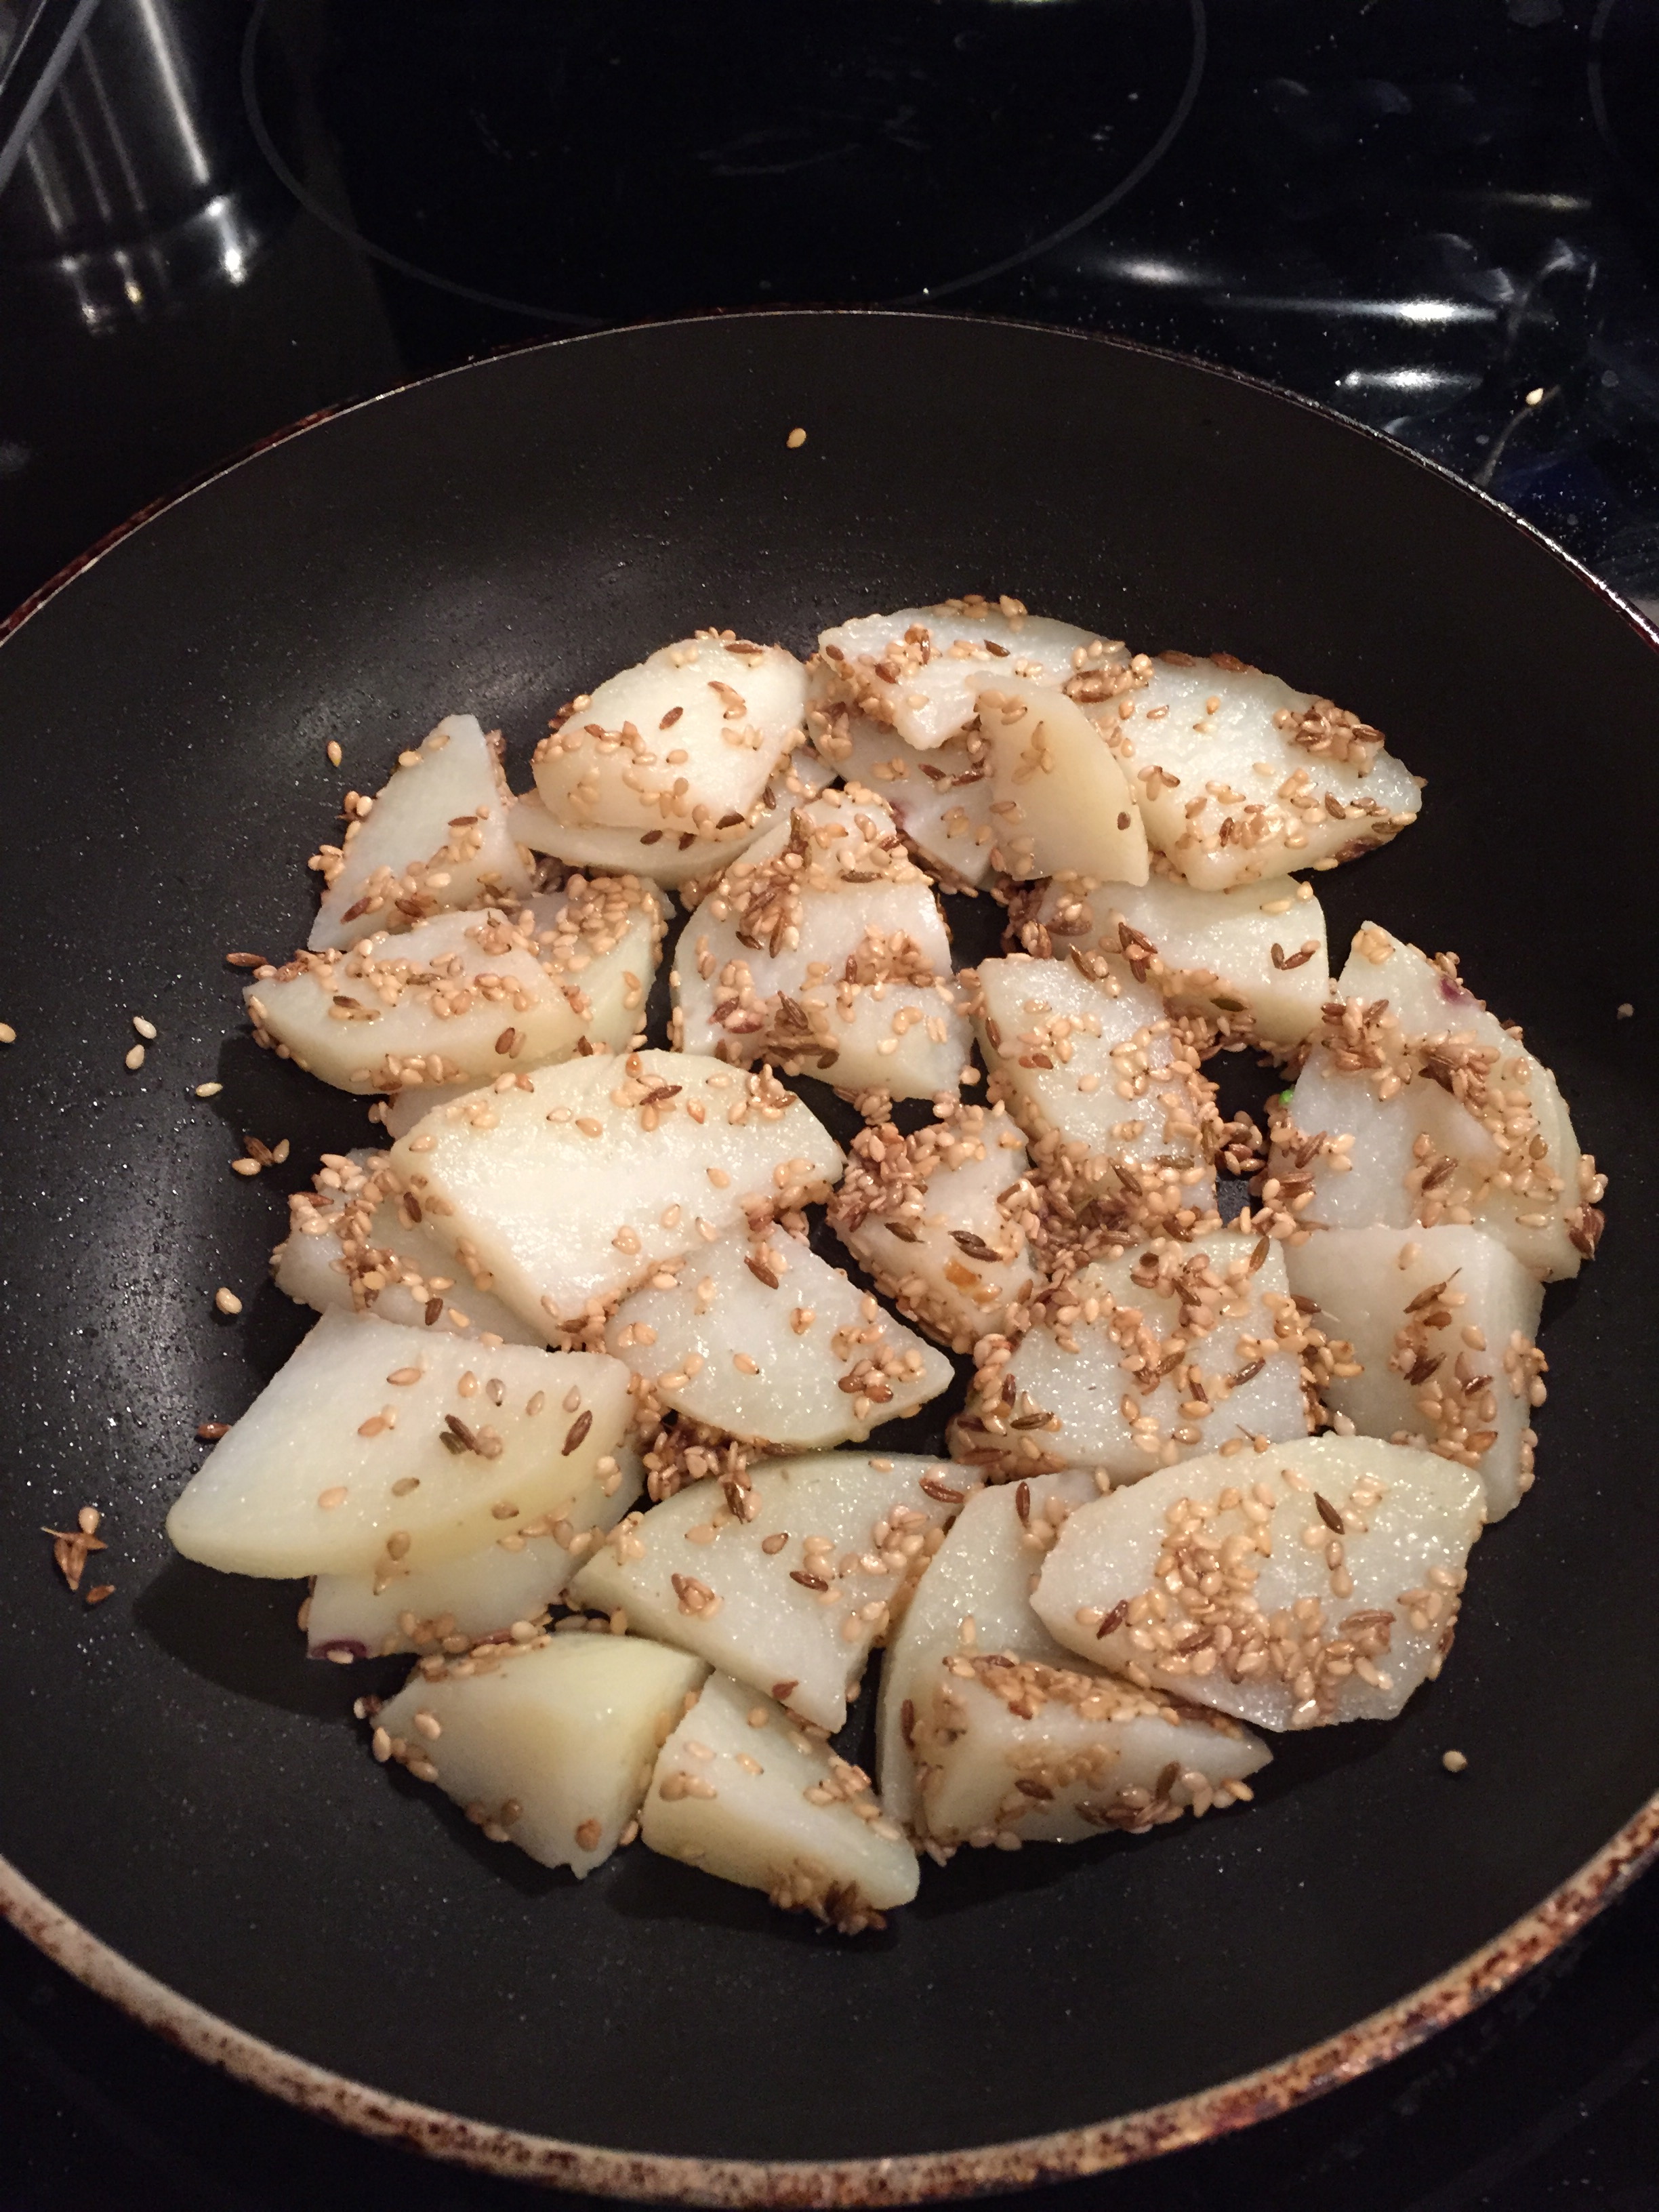
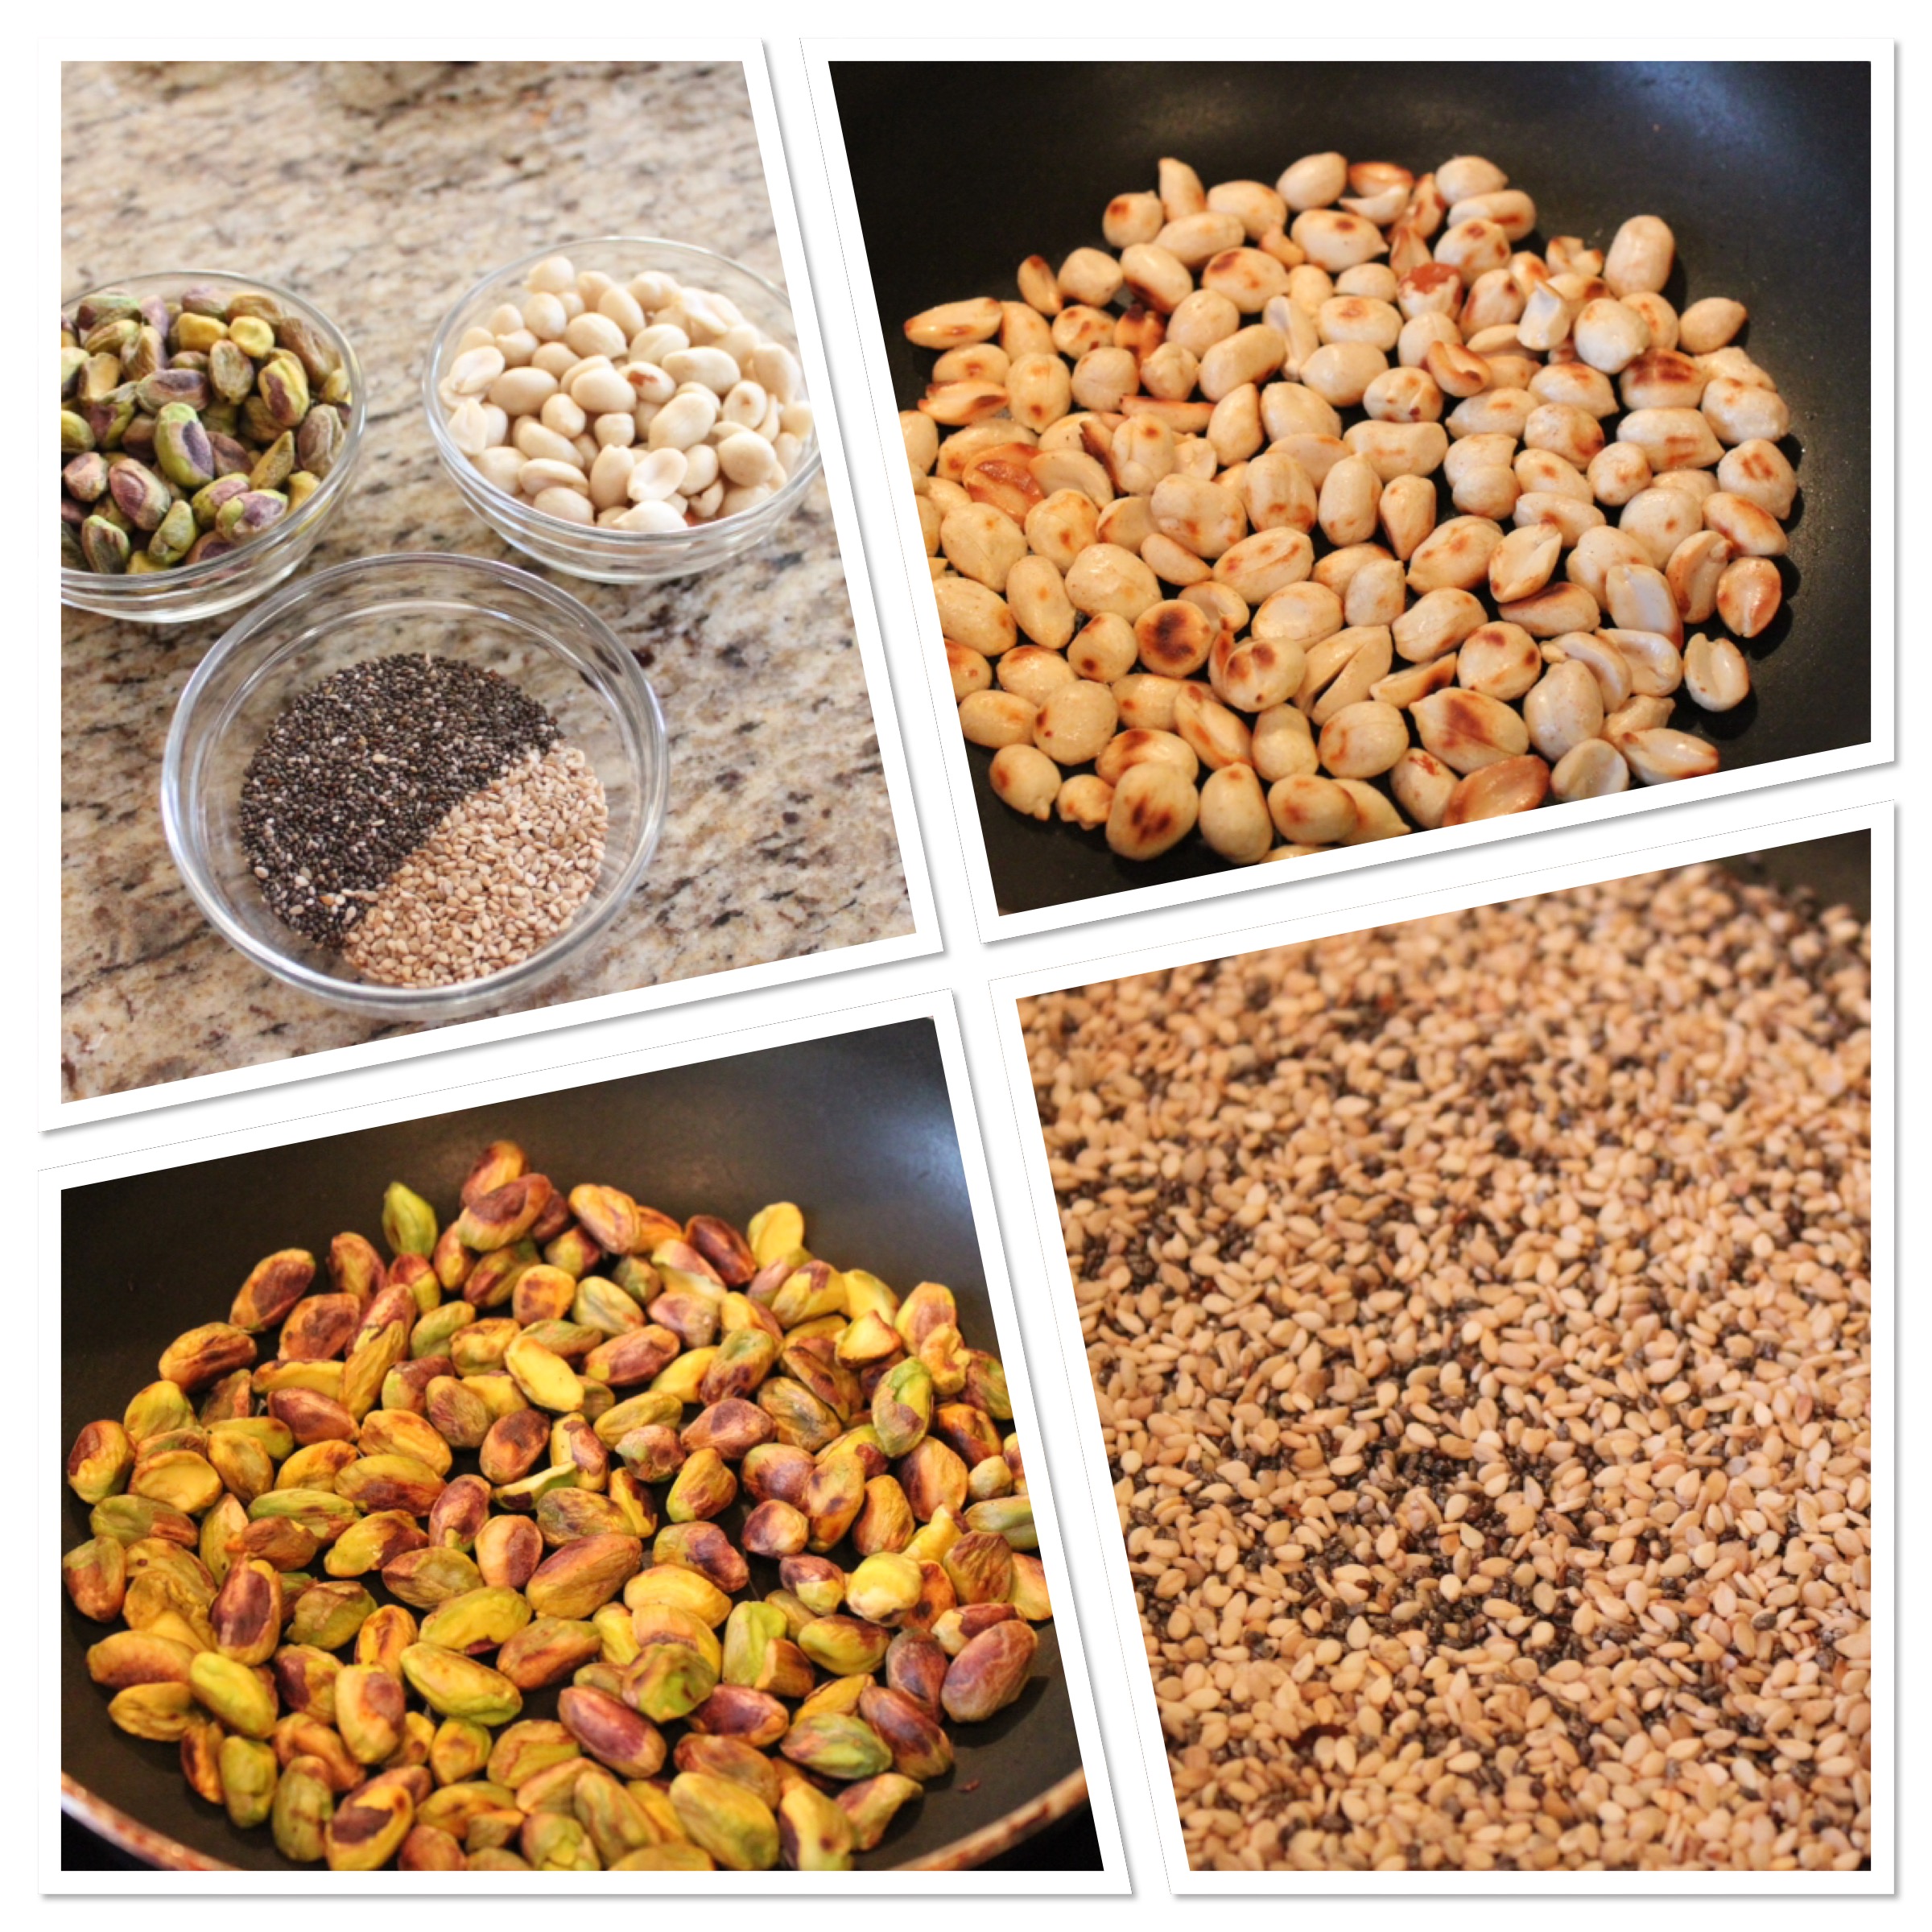
Step 1 : In a pan, dry roast Peanuts, Pistachios and sesame, chia seeds separately on medium flame.IMG_8076

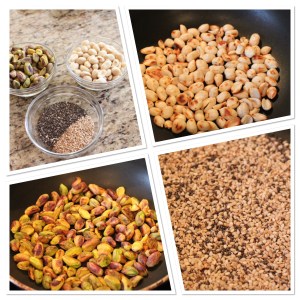
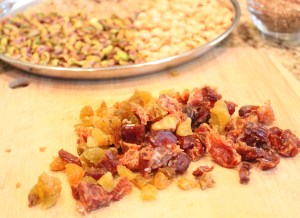
Step 2: Let the nuts cool down. Meanwhile, chop the raisins and Dates(Medjool California Dates)

IMG_0924

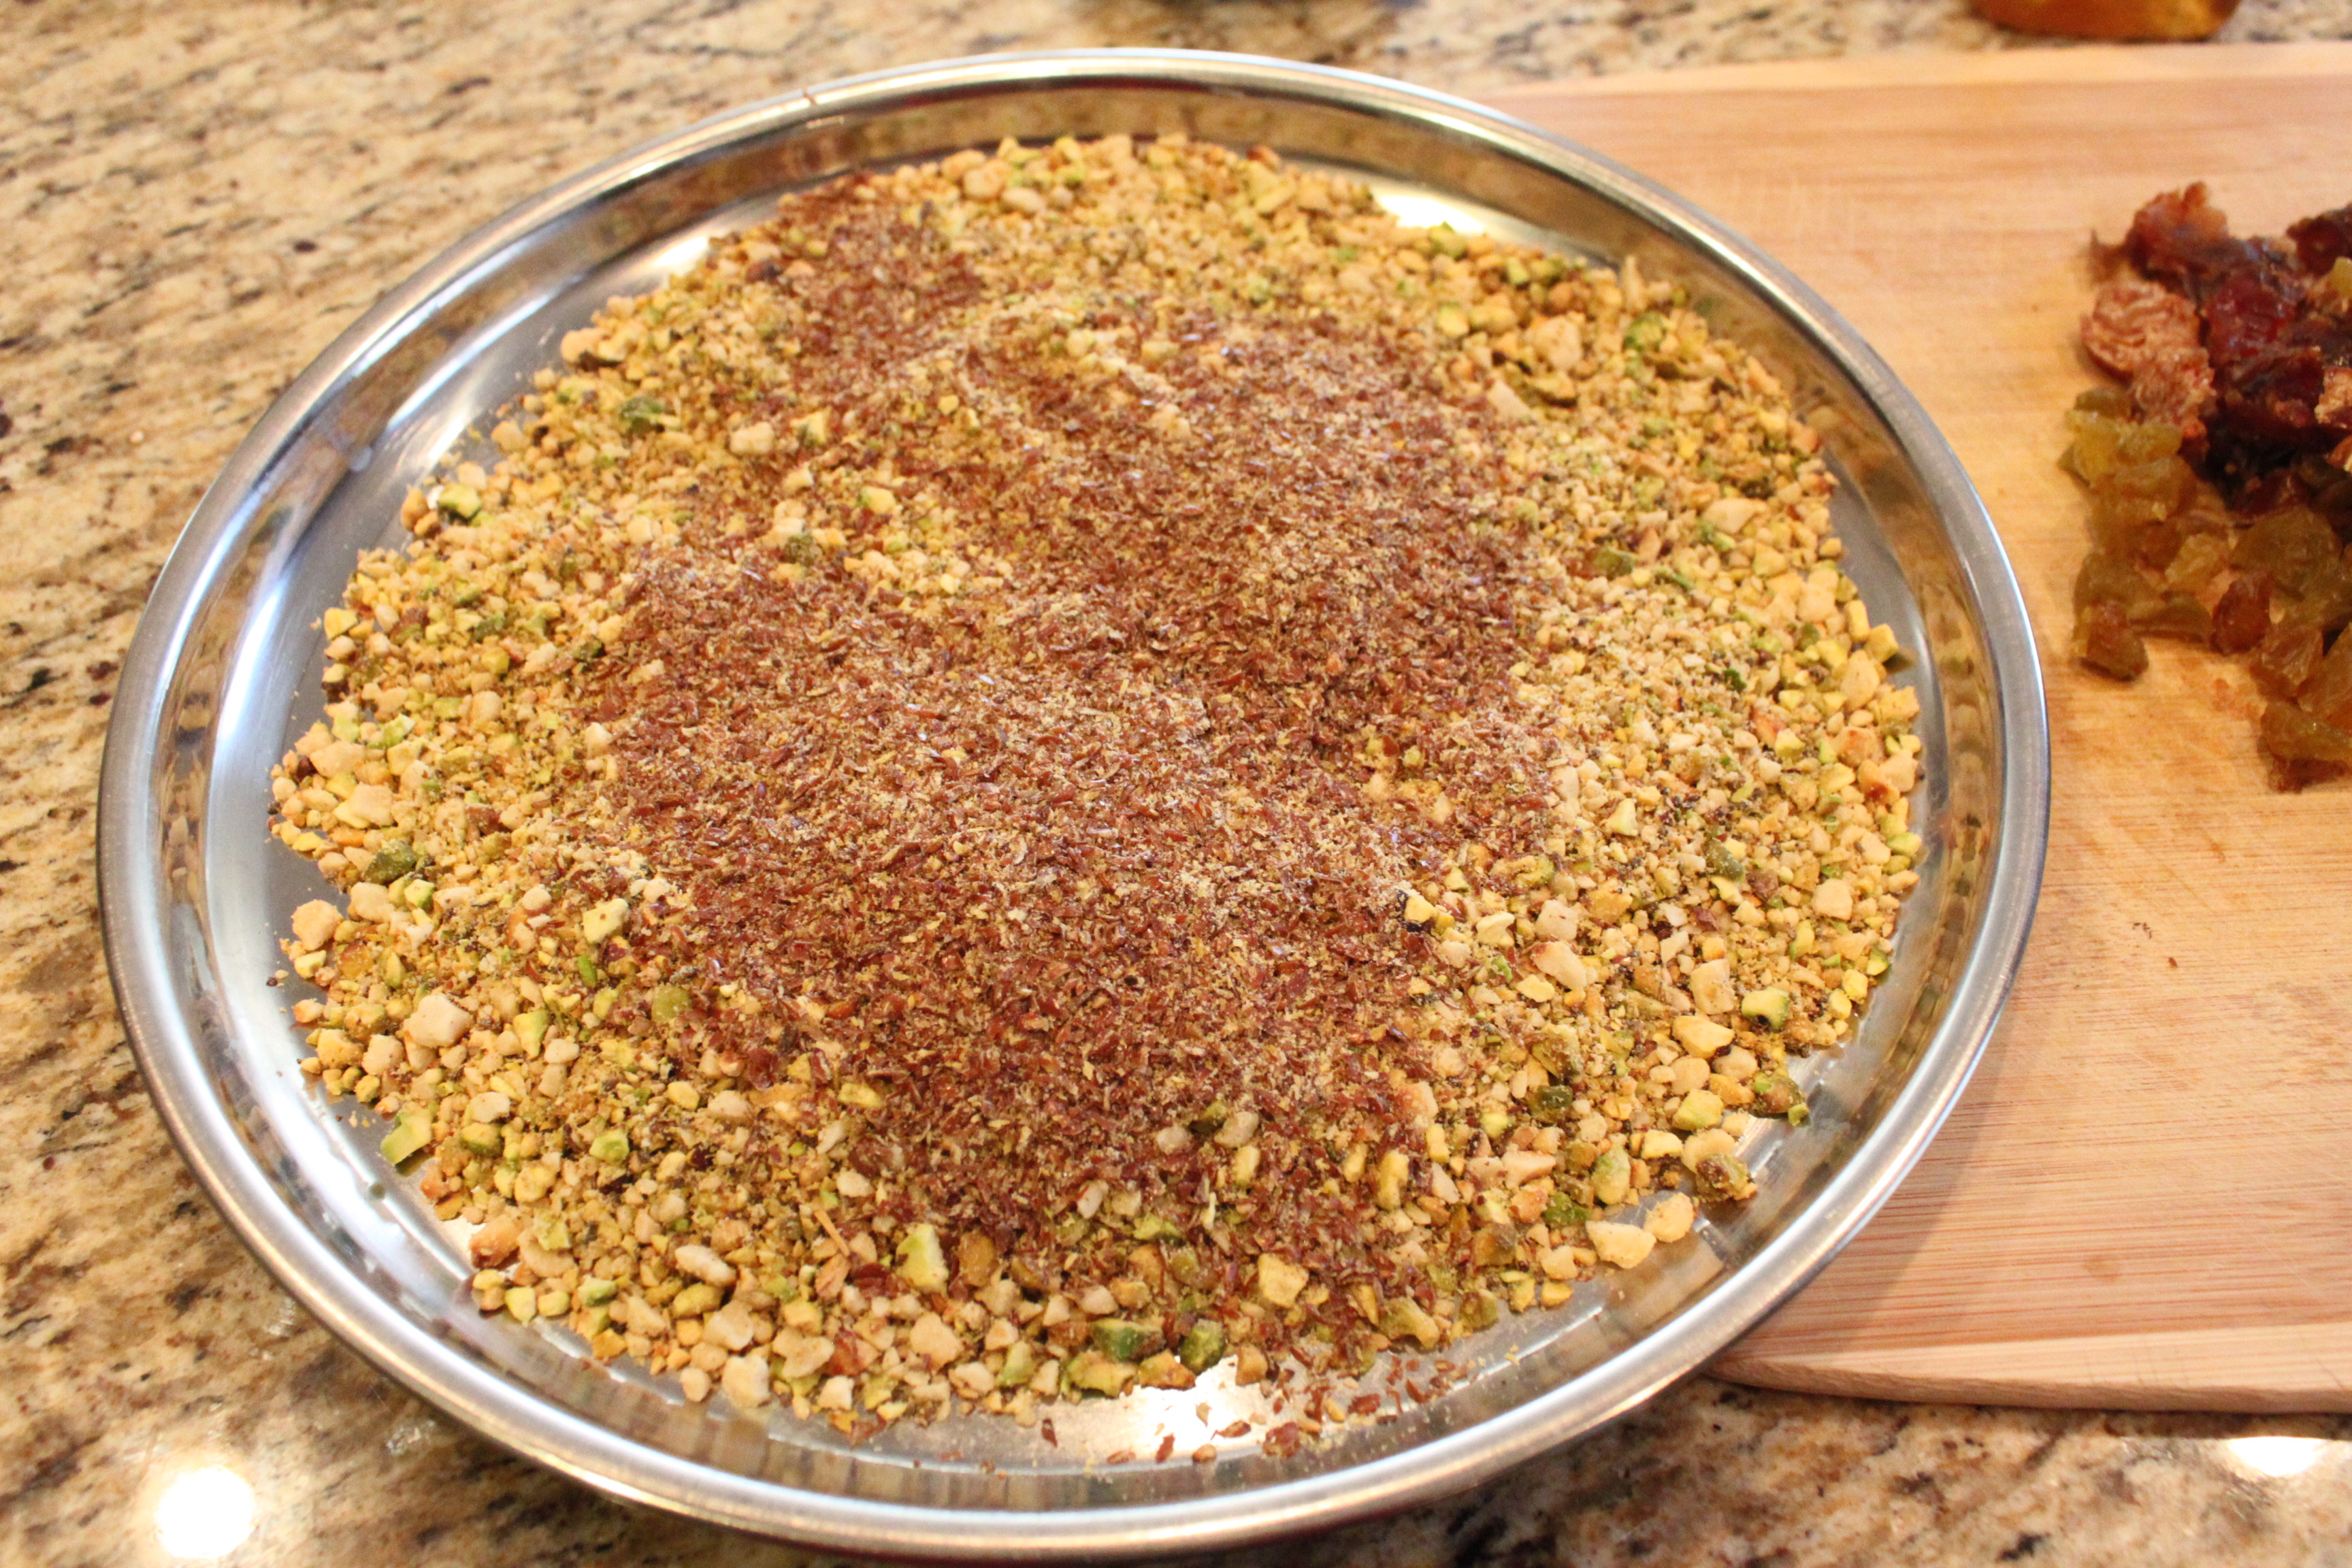
Step 3:Coarsely grind the cooled nuts and seeds on a blender/food processor. Add flax seed meal and mix well.

IMG_0925

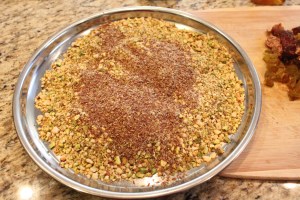
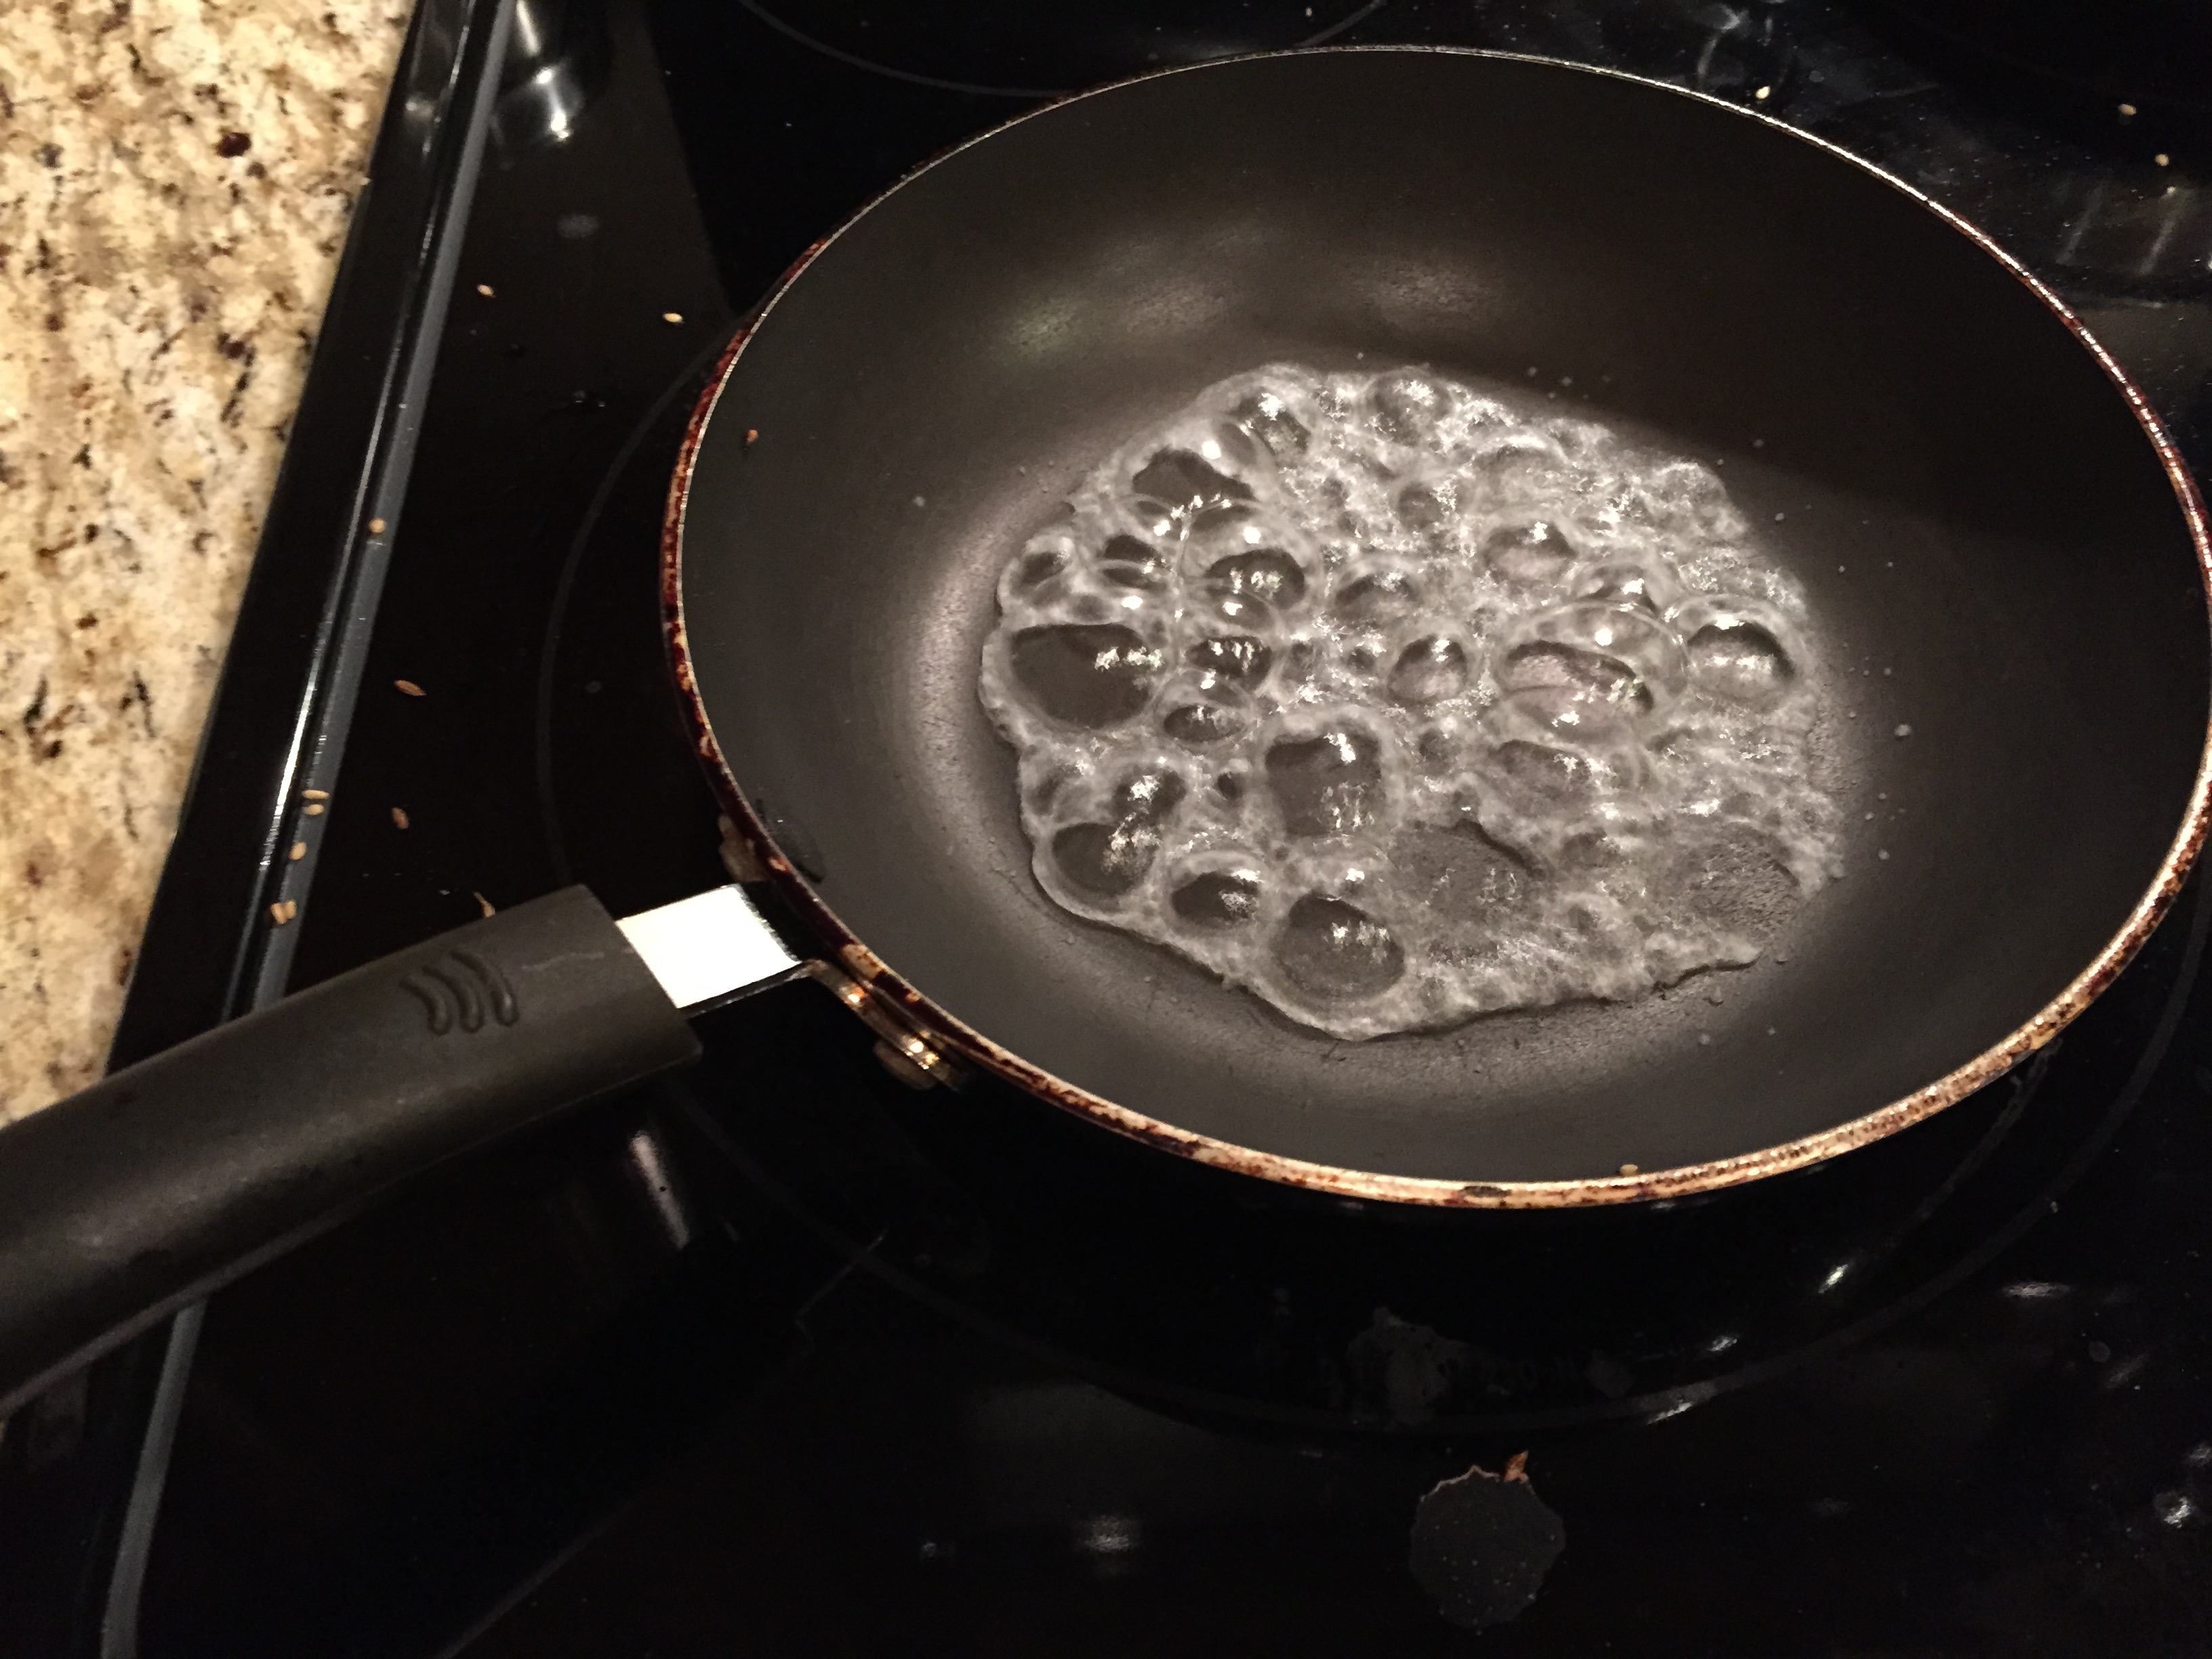
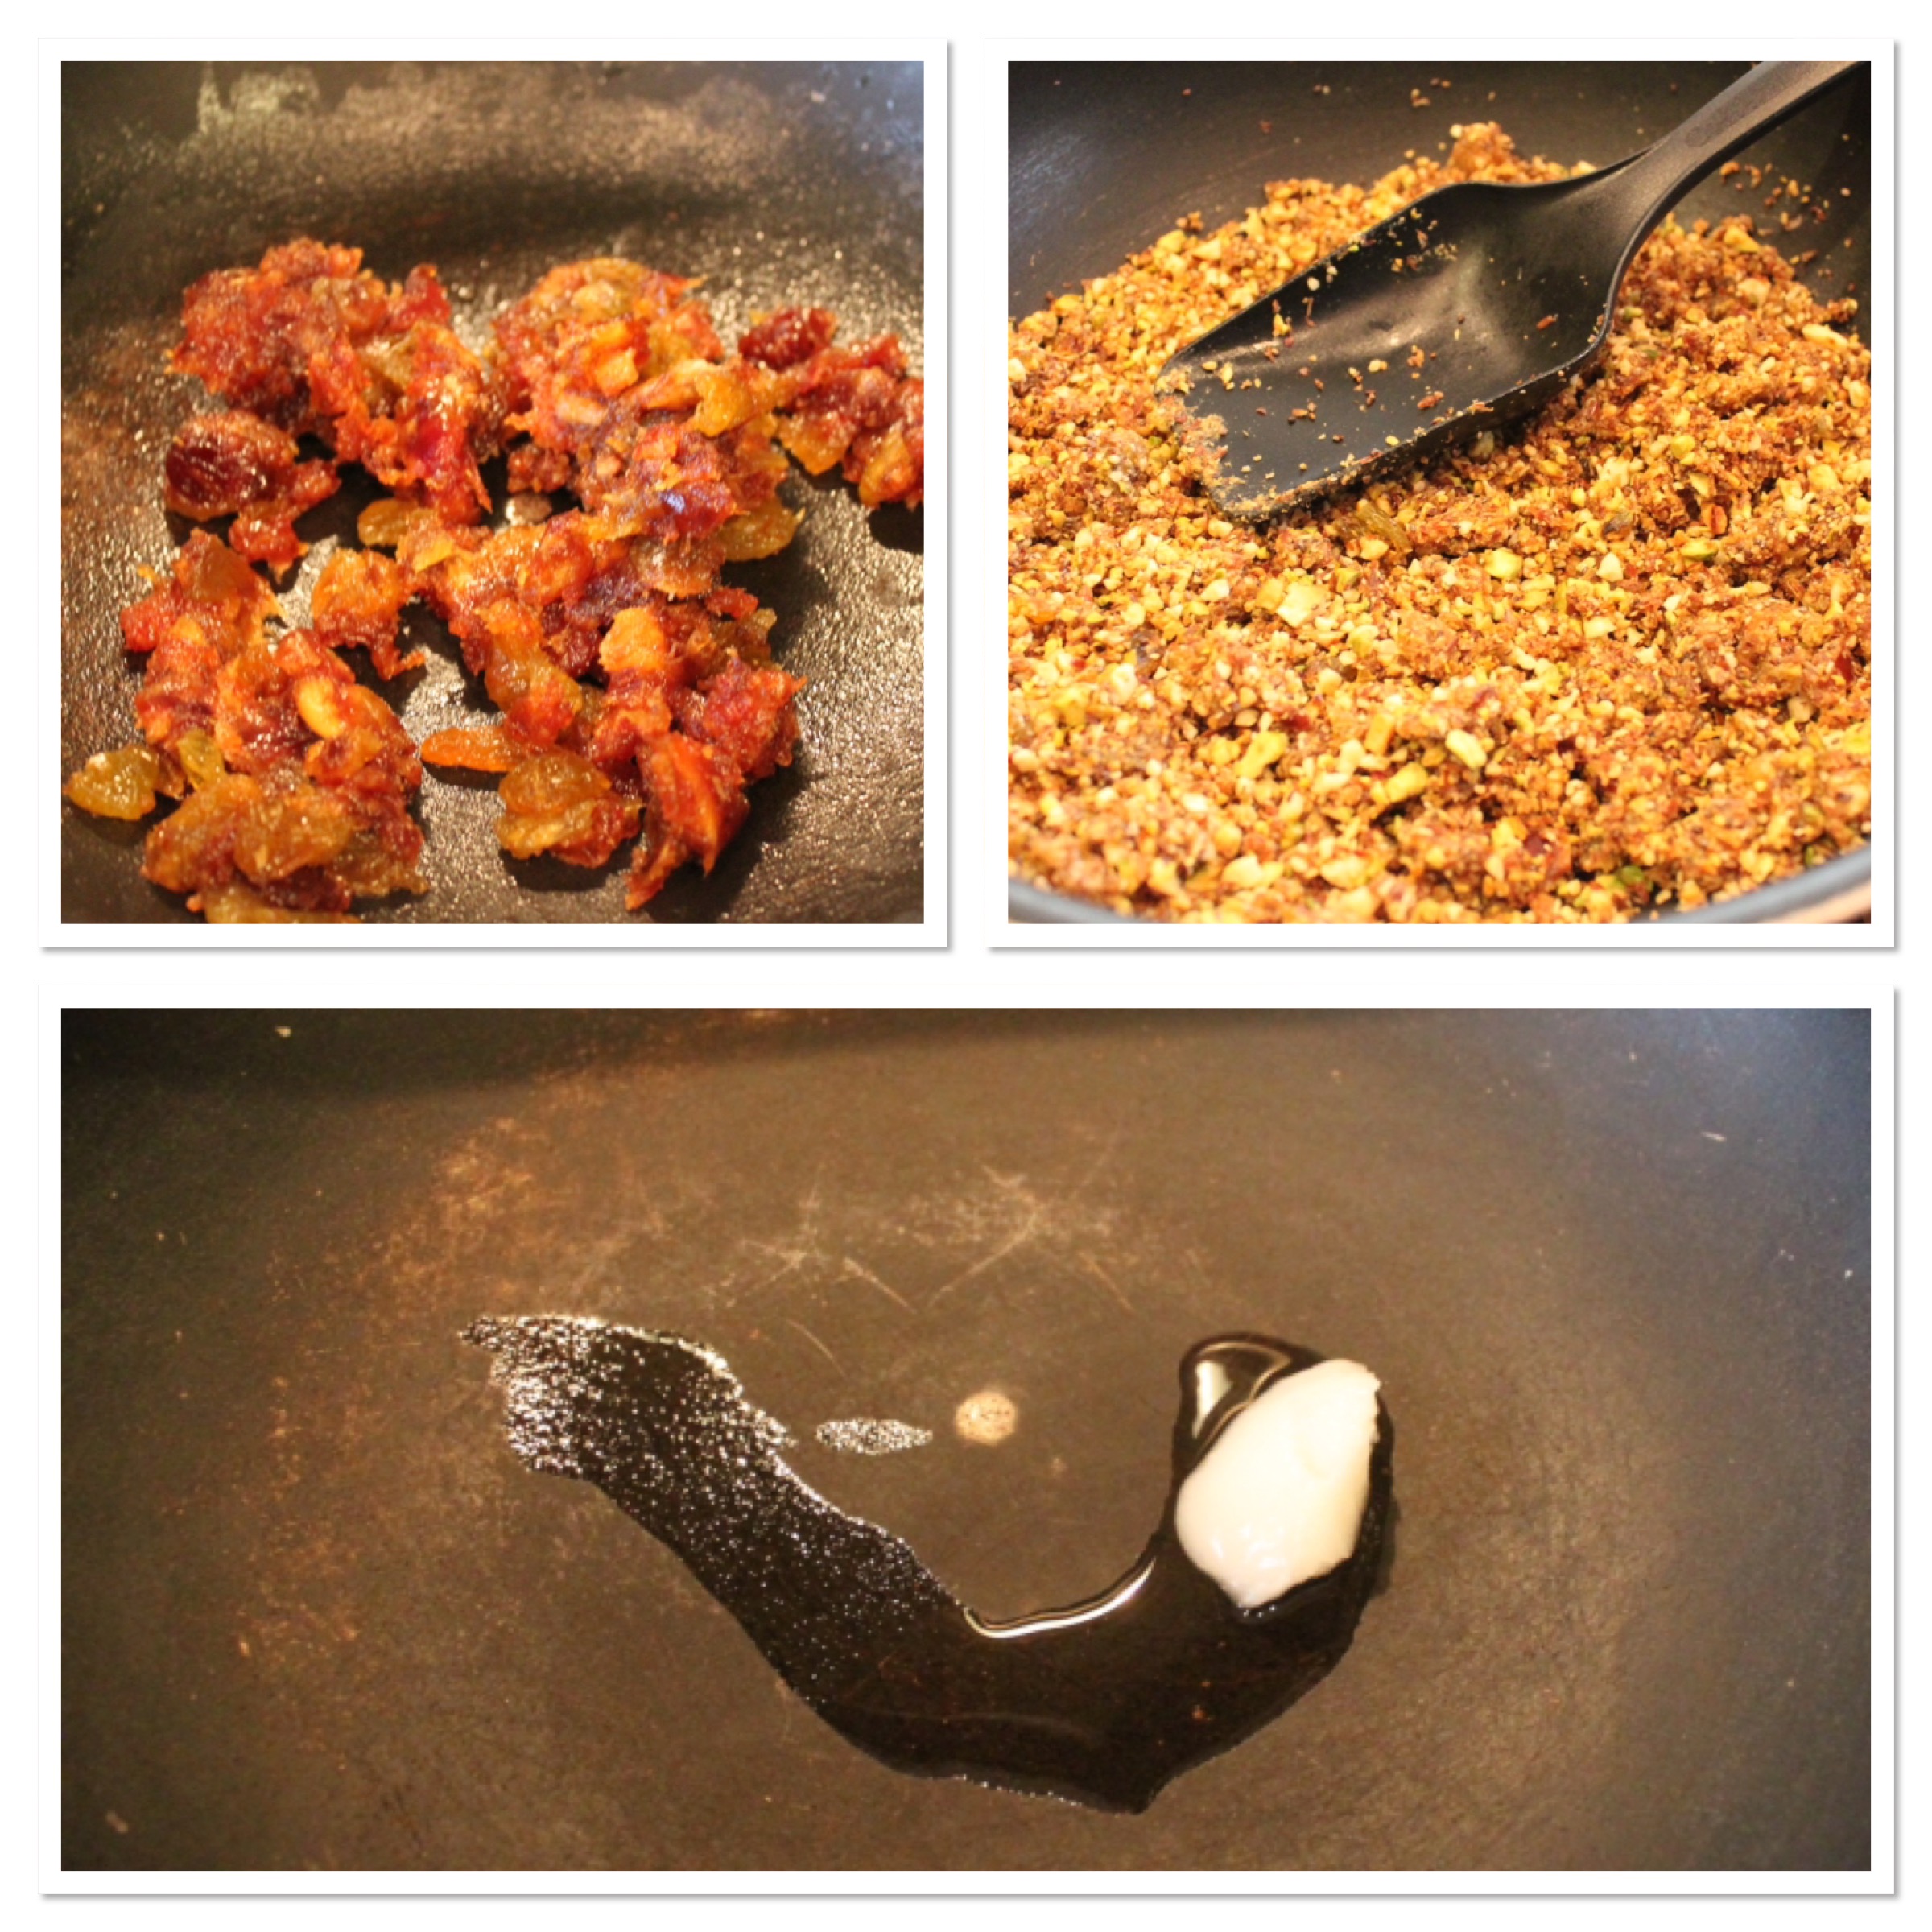
 Step 4: In a deep pan, add 2 tsp of coconut oil. Then add the chopped dates and raisins. Once it starts cooking and come together( in couple of minutes), add the powdered nuts and seeds and mix it throughly. IMG_8077

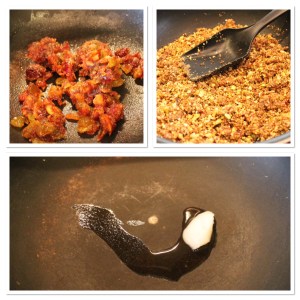
Step 5: Cool for few seconds and take a tablespoon worth of the mixture in between your hands, rolling to form a ball. Repeat until all of the mixture is used.

And you have these delightful bites ready for a snack, breakfast or on the go.

IMG_8070

Any seeds, nuts would be healthy as they are a great source of fiber and good fats. Coconut oil is a great substitute for butter as it is a good fat and enhances the flavor.

Cheers!

Printable Recipe

Yields – 16

Pistachios – 1 cup

Peanuts -1 cup

Flaxseed Meal – 1 cup

Seasame Seeds – 1 tsp (white/brown)

Chia seeds – 1 tsp

Dates – 5 (pitted)

Raisins – 1/2  cup

Coconut oil – 2 tsps

Honey – Optional

Step 1 : In a small pan, on medium flame dry roast pistachios, peanuts , chia and sesame seeds separately.

Step 2: Cool the nuts and meanwhile, chop the raisins and dates

Step 3: Coarsely grind the roasted nuts and seeds in a blender/food processor.

Step 4: Add flax seed meal and mix throughly. ( Don’t roast the flax seed meal as the heat takes away all the goodness)

Step 5: Heat the coconut oil and add the chopped dates and raisins. After few minutes add the nuts and seeds mixture and mix throughly.

Step 6: Let it cool a bit and roll to form a small ball.

TIPS:

When you use less dates you might feel the mixture is dry and cannot form a ball, add 1-2 tsp of milk

If you don’t mind little extra calories add cashews and almonds

You can use walnuts, pecans or anjeer, apricots

Make it quick, as it cools it might be tough to form balls.

DIY Grihapravesha/Housewarming Invitation

Life is good, relaxed, enjoying the routine, then came a big change in our lives. We bought a house, place to call home 🙂

So, before we move in we have a traditional ceremony called “Griha Pravesham – Griha(house) Pravesham (Entering)”. It is a ritual that is performed to mark the first and formal entry of the proud owners into the house. The D-day is fixed by priests advice. It is a half day ceremony with some standard rituals, followed by family and friends visiting home. As part of tradition, food is served to all the guests with due respect.

I wish I could have had all our friends on this important occasion,  but it was a typical cultural ceremony and a traditional food is served, we had to cut short the list to Indian friends.

So, for this event, I wanted to DIY invitation cards to post to our family in India and to friends here and started searching on PINTEREST and there are a lot of pins.

The cutest pin that caught my eyes was a pocket sized invitation with a free printable template on OHAPPYDAY.

FullSizeRender-5 But, we all know that most of the invitations are automatically associated with a nice fragrance. To create that feel, I used Bodyshop Jasmine Fragnance Mist.

Here are steps to create fragrance on DIY cards

You need:

Kitchen Tissue or any other tissue paper (I used Kleenex Hand Towel)

Scissors

Fragnance Mist

IMG_7681

Cut the hand towel into small squares, spray some mist on all the pieces and let sit for couple of seconds.

IMG_7683

Drop the fragrance soaked square in each envelope.

IMG_7684

Ta-dah!!! You have a wonderful invitation ready 🙂

And here are some of housewarming pictures that note the important rituals! IMG_8060

Thanks for stopping by 😀

Happy Monday!

TIP:

Until you distribute, keep all the invitations in a ziplock bag to seal the fragrance.

Tip of the week!!

Can you believe a piece of tape can do wonders??

Specially, WASHI Tape.

In case, you are unaware, it is a Japanese decorative tape that you can be completely obsessed 😉 Here I am sharing 3 adorable ways to dress up ordinary looking stuff with a piece of tape.

1. Cover phone/tablet charger with this funky tape. Use small pieces and wrap the cord too!! 😉

FullSizeRender

2. Use it on a candle or candle holder and smooth out any air bubbles. You candle is ready to shine!!

bc4b4fd86eb2d274d6ae31aab2e339fb

3. Make quick and an easy return gifts by wrapping some washi tape around tea light candles and give in a bright colored organza fabric bag 🙂 I am sure your guests will be impressed 😀

IMG_7979

Don’t forget to look up for more ideas on Pinterest 🙂

Happy Thursday!!

Cooking Without Limits

Food Photography & Recipes

Travelling Krishnaite

Shekhar Srivastava's Blog

Live-😊-Life..

"It has everything in little as a HAPPY package!!"

DesiCrafts

A blog Dedicated to Indian handicrafts, Fabrics and Supplies

Fulgorine

My adventures with art and polymer clay

The Beaded Bazaar

Polymer clay creations

Learn Polymer Clay

Inspiring you to explore your creativity and get down to work! A great collection of Free Polymer Clay tutorials

Wear the Ducky Tie

A Sewing Blog

sewmanju

Make your own style

SEW KATIE DID

because thread is the best glue.

The Crafty Coup

Finally, you're here! Let's make something!

The Daily Post

The Art and Craft of Blogging

WordPress.com News

The latest news on WordPress.com and the WordPress community.