
Gaint paper Dahlias are my new love and I can’t stop staring at them.
Dahlias are my favorite flower. Making with paper is fun because, there is no green thumb required 😉 and you can make any color, any size. They are so amazing that I couldn’t wait to add to my Diwali Decor list.
Most of the projects on internet are wreaths or wall decor. I’ve been itching to do something beyond.
And Tadaahhh!! This is a great to project to create a bright and colorful center piece.

Aren’t they wonderful!! I am sure you are staring at them too 😉
I’m jus posting a few step-by-step photos and details because you can find a great video tutorial by HGTV crafters here.
I picked card stock from Hobby lobby @ 50% sale.
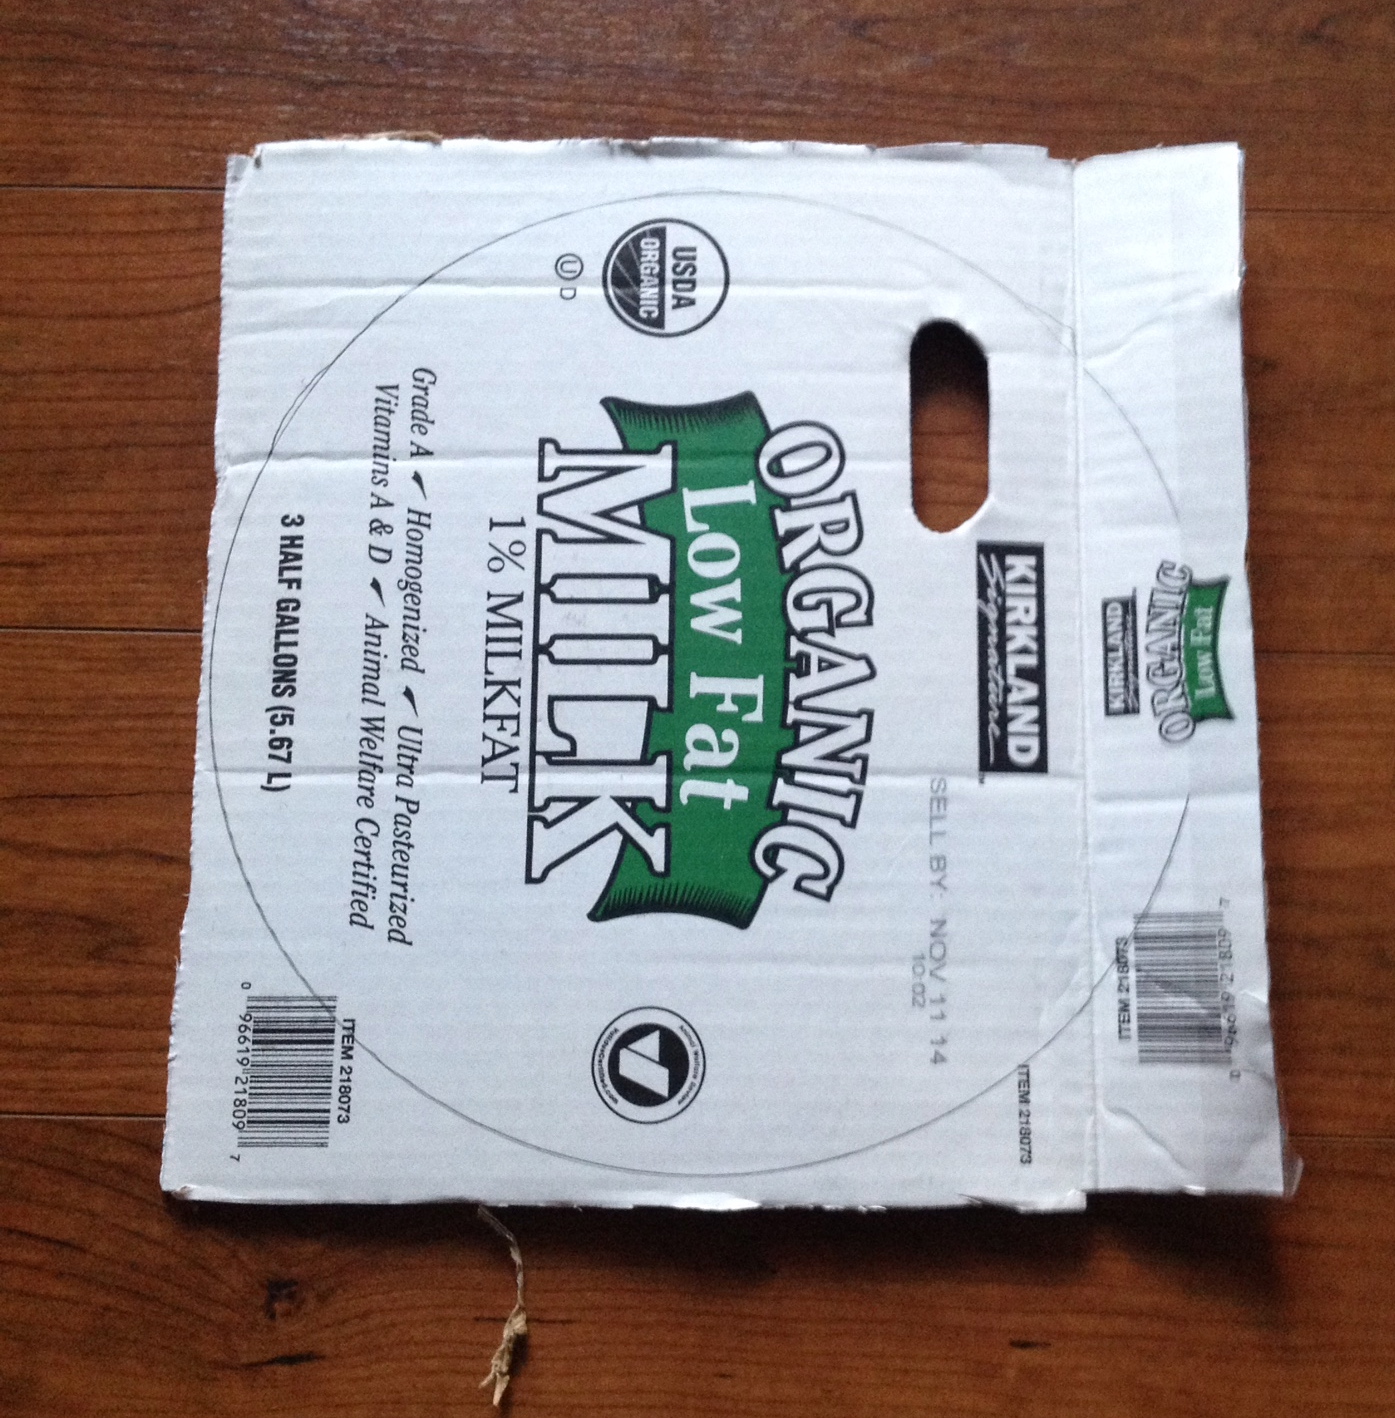
 And for the base of flowers repurposed a sturdy milk carton box that has a nice open space for holding, which I think is perfect because you can use that gap to hang, especially if you ever want to use it as Wreath.
 So, I started making 4 circles (4 tier) in different diameters. It was random as I wasn’t sure on the results. Made the 1st flower, then next size little small, making sure it shows up some of the colors beneath and continued to do the rest.
For the purpose of tutorial, I measured them and here are the details of the total diameter of the flower, diameter of the base cardboard circle and the measurements of the cut paper for petals.
1st and the base flower – I used Fall colors and added a Diya. You can also use this as “Diwali Wreath”


Diameter of the flower – 20 inches
Diameter of the base cardboard circle – 11 inches
Petals- 5 each of 4 colors of card stock, cut into 4X4 pieces.
So for each color you will have 20 pieces that are sufficient to cover the diameter mentioned above. Now turn them into cones/petals. And the inner most layer 3×3 inches from left over orange shade card stock.
Once the 5 rows of petals are glued, covered the inside part of circle with a contrasting piece of card stock and with the left over pieces a DIYA cut out 🙂 ______________________________________________________________________________________________
2nd Dahlia – I was really excited, but by the time the first one is done, I was very confused on the colors 😉 I tried on green shades and it worked perfect 🙂


Diameter of the flower – 15.5 inches
Diameter of the base cardboard circle – 6.5 inches
Petals – The base you need 5 sheets each of 2 lighter shades of green (4X4 inches) and for the dark green 3 sheets of 3×3 inches pieces.
So, total you will use approx 18-20 cones for the bottom 2 rows and the top most row 12 cones.
______________________________________________________________________________________________
3rd Dahlia – I kept this flower simple because the more you fill, it gets difficult to add the 4th flower. Or you can make a complete Dahlia at this stage and skip the 4th flower.


Diameter of the flower – 13 inches
Diameter of the base cardboard circle – 4.5 inches
Petals – I picked 4 sheets of 2 colors, cut 4×4 inch pieces of dark pink and light pink 3×3 inch pieces. ______________________________________________________________________________________________
4th n Final one – The smallest flower filled in 3 layers of petals and glued on a candle holder to place a LED candle.
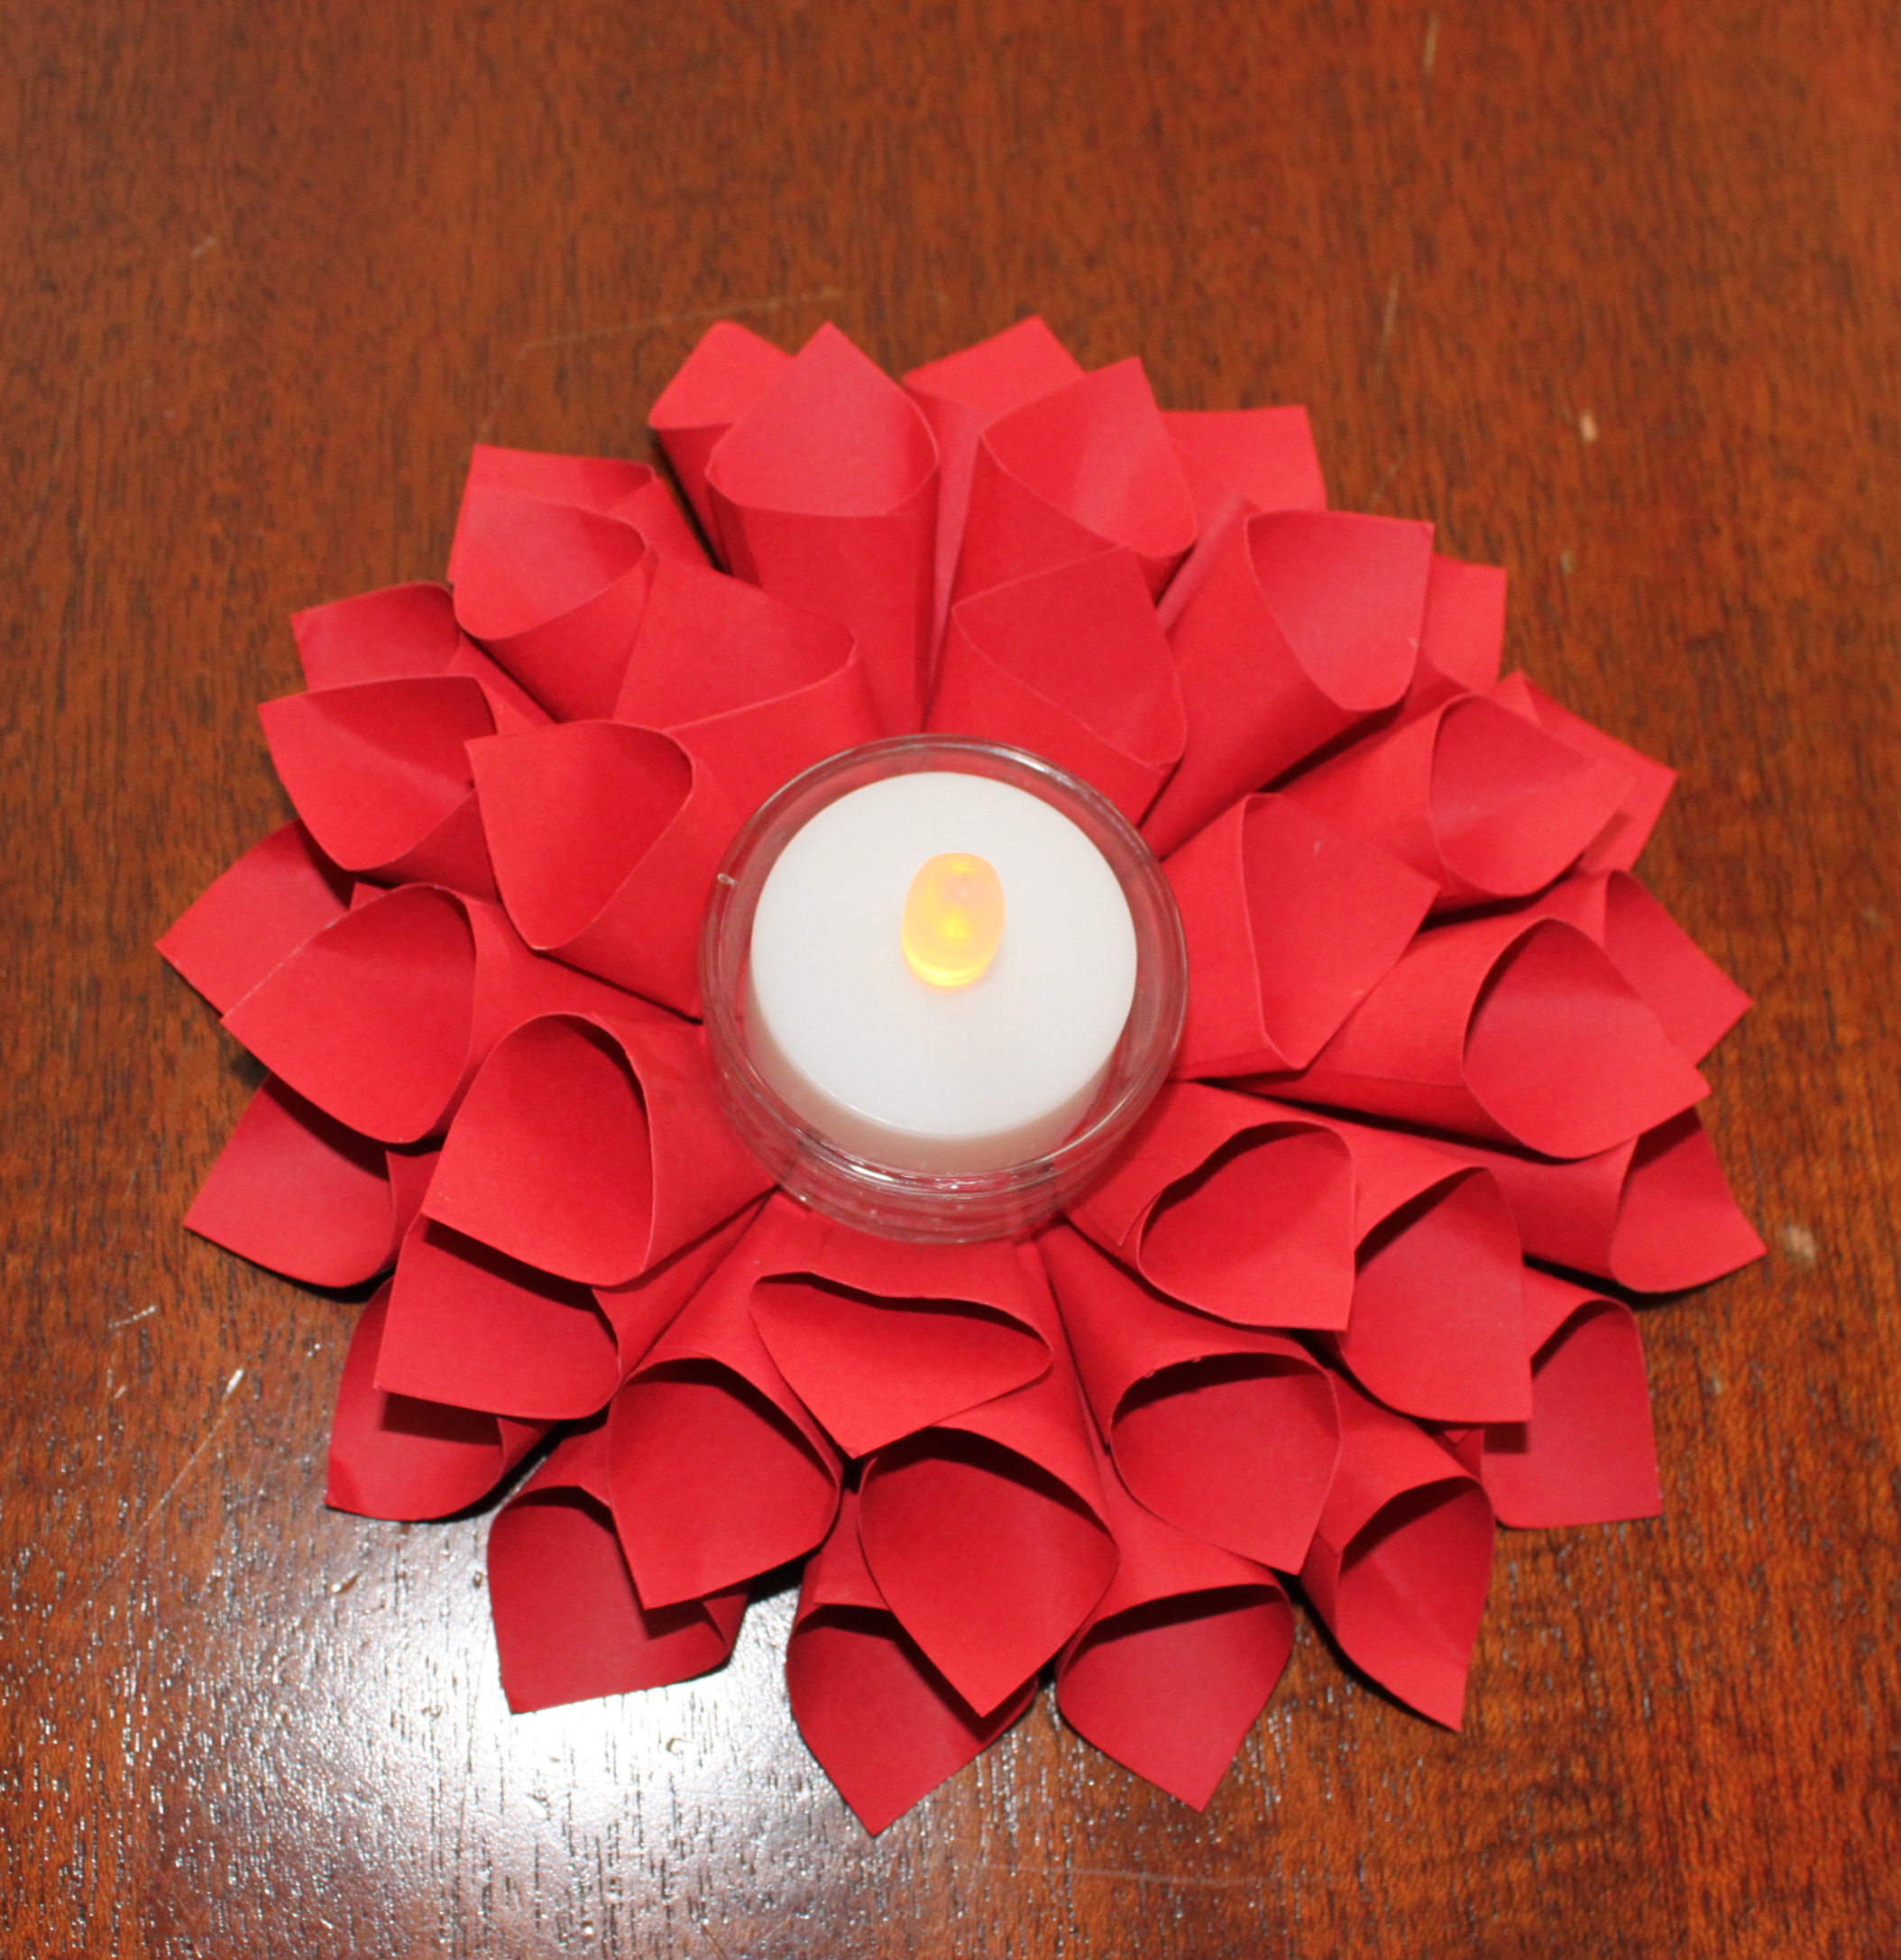

Diameter of the flower – 7 inches
Diameter of the base cardboard circle – 2.8-3 inches
Petals – Red color 2 sheets and make 2×2 inch pieces and make cones.
Yayyy!! Flowers are ready 🙂

To assemble, I tried to repurpose old salt boxes and couple of candle stick holders from Dollar tree.
Supplies needed are:

To assemble :
Place the big cardboard cylinder shaped block as base of the center piece like show below :

Next glue the candle stick holders to each of the flowers and add to the 1st tier.


Now add the small cylinder shaped ring and place the final Dahlia and the LED Candle. Since it is paper, using a real candle can be fire hazardous.


And here is another view of the Tiered Paper Dahlia Center Piece

The other ways of decorating these Gaint Paper Dahlias are
1. Cute Dahlia Tealight Holders in solid or multiple colors. Place a real or LED candle.

2. Table center piece (Console table/coffee table/dining table) or for any special occasions.

4. Another way is to hang the pieces individually on a narrow wall and they look gorgeous.

5. The last and most common way is Wreath. Wreath is not our tradition but the Diya cut out is convincing 🙂

Isn’t it cool to make a project that can be used in multiple ways 😉
Hope you enjoyed it and please don’t forget to leave your thoughts.


oh wow..it looks btyful. And i love the you hang them on wall
LikeLiked by 1 person
Thank you 🙂
LikeLike
I’m so glad to see Indian version of alternative to traditional wreath. Thank you so much for putting the tutorial together. It’s a great addition to any religious event/party decoration.
Thanks
LikeLike
Thanks Kalapana – yes, it is so festive and vibrant👍 my fav too 😊
LikeLike
Excellent!!. Looks so beautiful & colorful. How did u hang it on wall. Or sticked it. Anyway truly amazing…
LikeLiked by 1 person
Thanks Akhila ♥️- I hanged it using a soda pop- tab , use hot glue gun to glue it on to the back of the flower base or when u pick a cardboard you can punch a hole and then start gluing the petals/cones !!
LikeLike