
When you take pictures on your iPhone, do you do anything with them?
I am sure this project will be a great inspiration to convert some of your best shots into a gorgeous canvas panel art! And it is super easy that anybody could do it and I mean it!

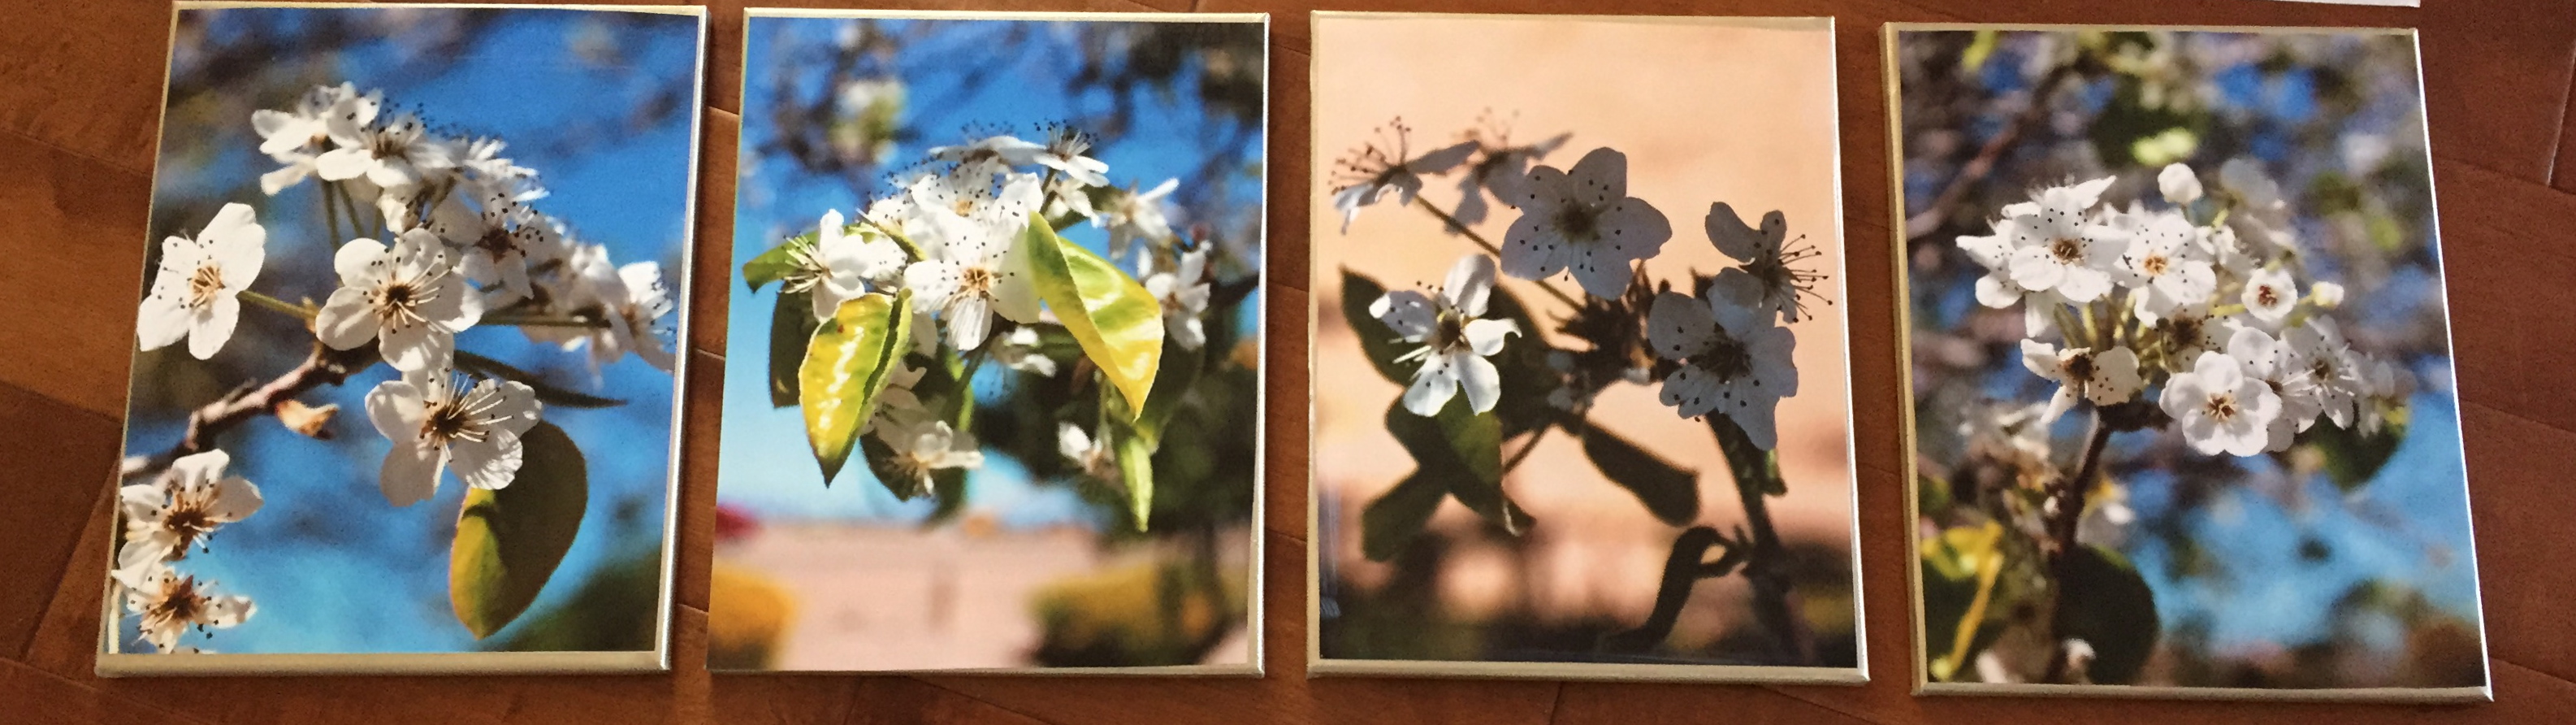
The flowering pear blossom is from our backyard clicked from iPhone6. They came out so beautiful that I was itching for a project. It was a perfect timing too to makeover our guest bedroom (family visiting for Memorial Day weekend).
This easy canvas art projects are all over Pinterest, but I loved mine so much that I have to share it with you all 🙂
Project cost – $25 Time – 30 minutes
Material
Printed photographs (mine 11×14 @ Costco) – $16 for 4
Blank Canvas @ Michaels – $12 for 7 canvas pack (40% off coupon)
Modpodge (any craft store) already on hand
Foam Brush/ putty knife
Optional –
Acrylic Paint
Paint Brush
Craft Knife


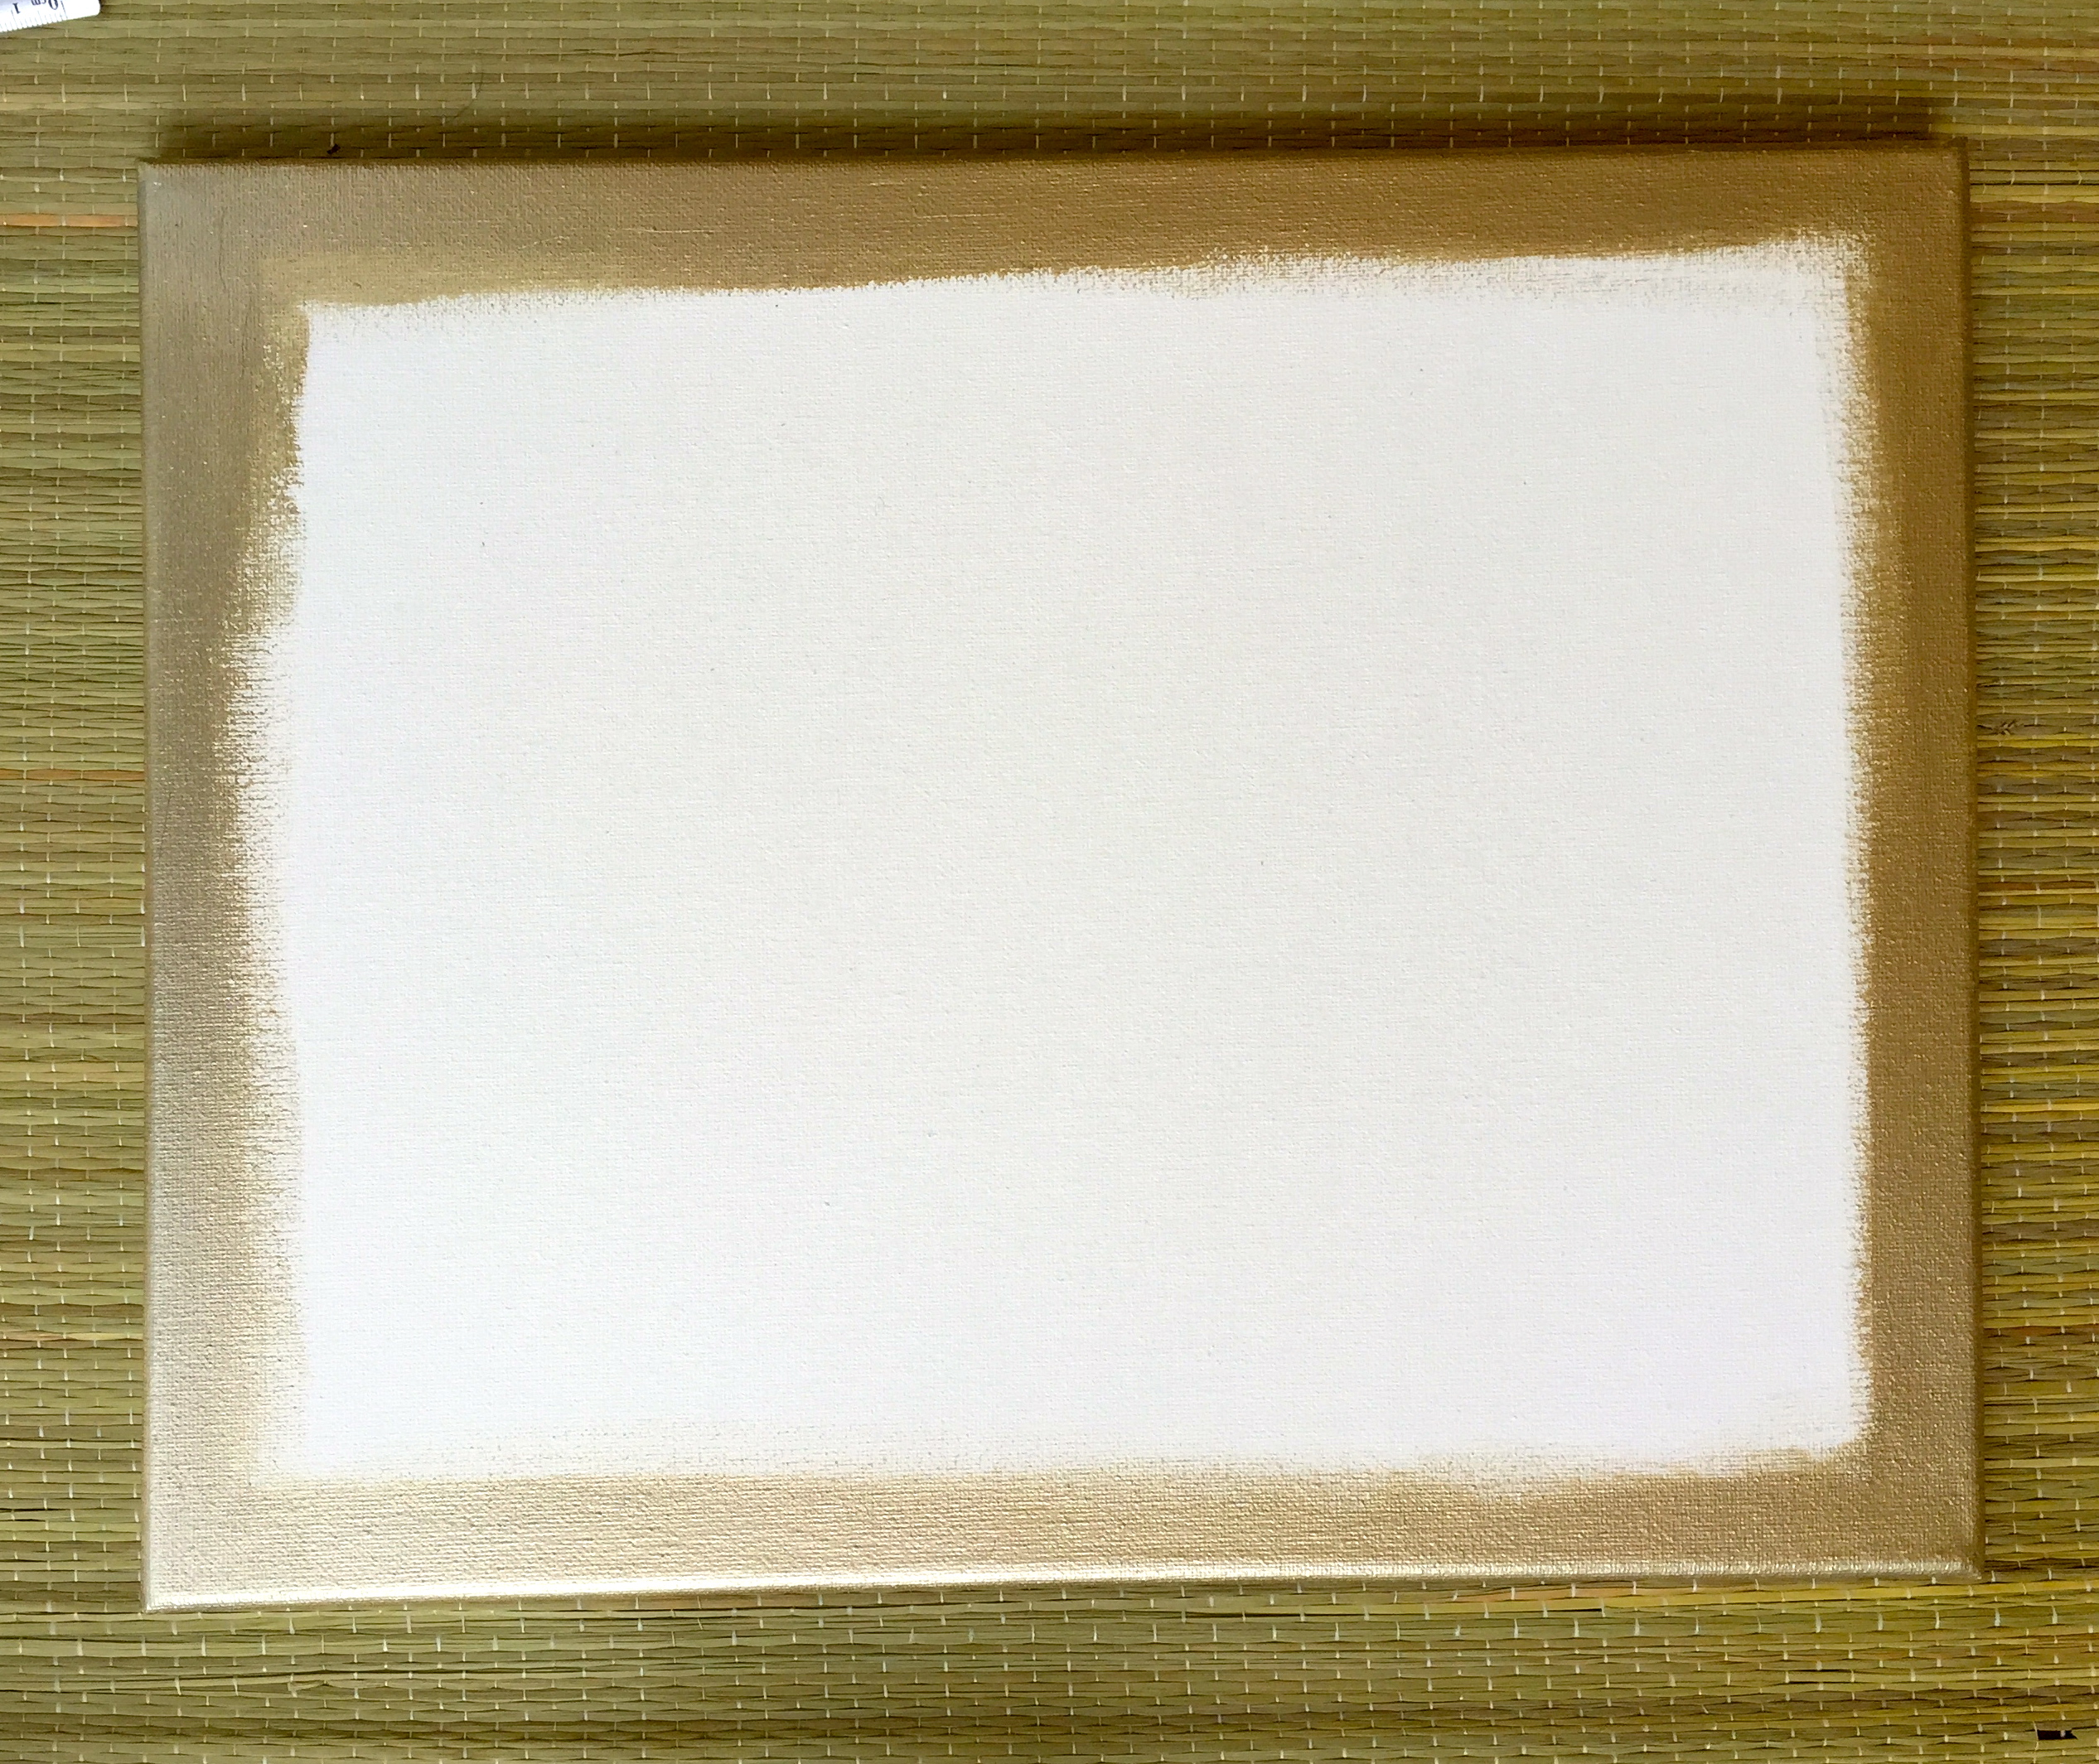
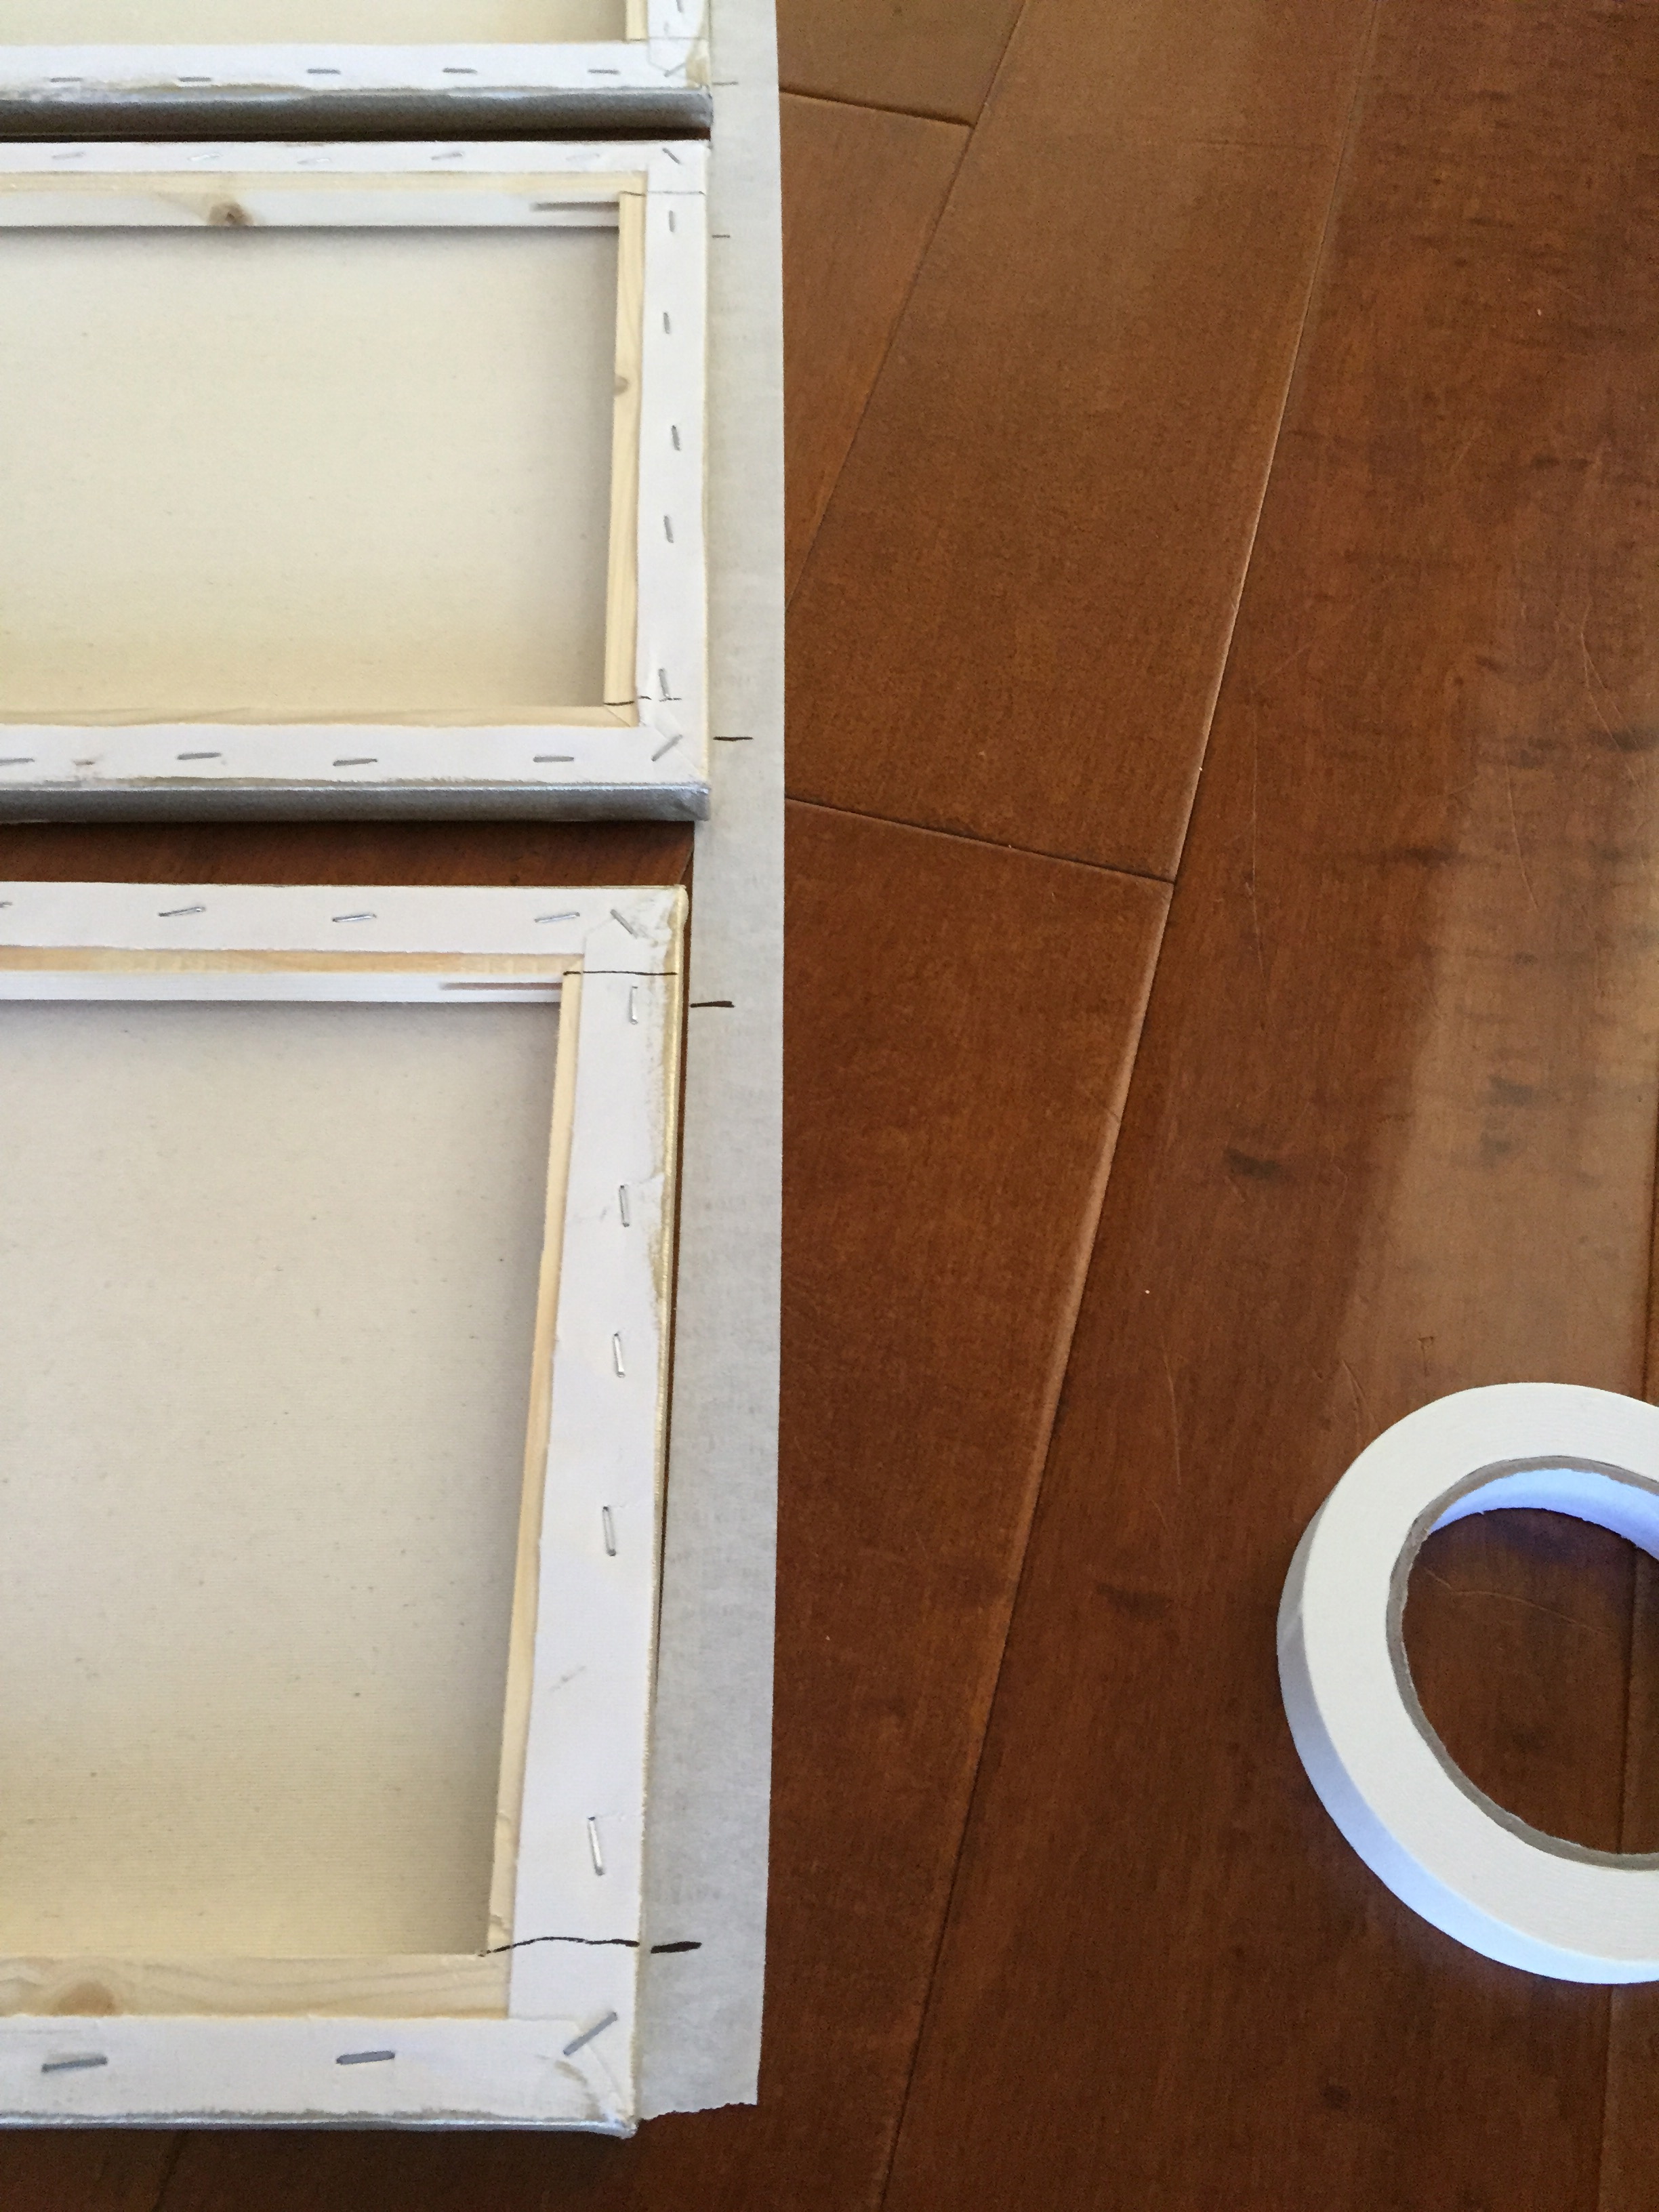
Step 1 : Paint the edge of your canvas (color of your choice). This is optional, however painting the edges would surely give a finished look. I used Metallic Silver acrylic paint.
Step 2: While it is drying, cut your photo to fit the canvas or for colored edges may be 1/4 inch less.

Step 3: Add a layer of Mod Podge on to the surface of canvas and a layer to the photograph.
Position the photograph on the canvas well, it should lay flat without any air bubbles.
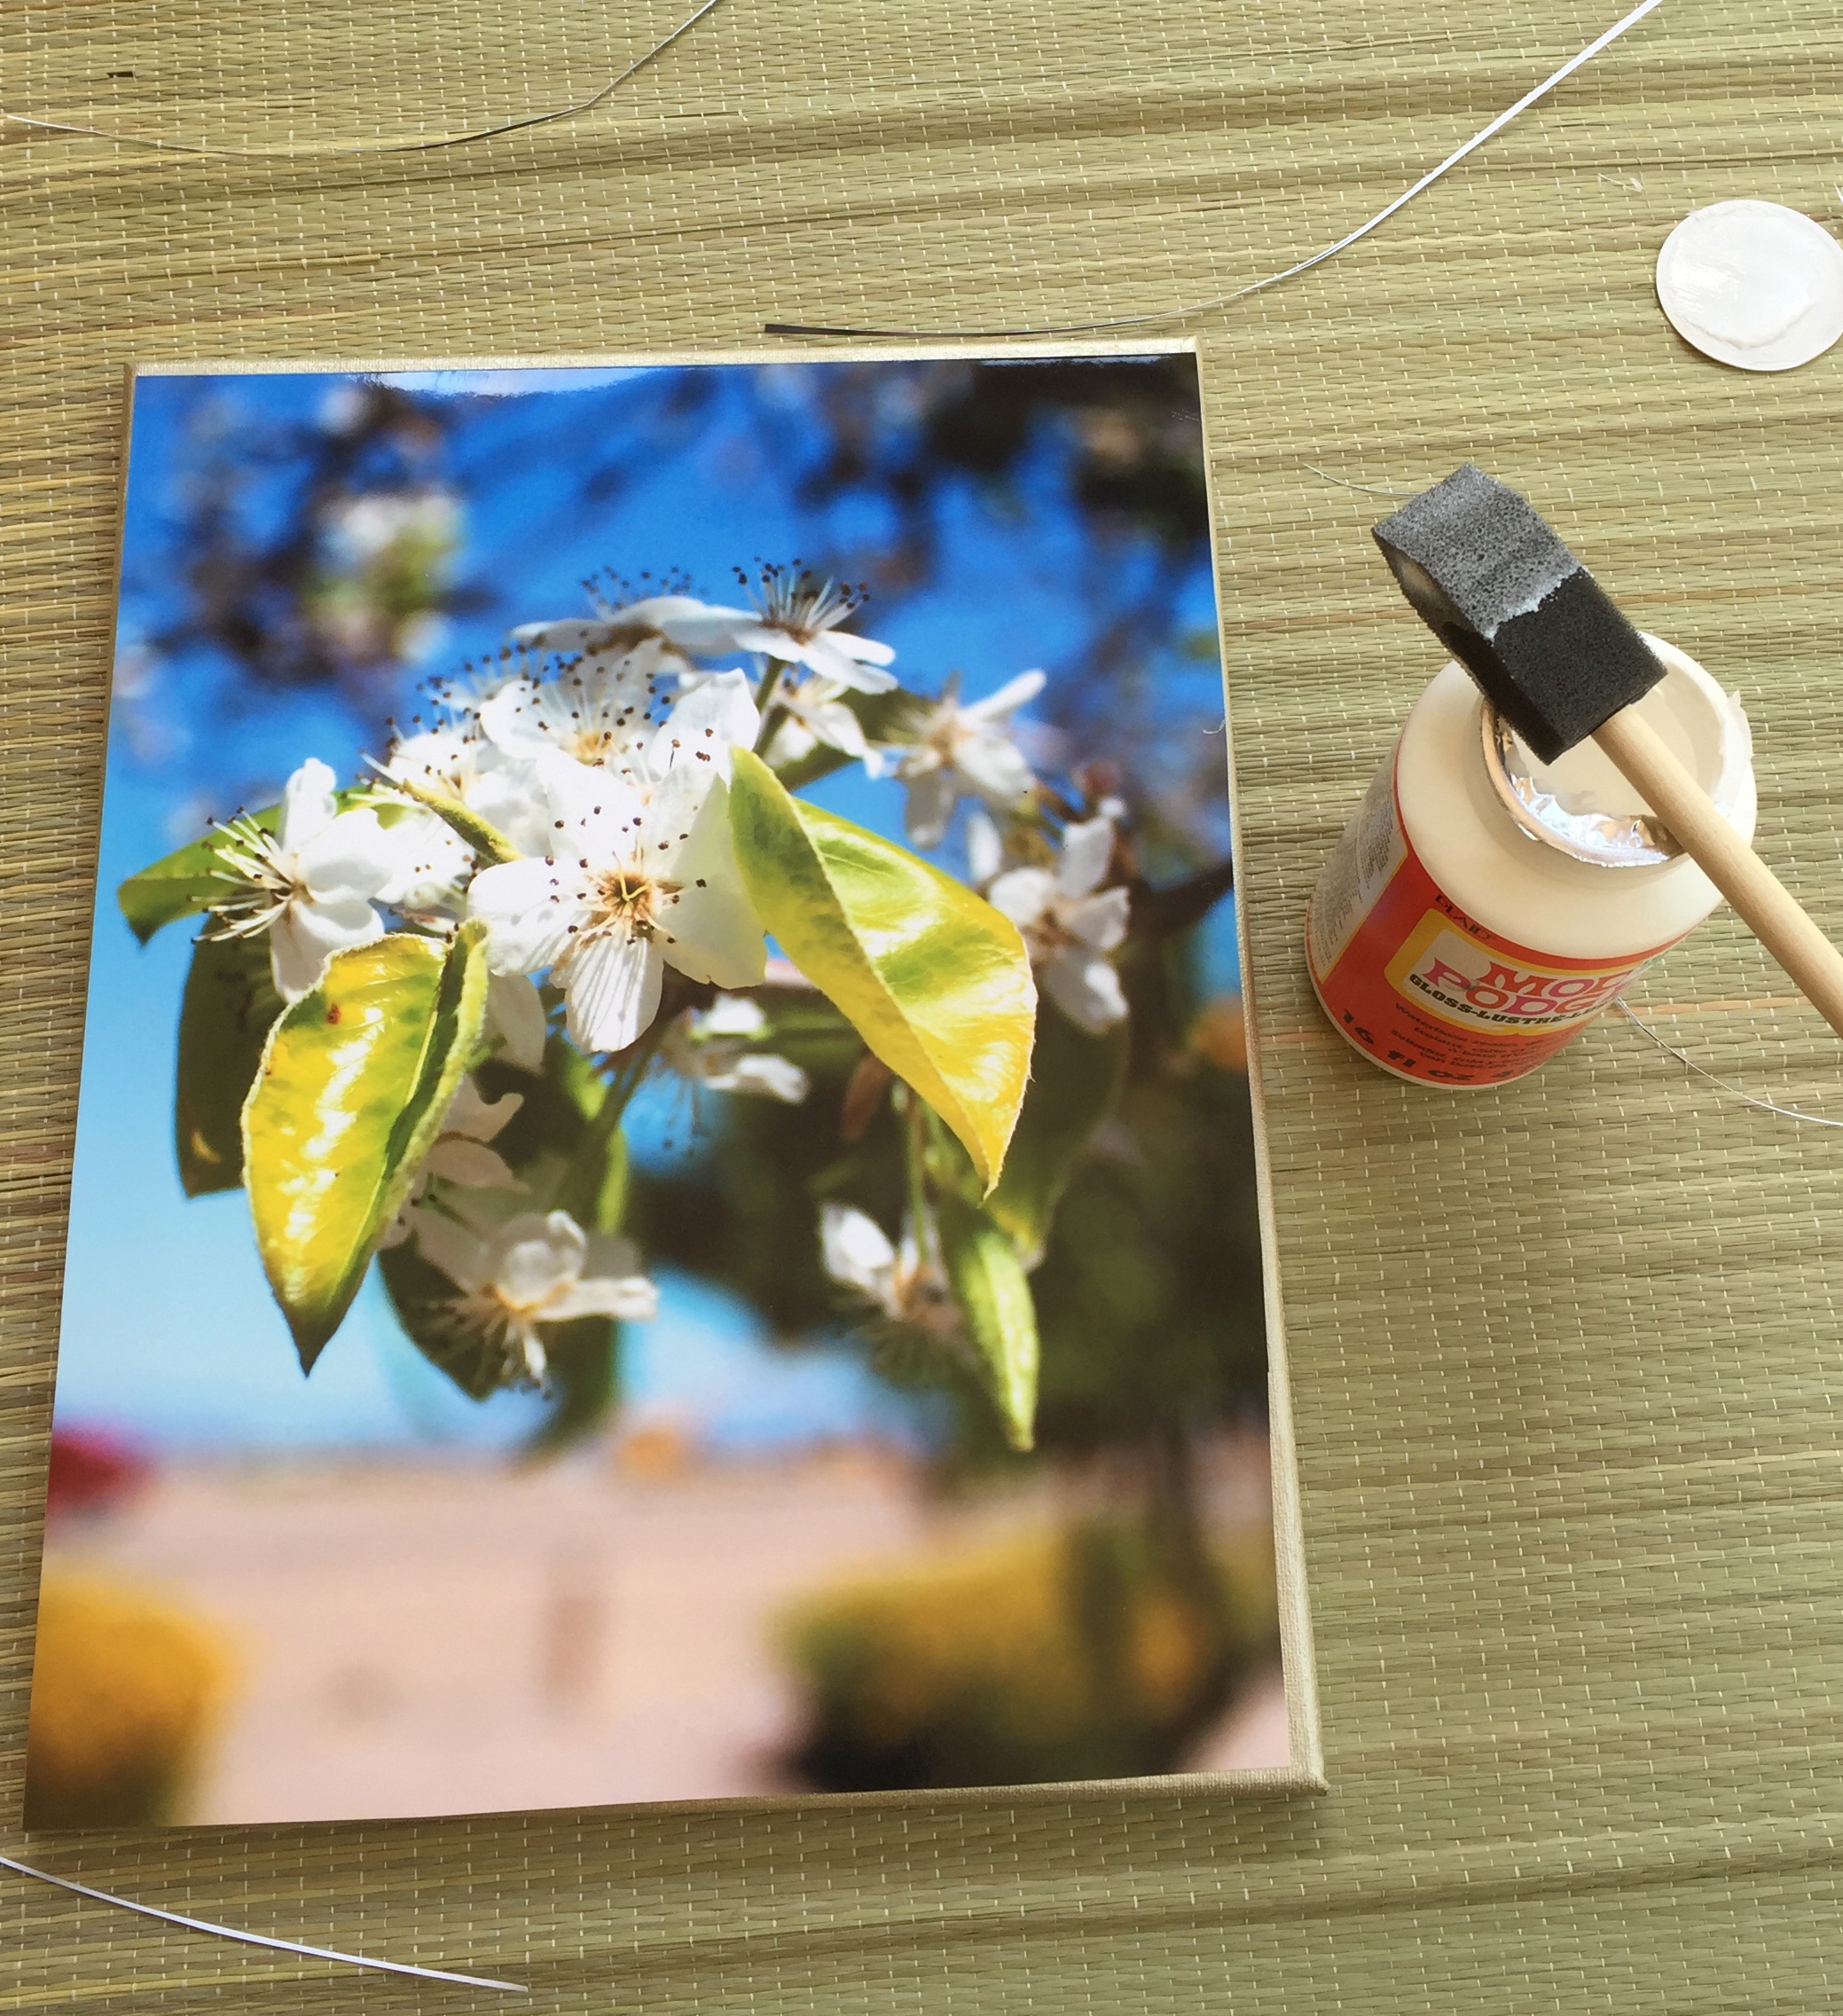
Step 4: Now add another layer of ModPodge over the photo. Make sure it is evenly covered and do not panic it dries clear.

Step 5: Leave it for 30-60 mins to dry.
Now the challenge is to hang them straight 🙂 If you remember my “Tip of the week” , I am going to use the same tip with little modifications to have them perfectly placed on the wall.
Place the frames/canvas you want to hang, upside down in the pattern of your choice. Then take an equal length of painters/masking tape and stick it along the borders.
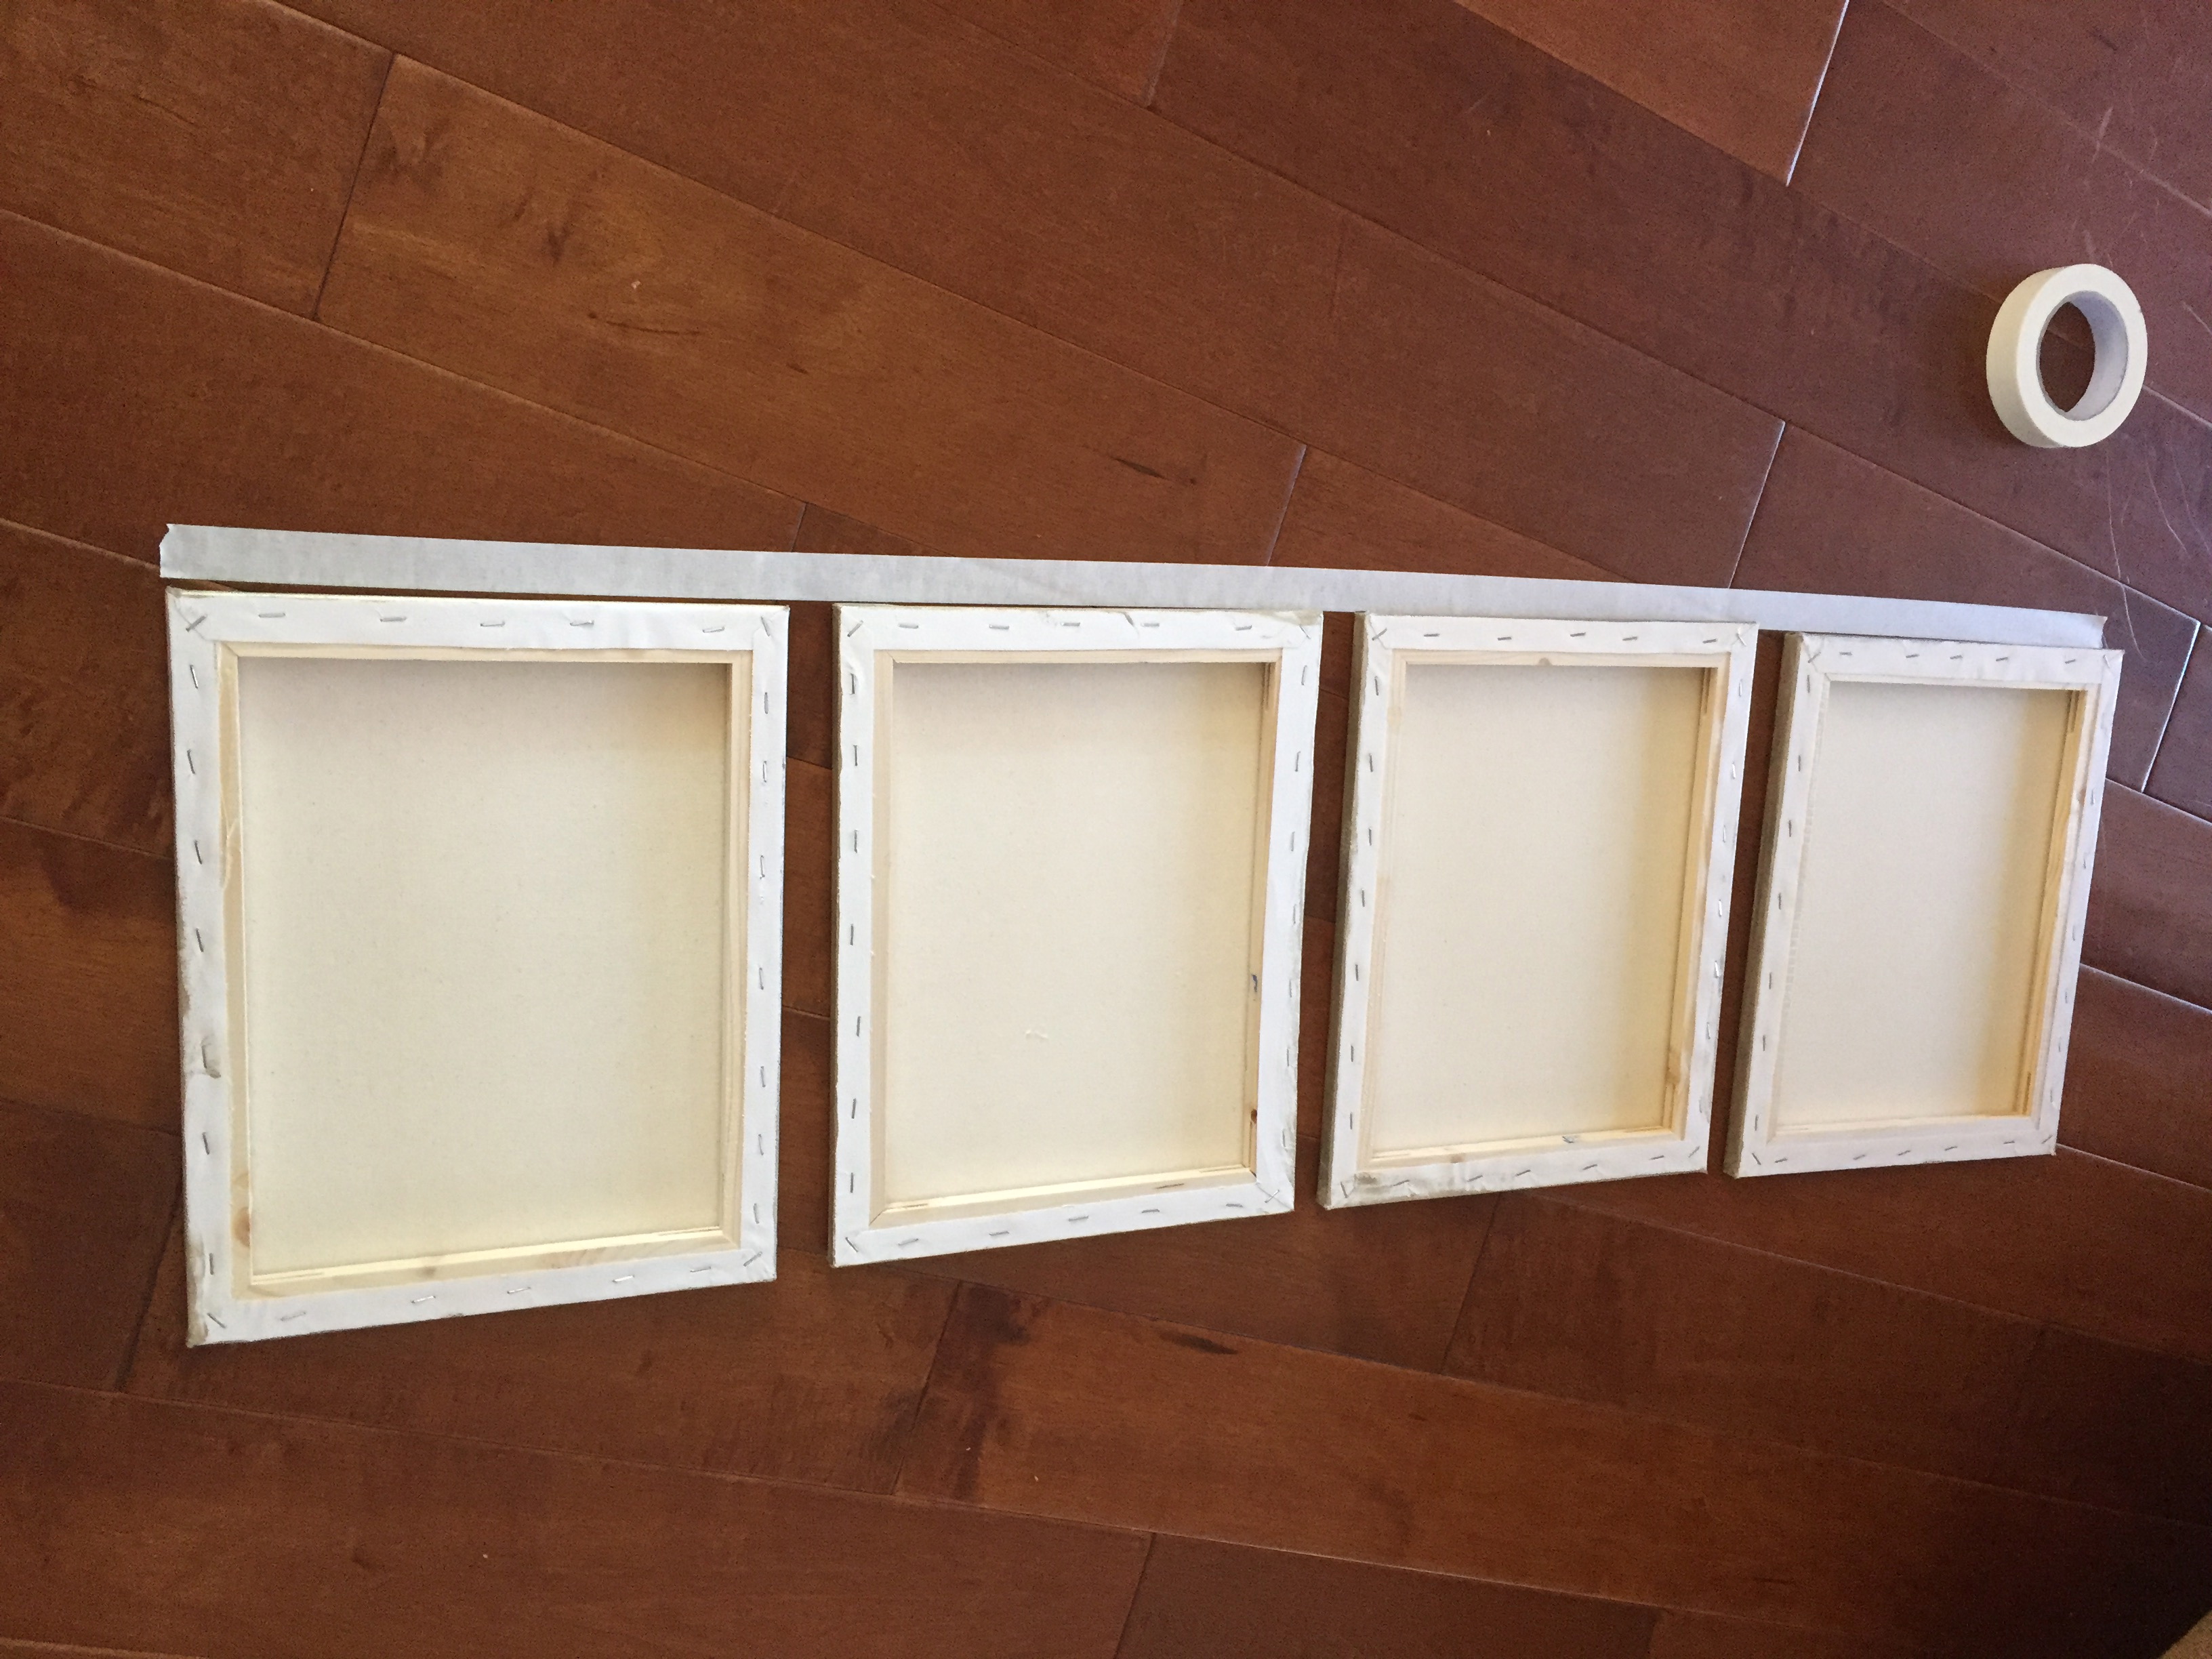
Using a marker, mark along the keyholes (right edge and the left edge) of the frame/canvas.
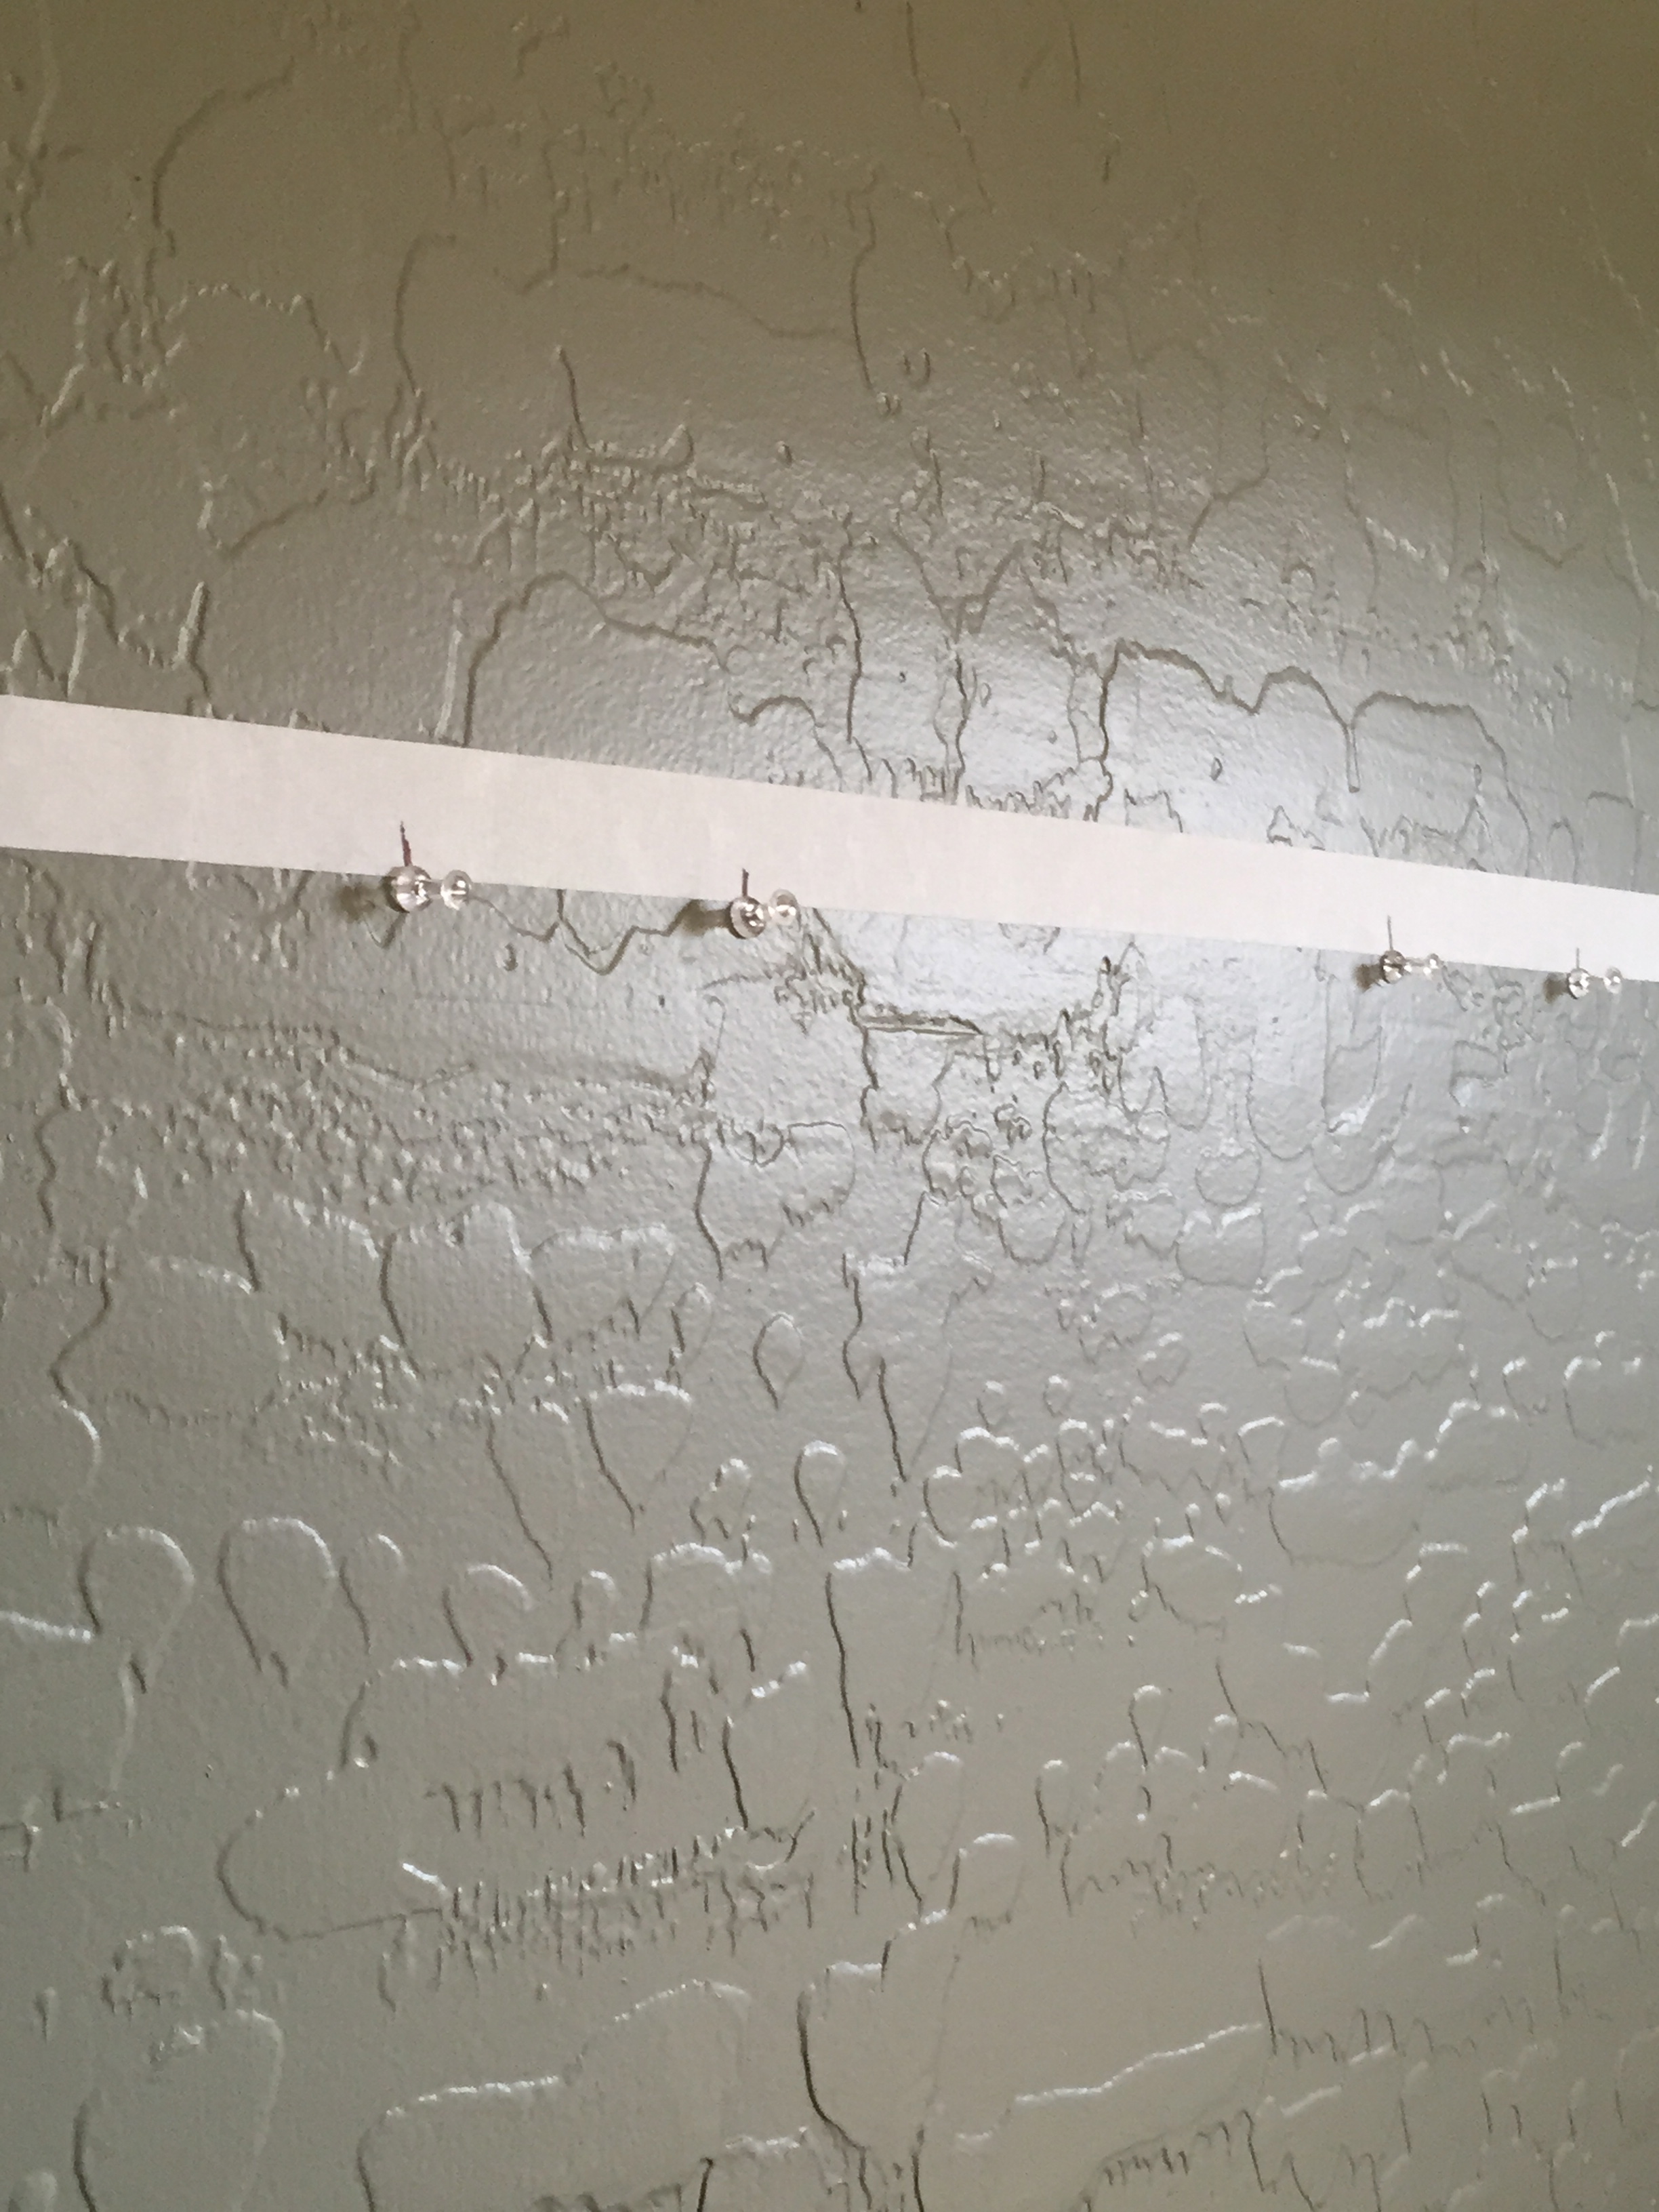
Take off the marked tape and stick it on the wall you want to hang your pictures.

Drill holes as per the marking. If it is a heavy piece use hollow- wall anchors. For canvas, I used pushpins.
Hang the pictures/frames, make sure they are straight and take off the tape.
Tadahhh……..

This is a simple, quick and an awesome wall decor to fill those empty walls and most important requires less time and low spending.
Happy Friday!


Hi nima. accidentally saw your post of modpodge and canvas – i must say i got hooked to your blog! wow nice work. I had question – As i understand you have pasted the photo prints on the canvas right? is there a method that you may know to transfer the print over the canvas ?
LikeLiked by 1 person
Thank you Shruti😍 hmm do u know abt pinterest. It has lot of projects on photo transfer and what I make out from them is you need to have a laser printed photograph on print paper, becoz with inkjet when u try to take off the paper by rubbing with water, it might smear and spoil the image. I haven’t tried it,have it in my to-do projects😃
LikeLike
Great post 😊
LikeLike
😊
LikeLike